Pages

Showing posts with label gifts. Show all posts

Monday, March 9, 2015

Tips to Buying Last Minute Mothers Day Gifts - What to Get Mom When Your Time is Up

One of the advantages of still living with your parents is that you never forget the big days i.e. your mom's birthday, your dad's birthday, your parents' wedding anniversary, Mother's Day, Father's Day etc. But once you're out and living on your own you're prone to forgetting these red letter days.
When it comes to buying gifts for the important people in your life; like your closest family members, a lot of suggestions that come your way include the phrase 'according to their interest' but what these suggestions fail to take into account is the fact that you may not of have seen your mom in over a month, the last time you talked to her was last week and you never really got on well with her when you were still living with your parents.
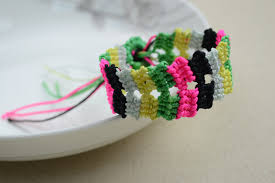
Of course none of this stops you from wanting to give your mom a superb gift on Mother's day because she is your mom and no matter what your differences were in the past, you still love her and appreciate all she's done for you your whole life. The major setback here is that you may not have an exact idea of what it is that your mom likes.
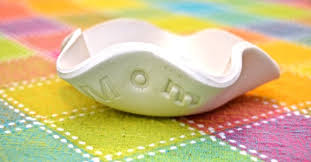
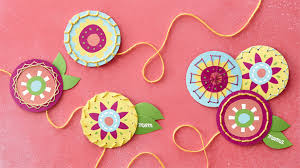
As a kid you never paid attention and things like home made crafts and flowers were a great hit with her so you never needed to think much about your mothers day gifts. Fast forward to today when you realize only a week in advance that mother's day is coming and you wonder what on earth you could possibly get your mom. It has to be something special because you don't know if she got a good valentine's Day gift and you were probably slightly less generous when you bought her Christmas gift but Mother's day is the day when it's just you and your mom.
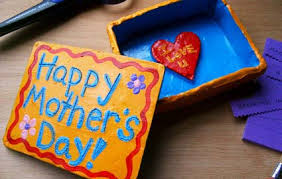
Let's deal with the whole 'According to her interest' thing first. Lets say you're mom is interested in knitting or cooking. Does that mean you buy her a cookbook or the latest catalog for knitting patterns? It doesn't make for an appreciative, mother's day gift at all as much as it does for a birthday gift (and not a very good one). People will tell you to show appreciation for your mom on Mother's Day and they're pretty much spot on with that suggestion but the fact is that it can't be accomplished with cookbooks or knitting needles. Jewelry and flowers are not the answer either; because flowers are too cliche and jewelry doesn't communicate much sentiment except for the fact that you couldn't think of anything that your mom would like so you went with safest choice in the world.
So what should you get your mom when you're almost out of time and pretty much dead on ideas?
Mymisi.com sells unique jewelry and unique mothers day gifts for special occasions like mothers day. Try something different this year and visit MyMisi.

Monday, February 2, 2015

Cute Valentine Crafts - Touch the Heart of Your Loved One

www.misi.co.uk

Valentine's Day is the most awaited day for people in love. People spend a fortune in buying expensive gifts and going for fancy candle light dinners. But if you really want to show your romantic side then cute valentine crafts are best ways to express your love. It is not necessary to spend lavishly on gift items to show your love and concern, but a simple gift with personal touch can say a lot more. If this Valentine's Day you want to go an extra mile and do some efforts for your beloved then try some special artifacts. Make it more special with the personalized message.

Initially it may look quite tricky to make cute valentine crafts, but some simple guidelines and little bit of effort can make things lot simpler for you. Heart shaped pillows or cushions for your darling would make a great present on Valentine's Day. Dark red colored cushion of velvet will be adored by your sweetheart. Make a Valentine's Day card and decorate it with colorful papers and glitters. Write a personalized poem or a message expressing your deepest thoughts and impress your darling with your creativity. For that special woman of your life, make a jewelry box of cardboard and decorate it with colorful papers and other craft items. Making a scrapbook is easiest of its kind and creates a special emotional bond between the lovers. Paste some personal pictures of yours with personal sentiments, such as "Ten Things I Love about You," "My Favorite Memories of the Past Year" or "You're My Perfect Valentine because...".
Make this Valentine's Day a special one for you that will always make you cherish the moments associated with it in the years to come. Make romantic craft items for your love and present it in a special way on Valentine's Day.


For more perfect ideas and Valentine's Day gifts visit www.mymisi.com

Tuesday, May 13, 2014

Father’s Day : Printable Trophy Dad awards

What you can do for your father is awarding him a bunch of mini Trophy Dad awards.


On to Father’s Day – I still wanted to celebrate all the good little deeds my father does for us. So I came up with these little printable trophy awards for the kids to post around the house :)


Wednesday, May 7, 2014

DIY ~ Cupcake Bath Bombs

cupcake bath bomb
Warm bath + cupcakes – guilt. Now that’s an equation anyone can love!
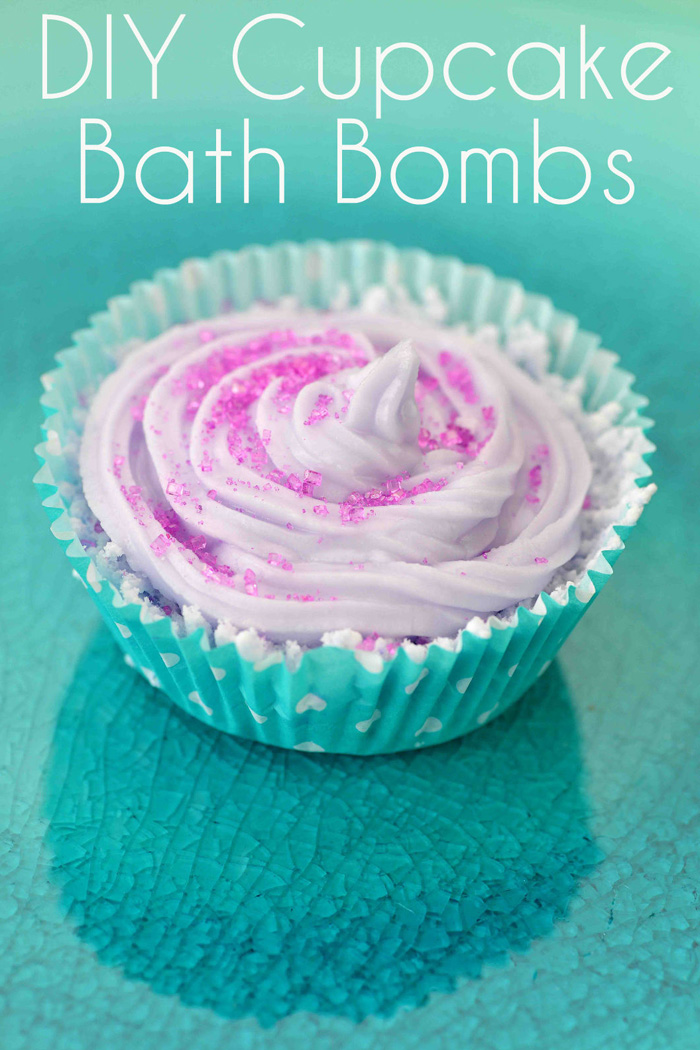
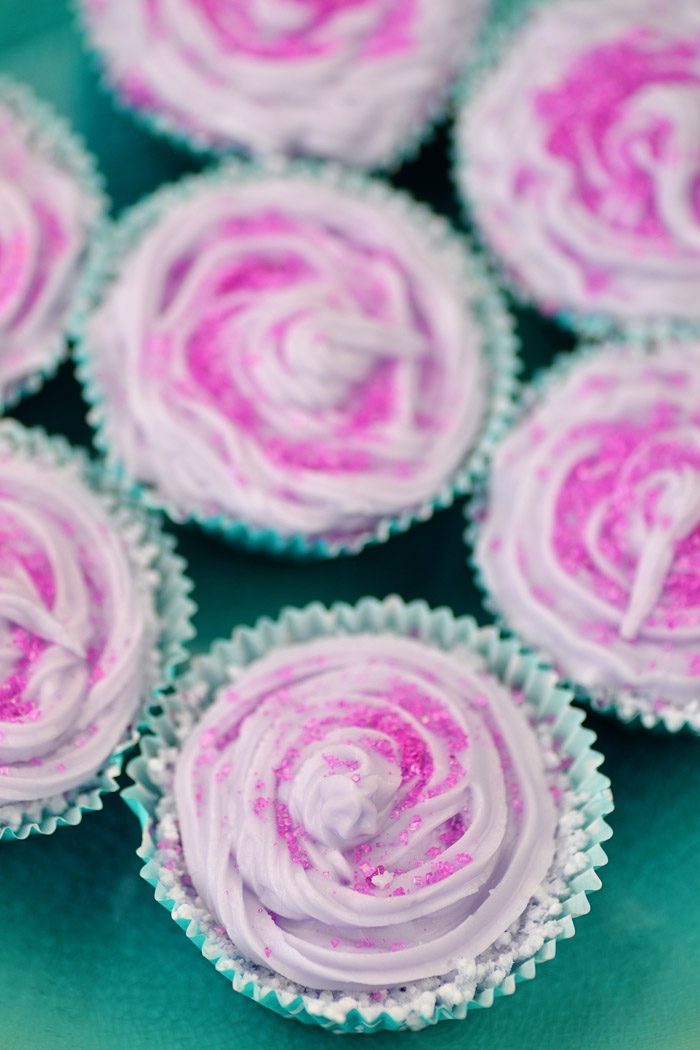
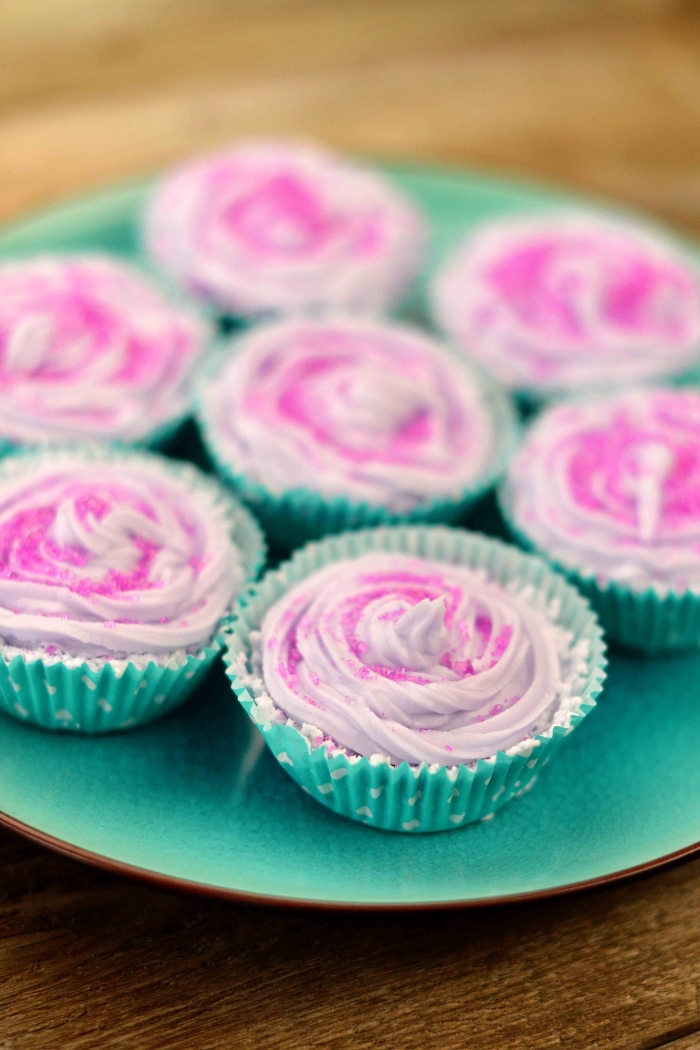
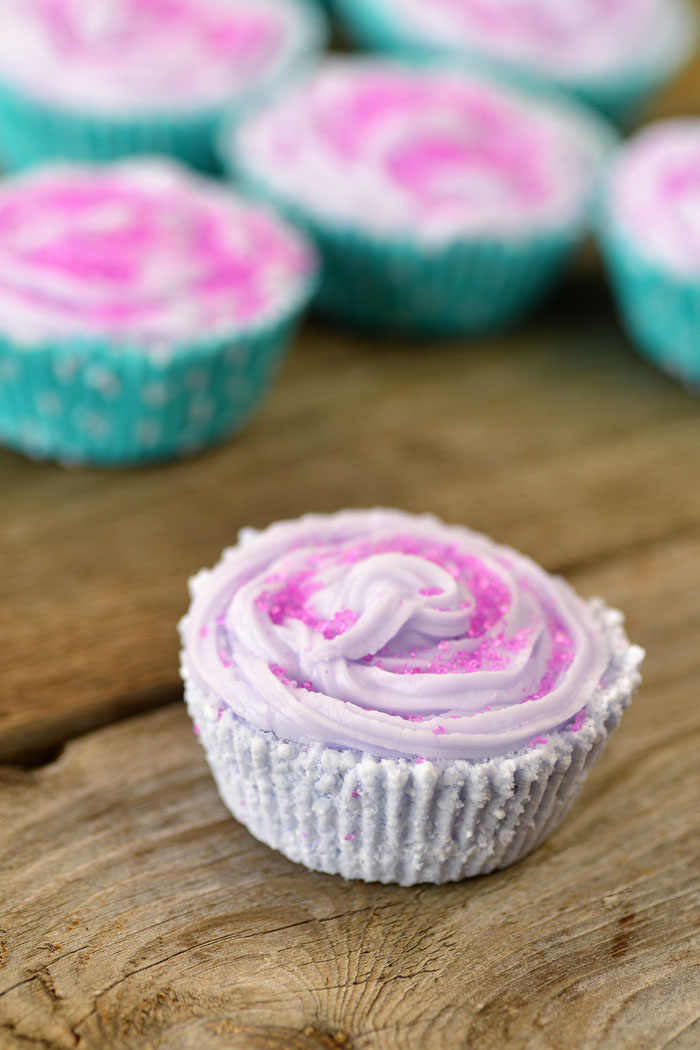
Although these cupcakes look good enough to devour, they are  DIY Cupcake Bath Bombs that will add fizz, fragrance and moisturizer to your bath water. We think they make perfect wedding shower favors – especially for a spa-themed bridal shower, so we are going to teach you how to make them.
 bath bomb cupcakes
Ingredients for DIY Cupcake Bath Bombs (Adapted from Little Birdie Secrets Bath Bomb Fizzy Recipe. )
Makes 11-12 cupcakes.
For the cupcake you will need:
  • 1 cup. baking soda
  • 1 cup Citric Acid
  • 1 Tbsp. oil (We  used Sweet Almond Oil, but you can also use grapeseed oil or olive oil)
  • 5 drops fragrance/essential oil (we used lavender essential oil)
  • 3-5 drops coloring or Pigment powder (You can use food coloring, but we used soap colorant or Pigment powder)
  • Witch hazel (poured into a spray bottle)
  • Colored sugar or sprinkles
  • Paper cupcake liners
  • cupcake pan
For the icing you will need:
  • 3 Tbsp. meringue powder
  • 1 lb. (measured by weight) powdered sugar
  • 1/4 tsp. Cream of Tartar
  • 5-6 Tbsp. warm water
  • Few drops of color or Pigment powder or soap colorant
  • Few drops essential or fragrance oil
  • colored sugar
  • Glass bowl
  • Hand mixer
  • pastry bag
  • Large tip for pastry bag
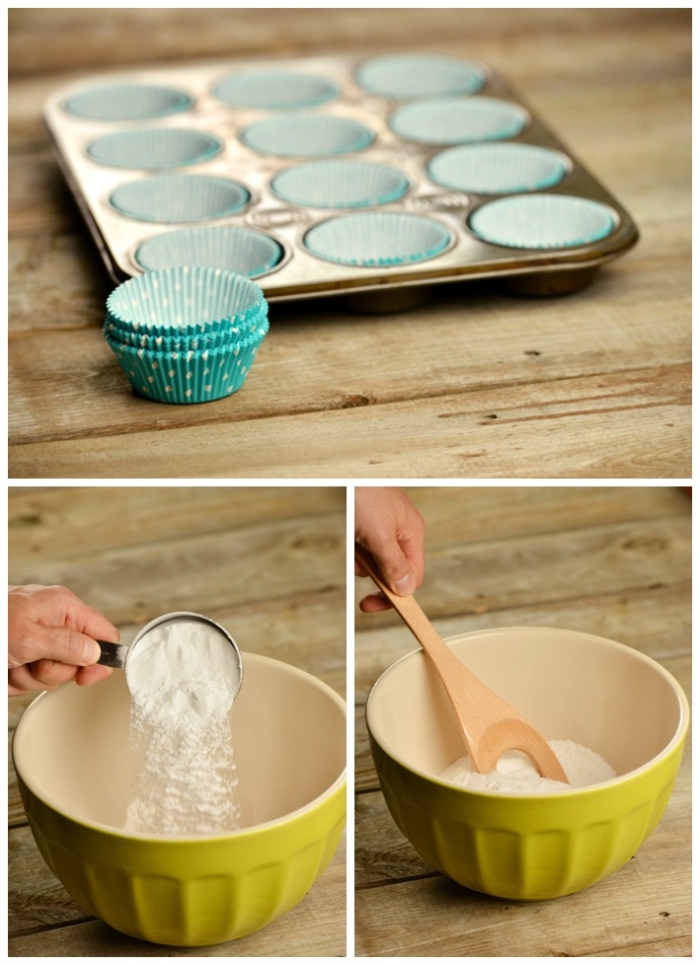
Place cupcake liners in cupcake pan. Place all dry ingredients in a bowl and give it a stir.

bath bomb diy cupcake
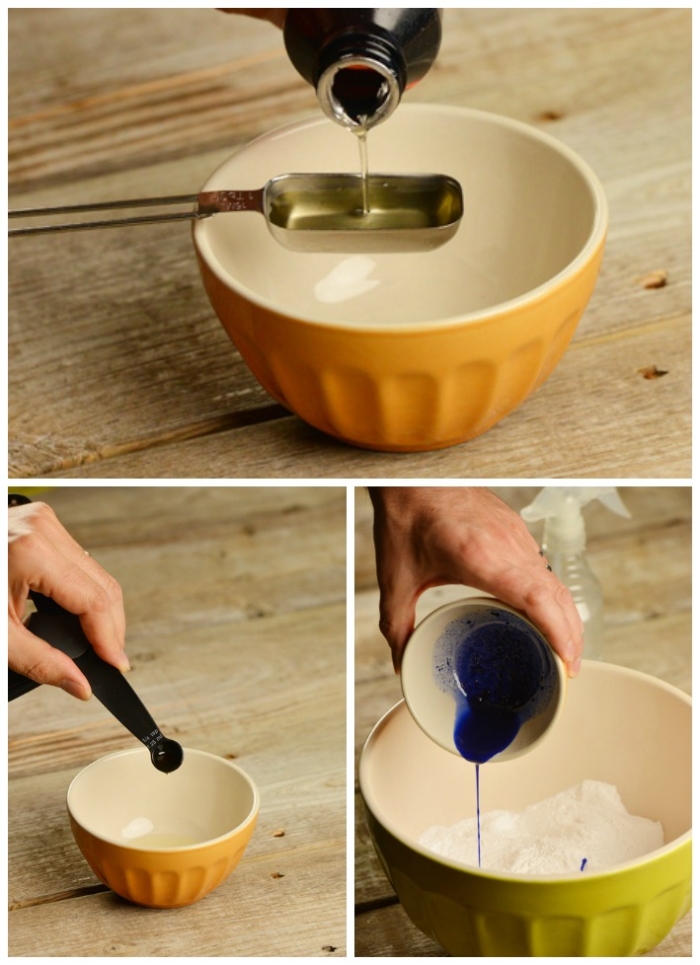
Pour sweet almond oil, essential oil or fragrance oil and color into a small bowl and stir. Add mixture to dry ingredients and stir.
bath bomb cupcake
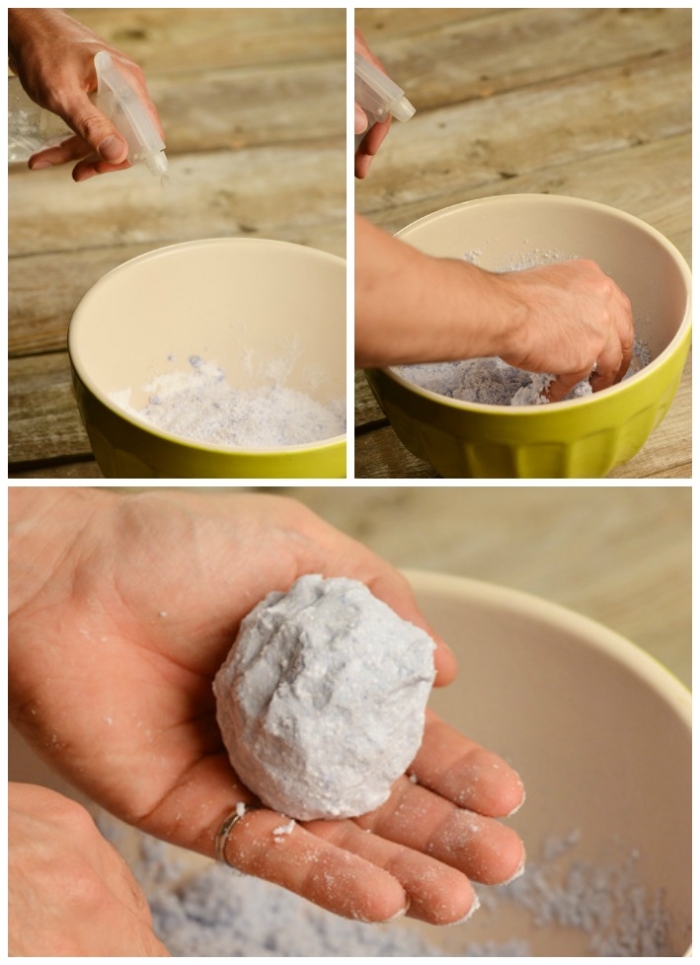
Spray mixture with witch hazel. Mix with your hands. Keep spraying and mixing until the mixture feels like wet sand. When it’s ready, the mixture should clump together so that you can form a ball. That said, be careful not to get the mixture too wet because too much moisture could activate the citric acid, ruining your bath bomb.
diy cupcake
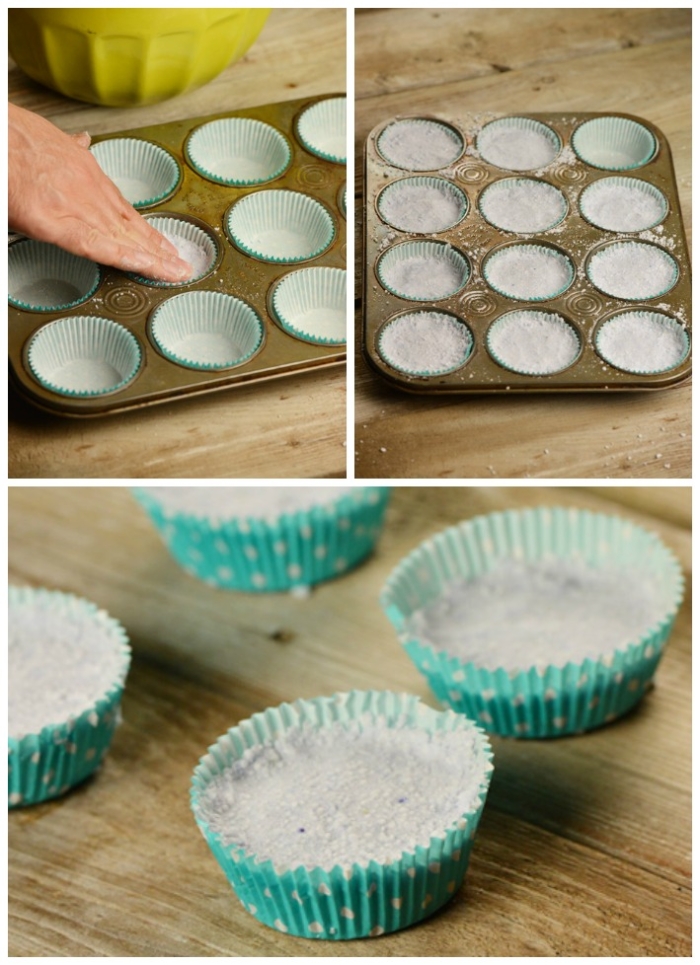
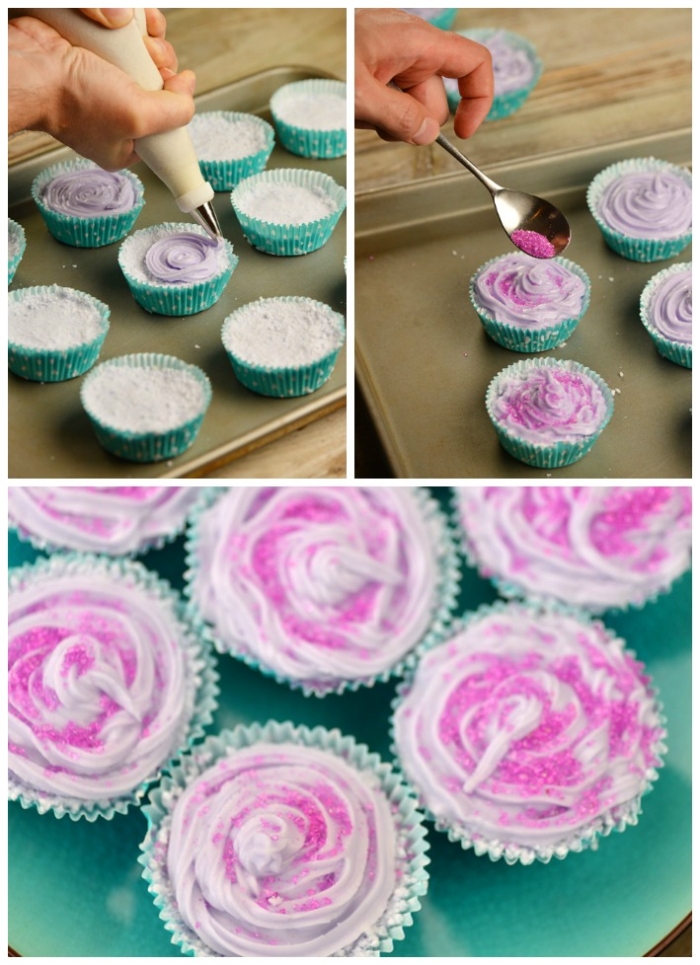
Add mixture to cupcake liners. Fill about 2/3 full. Press down with fingers. Set aside for 10 minutes, then remove from cupcake pan.
recipe bath bombs
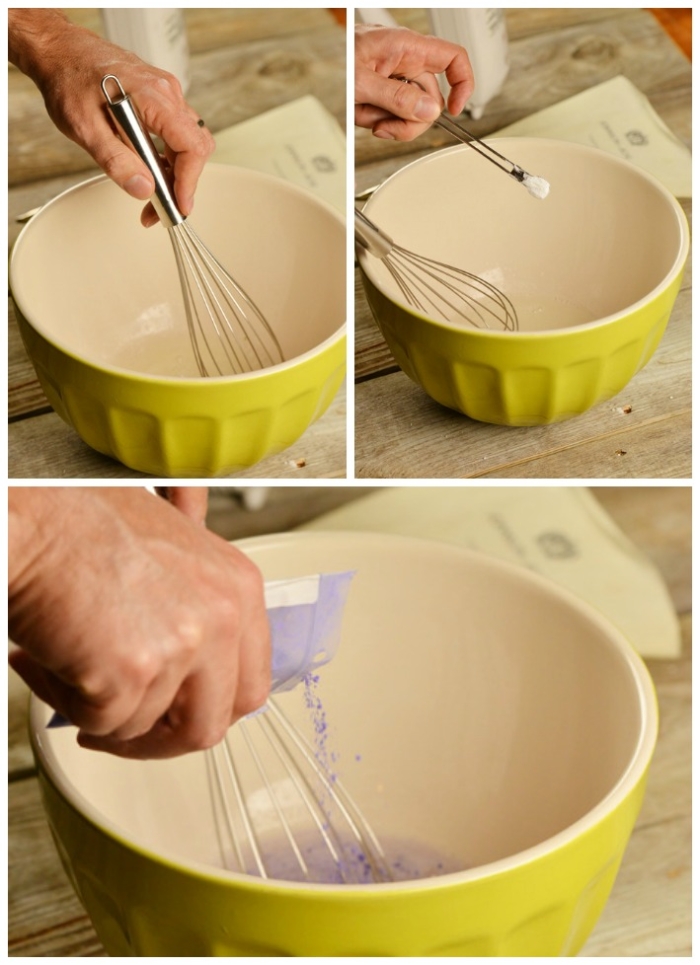
Now it’s time to make the frosting. Mix meringue powder with warm water in a glass or ceramic bowl. Add cream of tartar and color.
cupcake bath bomb
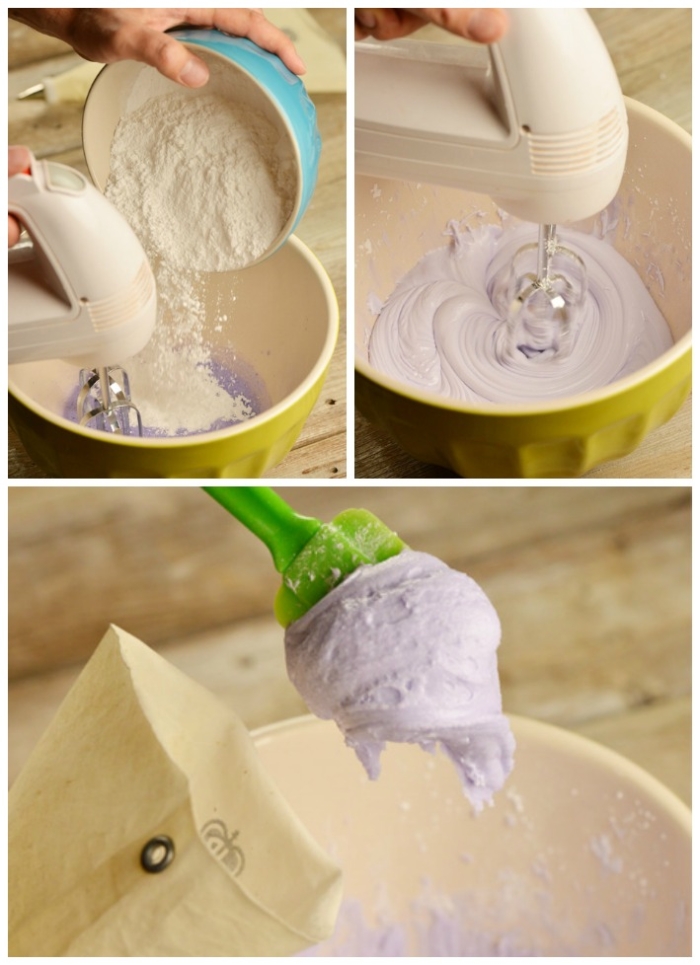
Add powdered sugar. Using a hand mixer, blend on high setting. If your mixture feels too stiff, add another tablespoon of water. Beat for 7-9 minutes. Icing is done when it forms stiff peaks and is thick like, well, frosting. Place inside a pastry bag.
recipe-cupcake-bath-bomb
Carefully frost your cupcakes.  Once the cupcakes are frosted, add colored sugar or sprinkles.
recipe cupcake bath
Aren’t they lovely?
cupcake bath
If you are giving these as bridal shower favors, wrap them in cellophane bags or small boxes and add tags. This is how they look when they are unwrapped:

Tuesday, May 6, 2014

DIY ~ Wedding Cake: Triple Chocolate

Let's get out of the norm and try a triple chocolate wedding cake instead of all the white ones!


Ingredients:
1 1/2 cups self-raising flour
1/2 cup plain flour
1/2 cup cocoa powder
250g (9 oz) butter, chopped
1 tablespoon oil (not olive oil)
200g (7 oz) dark chocolate, chopped
1 1/2 cups caster sugar
1 tablespoon instant coffee powder
2 eggs, lightly beaten
Chocolate Fudge Frosting:
90g (3 oz) butter
1/3 cup water
1/2 cup caster sugar
1 1/2 cups icing sugar mix
1/3 cup cocoa powder
1. Preheat oven to 160 Celsius (315 Fahrenheit). Grease a 20 cm (8″) round springform cake tin and line with baking paper.
2. Sift flours and cocoa powder into a mixing bowl.
3. In a saucepan, combine butter, chocolate, oil, sugar and coffee powder with 1 cup of water. Stir over low heat until the chocolate has melted and become smooth. Let cool for about 10 minutes.
4. Add the chocolate mixture to the flours and whisk until just combined.
5. Add the eggs one at a time and mix well.
6. Pour into the prepared cake tin (one with straight sides like a springform tin) and bake for 1 1/2 hours or until the skewer comes out just clean. Let cool completely in the tin.
7. Once cool, cut the top so that it’s flat then turn onto a plate (the bottom is now the top!)
To make the frosting:
1. Combine butter, water and caster sugar in a small pan, stir over heat without boiling until the sugar is dissolved.
2. Sift the icing sugar and cocoa into a medium bowl. Stir in the hot butter mixture in batches.
3. Cover, refrigerate for one hour or until thickened then beat until spreadable.


To assemble, make sure you use only a small amount of frosting in between layers and coat your cake only when cooled. Use a hot knife to smooth the surface if that is what you want to achieve.


Monday, May 5, 2014

DIY ~ Blooming Fonts

Write any message or any name you want with amazing blooming fonts and give the most ingenious gift ever to the people you love.


Follow this simple tutorial:


What You Need :

  • paper mache letters (there are 8″ and 12″)
  •  exacto knife
  • floral foam
  • glue gun
  • wire cutters or strong scissors
  • silk flowers


How To Make :
1] Using an exacto knife, cut off the front of the letters and hollow out carefully.
2] Cut floral foam into shapes that fit letter and secure with glue
3] Trim the silk blooms off, leaving a short stem, and position into the foam. You can reinforce with glue, if necessary.
4] Arrange happily!


DIY ~ Amazing Candle Craft Ideas

Everyone loves candles, especially when they come in amazing and inspiring looking vases. This is a very easy and fast tutorial on how to create your own unique candle jars that you can decorate any way you want. They make an excellent gift for any occasion for yourself or anyone you love.


Visit us on: www.mymisi.com and browse around more amazing gifts! 


Tuesday, April 29, 2014

DIY ~ Thread Wrapped Love Necklace for Mother's Day

Make this amazing Thread Wrapped Love Necklace for Mother's Day. It's amazingly easy and fun.  The supplies are also pretty basic, If you're an avid DIY'er, there's a good chance you have everything on hand!


Supplies:

- Craft wire (I used 24 gauge)
- Embroidery thread, one skein
- Scissors
- Round nosed jewelry pliers
- Chain (length is up to you)
- Clear nail polish (you'll use this in more than one way!)
- Jump rings and jewelry clasp (optional)
- Charm or tassel (optional, not shown)
- Ruler (not shown)


1) Cut a length of wire. About 10 or so inches should be enough. Using the round nosed jewelry pliers, create a loop at one end of the wire.


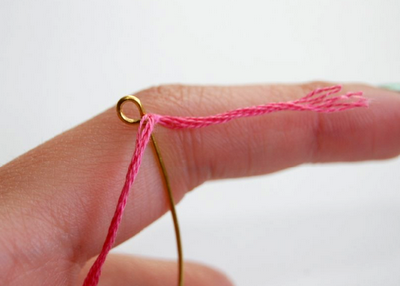
2) Keeping the skein of thread in tact/in the packaging (this makes it easier to work with), tightly tie the thread near the loop you just made. Triple or quadruple tie it for extra security.


3) Begin tightly wrapping the thread around the wire. I found that it was easier to do this if you hold the entire skein of thread in one hand while wrapping. Be sure to wrap the thread as tight as possible. 


4) Continue wrapping the thread, until you've reached about 9 (or so) inches of wrapped wire.


5) Tightly triple or quadruple knot the thread.


6) Cut off the excess thread, and secure the knot with clear nail polish. Let dry


7) Cut off the excess wire, leaving about half an inch. Use the pliers to create a loop, just like you did earlier.


8) Go back to the end that you started with, and cut off the excess thread. Secure with clear nail polish and let dry.


9) Start creating the "L" at one end. Bend the wire to the left, like the first picture above. Wrap the wire back over to the right, around the pliers as shown above. This will create the bottom portion of the L. 


10) To make the "O", wrap the wire around the cap of the nail polish bottle. This will help guide the general shape. Remove the bottle and mold the "O" as you wish.


11) After you're done with the "O", make the sure the wire is bending up, like the first picture above. Sharply bend it back down to begin the "V". Tighten the sharp bend by squeezing it with the pliers.


12) Bend the wire back up, then horizontally. This will create the "V". 


13) Wrap the wire around and over the pliers for the "e".


14) Bend the wire back up to complete the last letter.


15) Attach the chain to both ends. You can either use jump rings, or simply open up the loops with the pliers. You can also attach the chain to one end of the pendant, so that it hangs differently. It's totally up to you.


16) Attach a charm or tassel, if you'd like. 


Pretty easy! With some practice and playing around, you can create other words as well. 


Wednesday, March 26, 2014

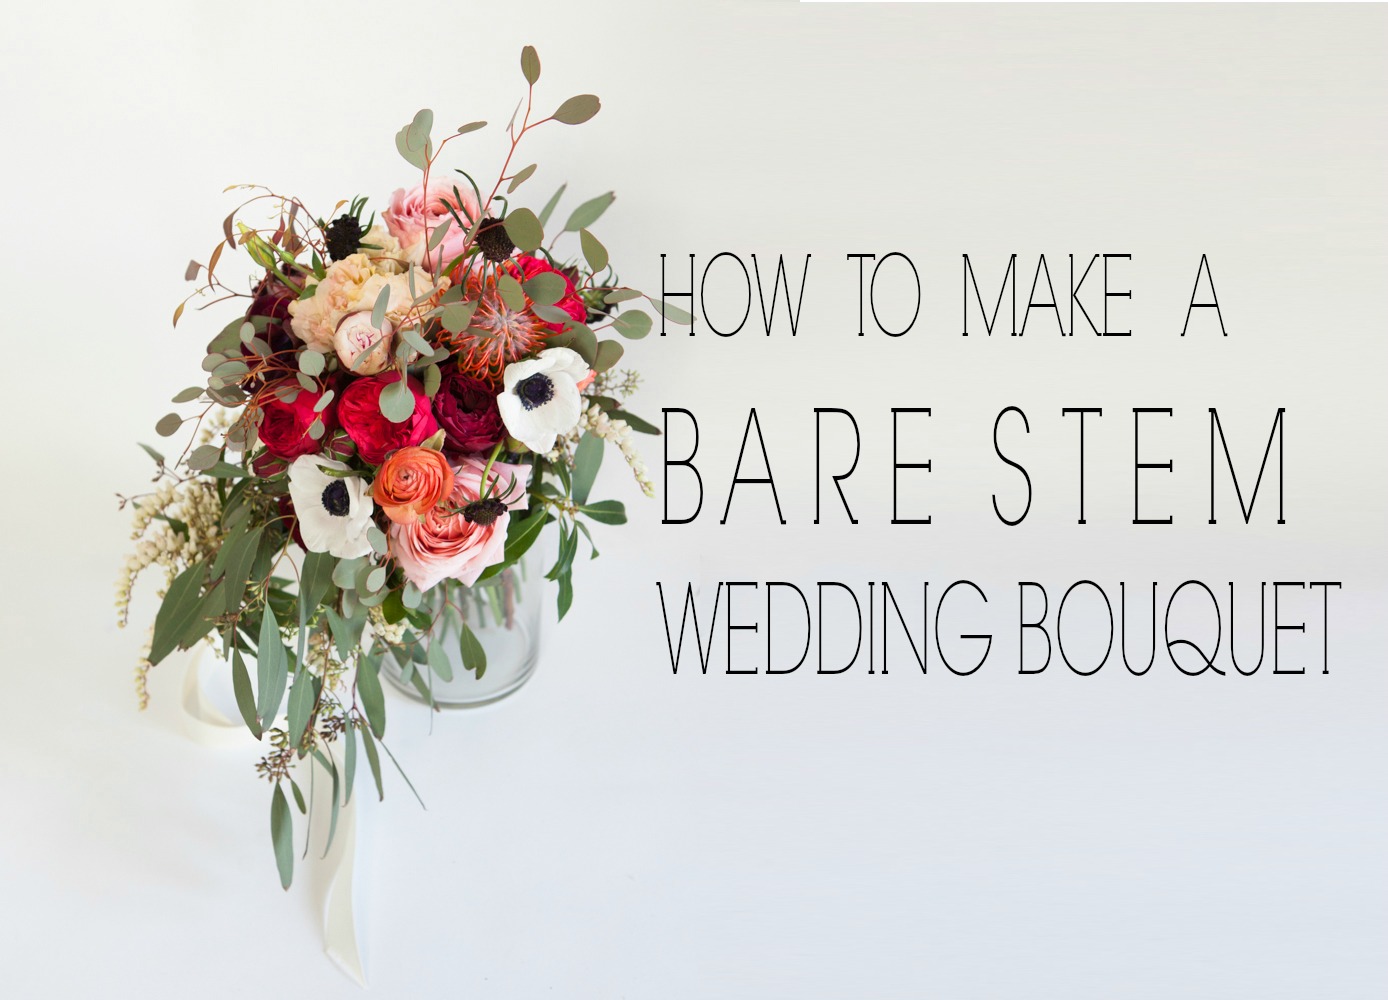
DIY ~ How To Make a Bare Stem Rustic Wedding Bouquet


How to Make a Bare Stem Wedding Bouquet
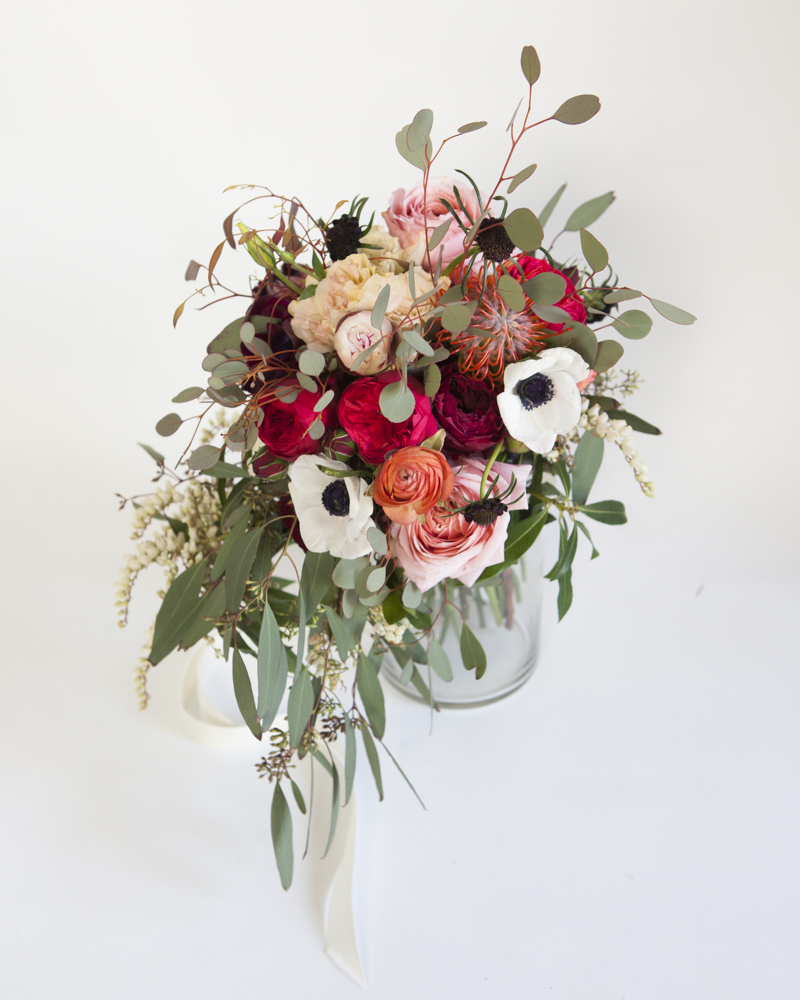
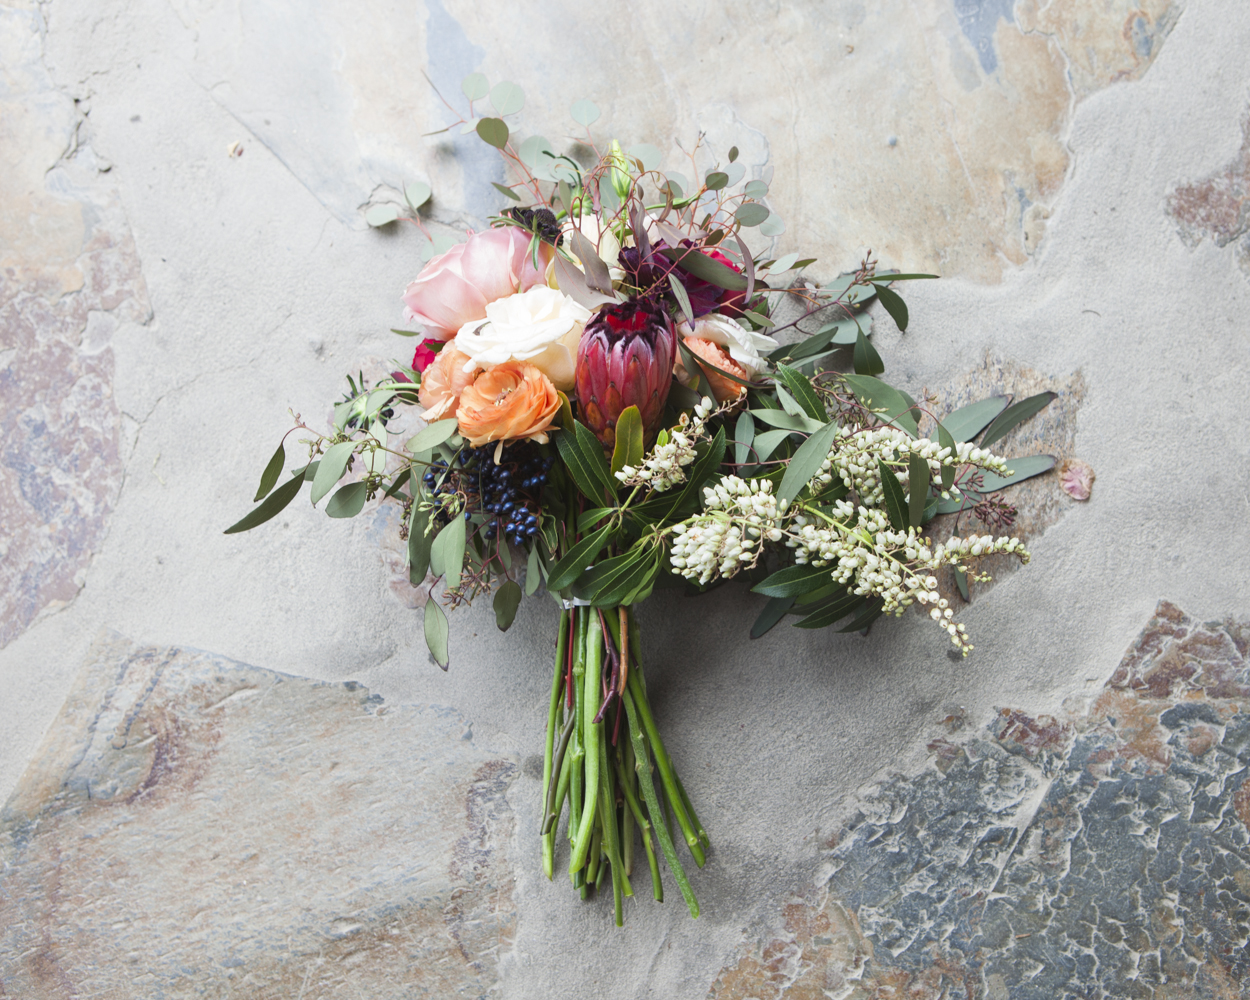
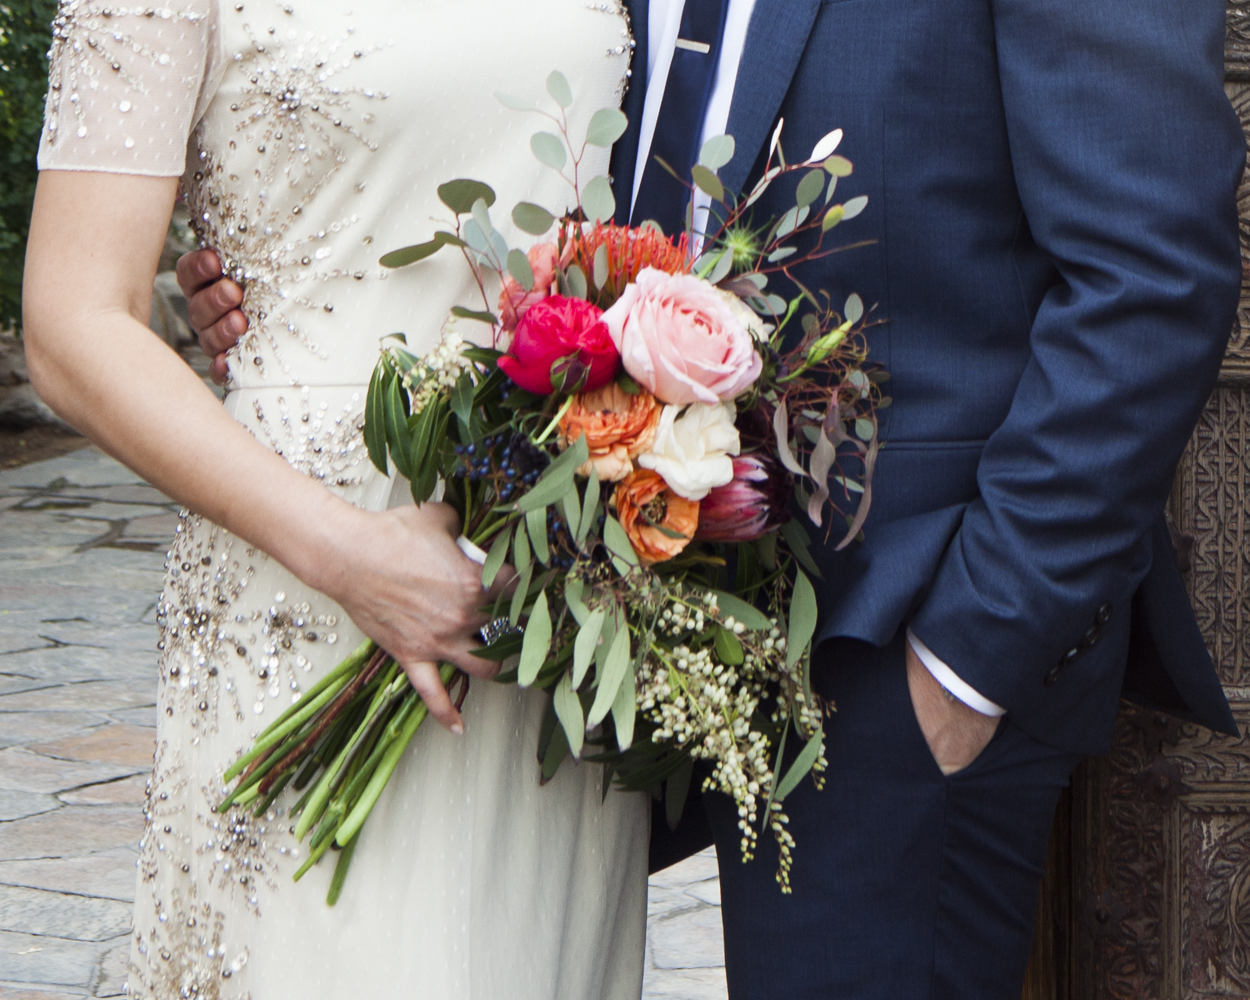
We love the look of a bare stem wedding bouquet!  It really allows the flowers to pop and have a strong presence and it is a great option whether you are using bold flowers or minimalist flowers. Today we have put together a rustic wedding bouquet that makes our eyes so happy! If you are making your own bouquet, you get to pick everything you want and we suggest going stem by stem like we did to end up with the perfect arrangement.  Happy arranging!


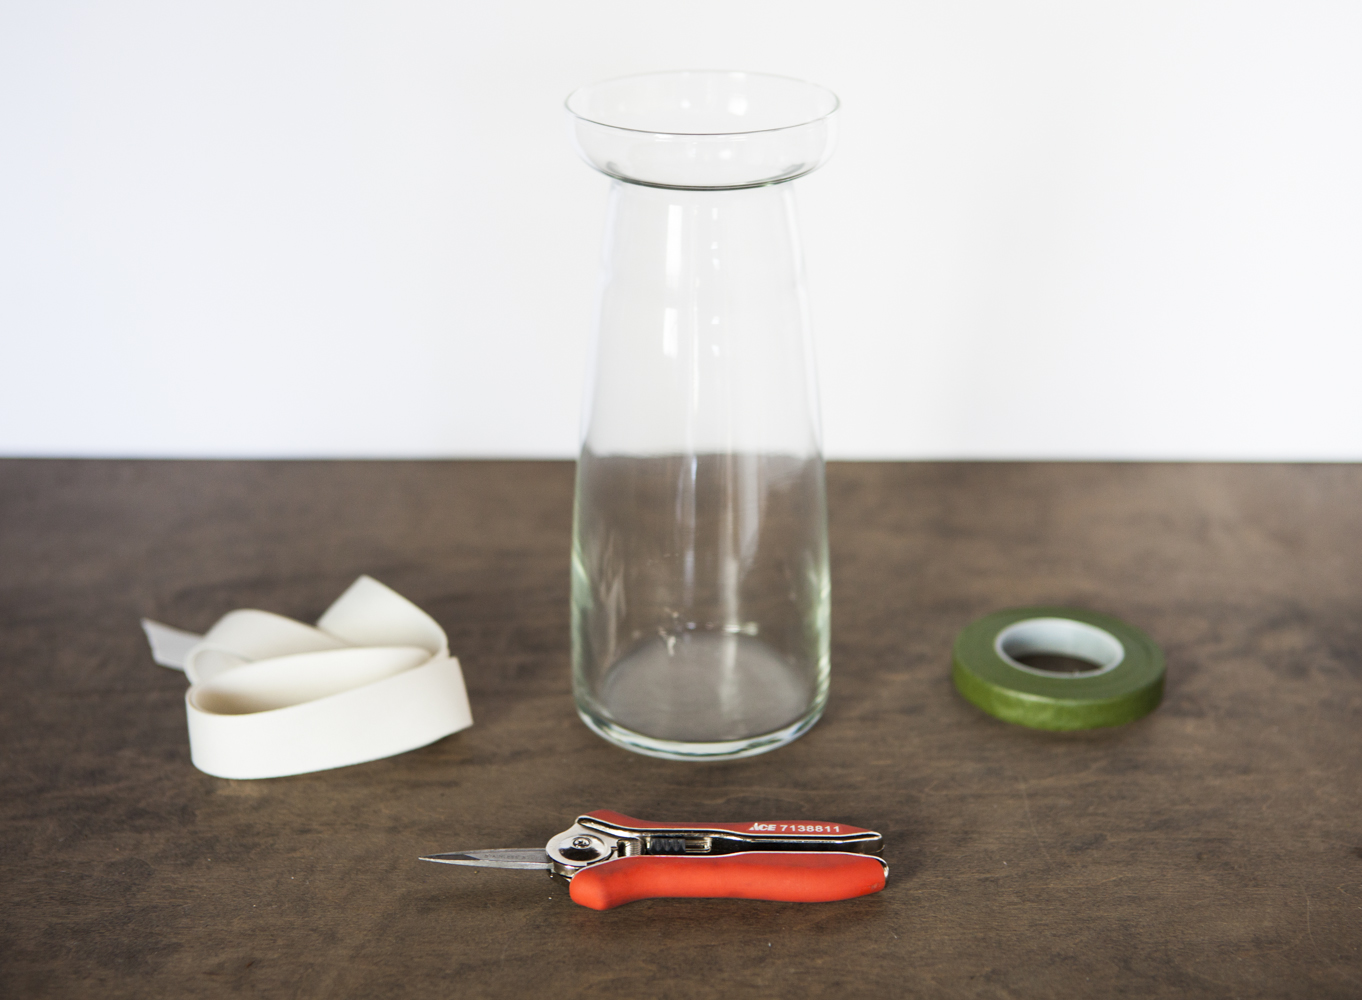
What we used :  Tall Glass Vase / Clippers / Floral Tape / Ribbon / Boutonniere Pin / Lots of Flowers
Bare Stem Rustic Wedding Bouquet Tutorial
Rustic Wedding Bouquet Ingredients
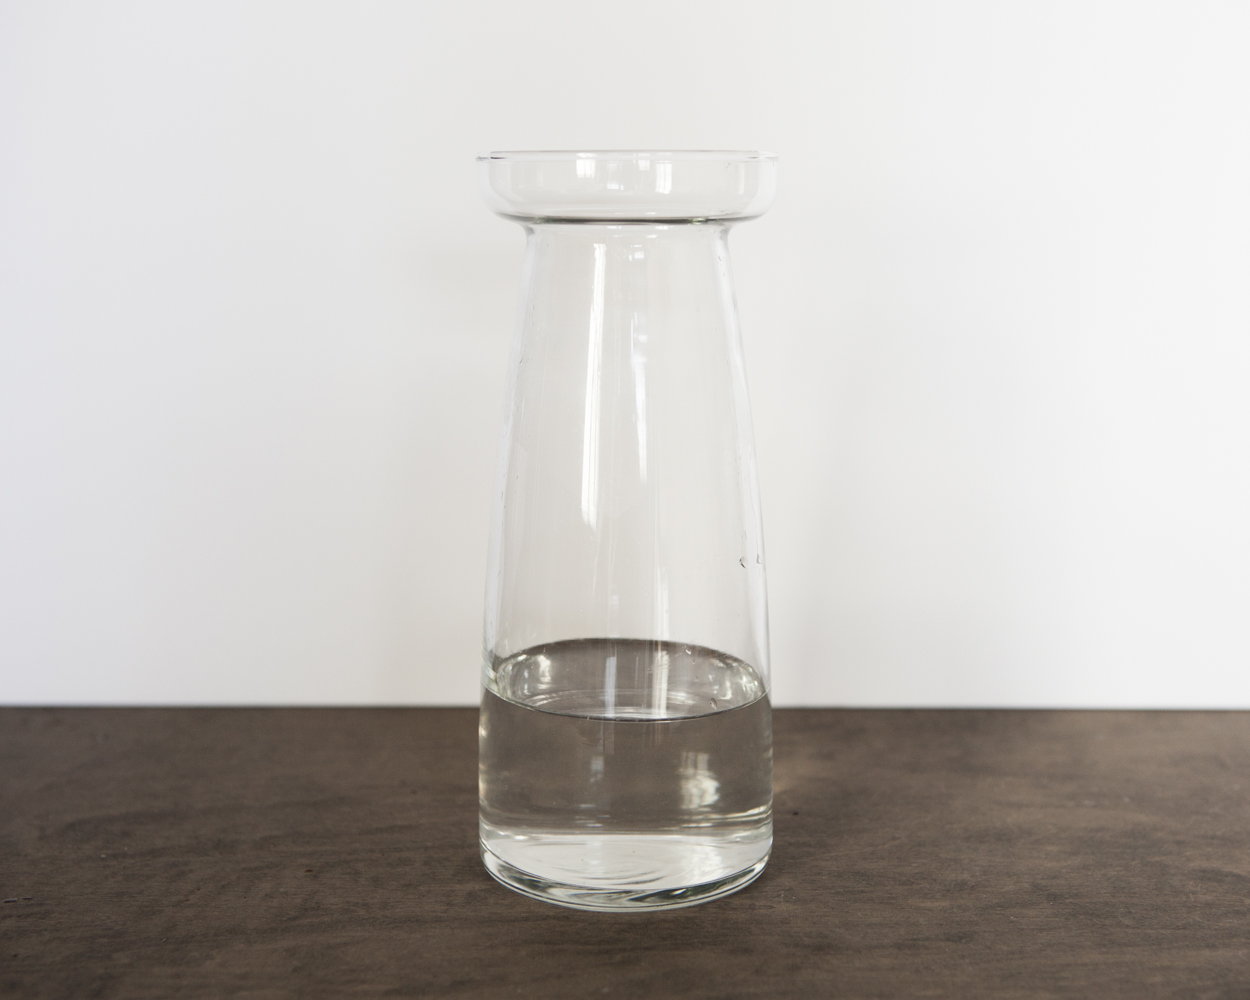
Start by filling your vase with a few inches of water so that the fresh cut stems will be happy while you work!  It is best to use a vase that has an opening that is about the same width as you want your bouquet handle to be. That way you can use it as a guide as you go.
How to Make a Bare Stem Wedding Bouquet
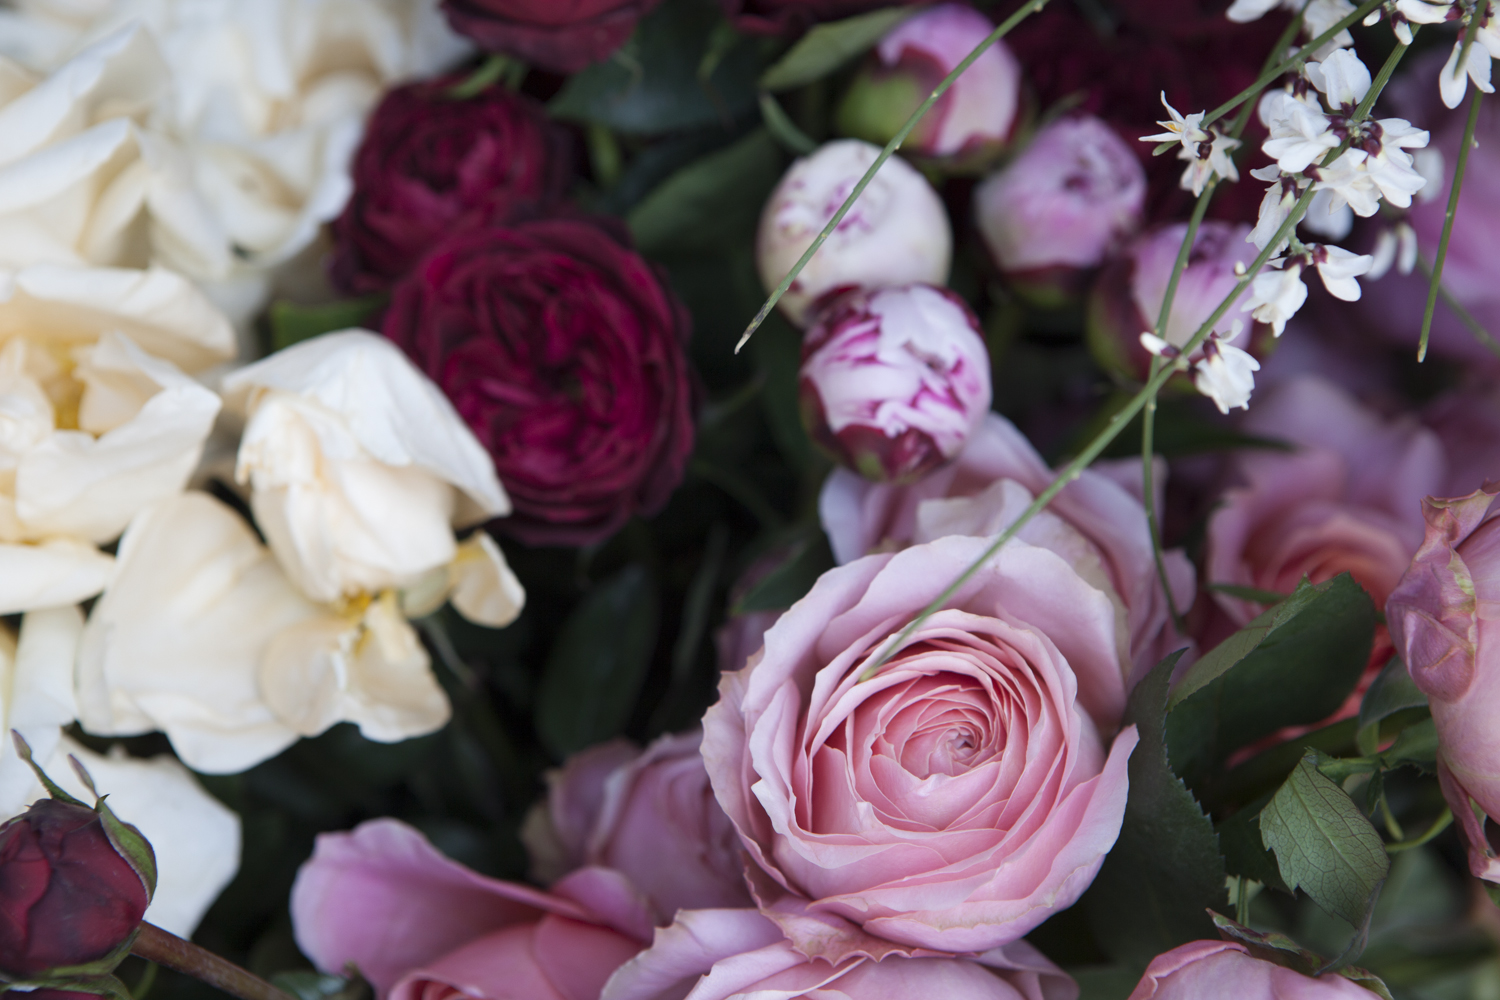
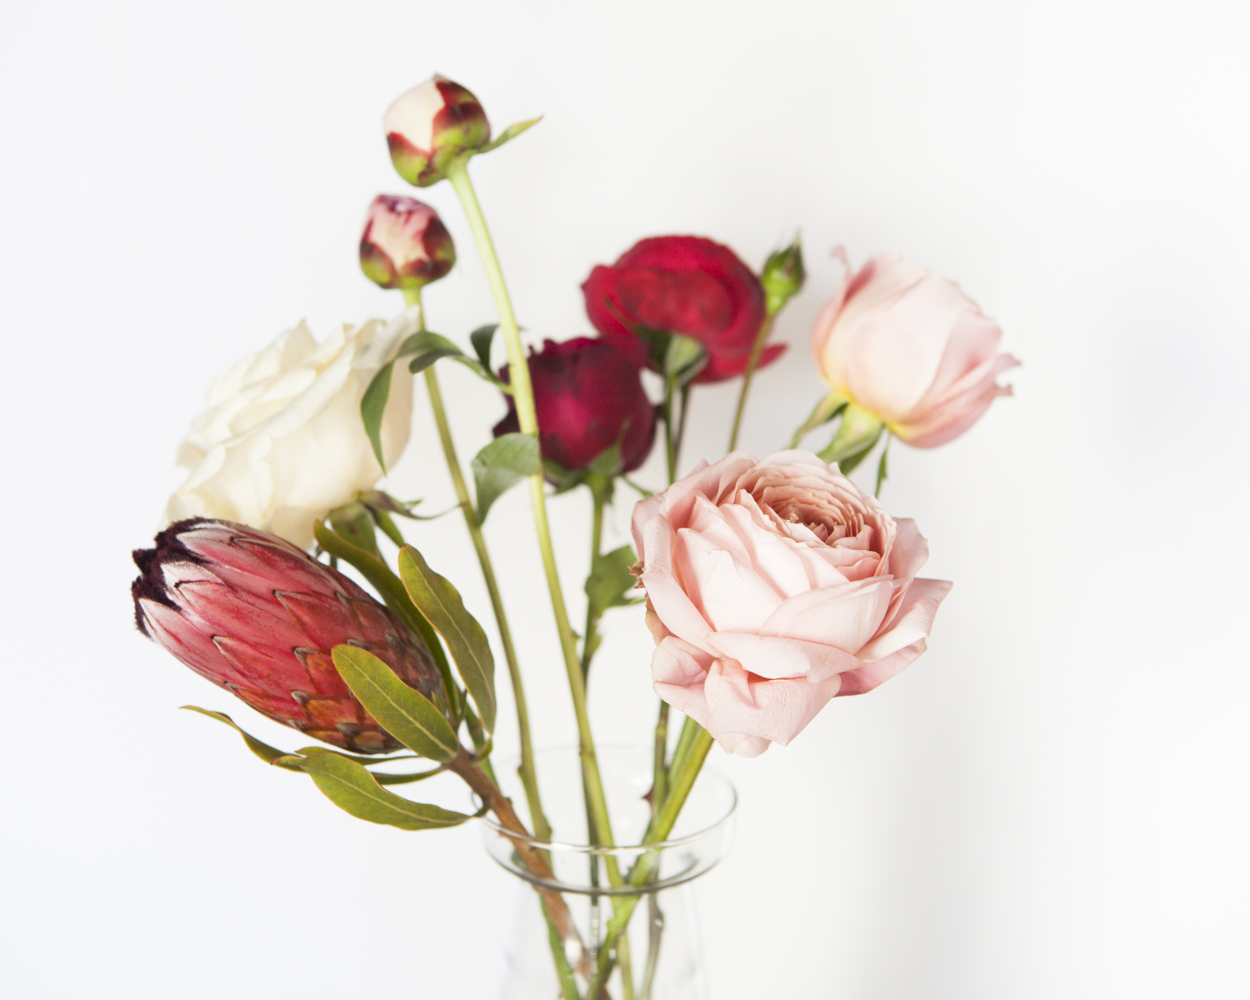
Then, starting with your base flowers, trim all leaves from each stem as you go.  Add your base flowers one by one to your vase.   You may want to lead extra length on the stems so that you have room to trim them later.
Bare Stem Rustic Wedding Bouquet Tutorial
Once you have added some of your base flowers with clean stems, you can start adding in your interest pieces.
How to Make a Bare Stem Wedding Bouquet
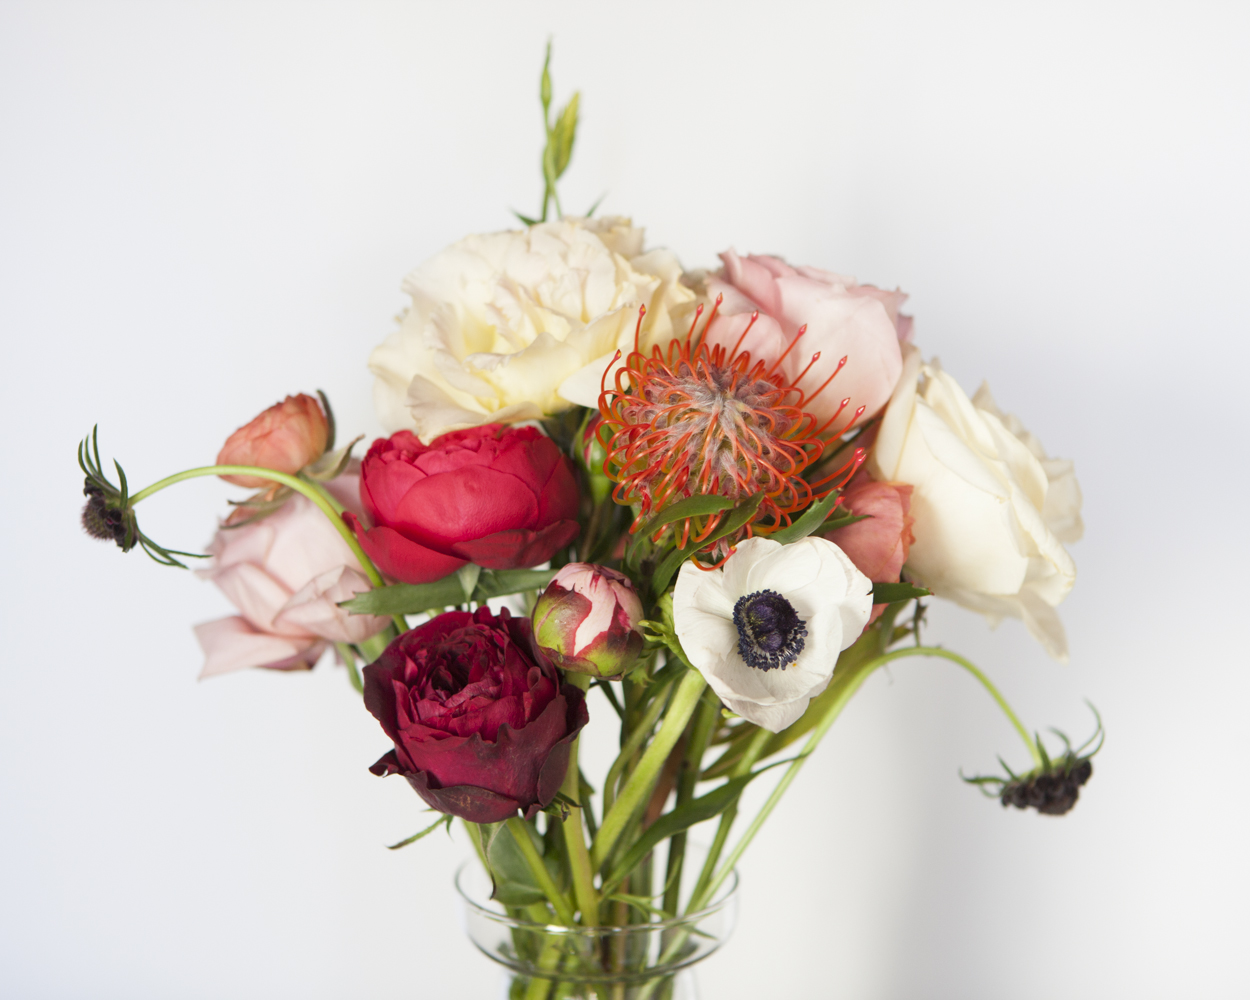
Fill in the spaces as you go, turning the vase to get an ideas of how it looks from all sides as you add stems and move them around.   You may want to trim stems once the vase starts to fill up so that the heights are correct.
How to Make a Bare Stem Wedding Bouquet
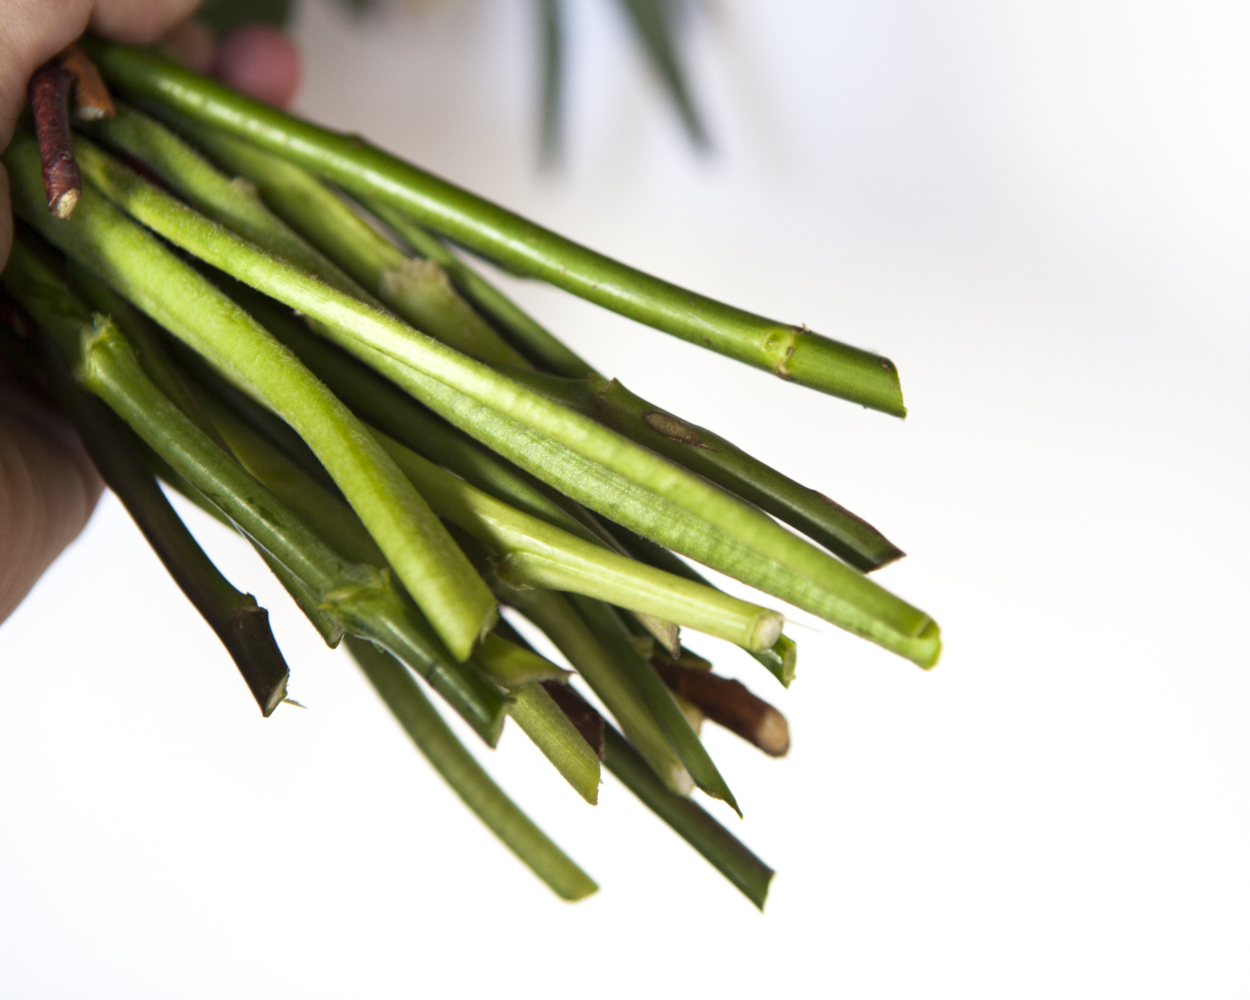
Once you get it to a place where you love the arrangements of all of the stems, grasp them stems and lift the flowers out of the vase.  Holidng the flowers tightly, trim the stems to the same length.
Bare Stem Rustic Wedding Bouquet Tutorial
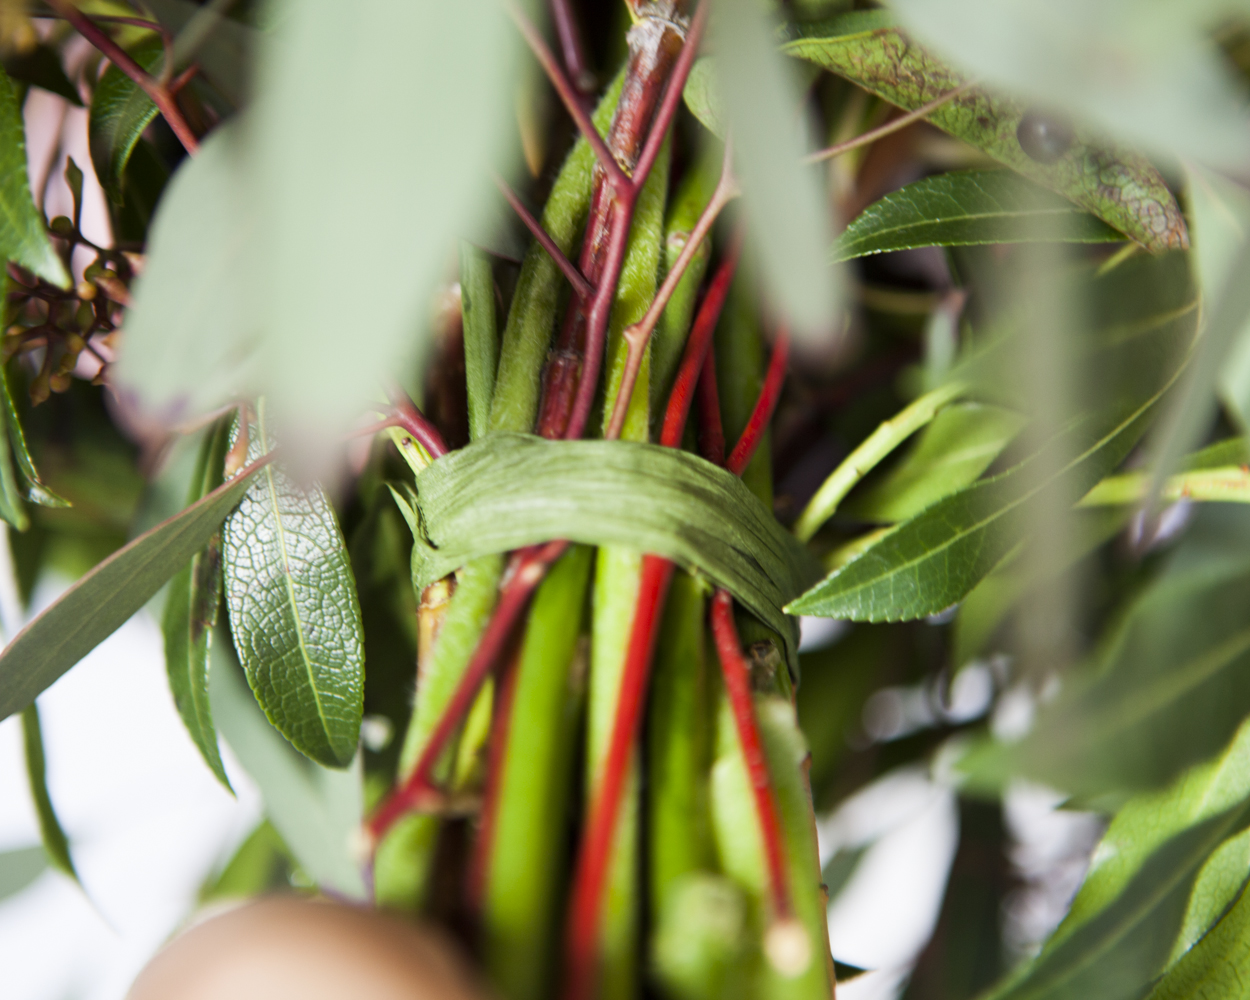
Then, take the floral tape and wrap the base of the stems very tightly multiple times.  Make sure all of them stems feel secure.
Bare Stem Rustic Wedding Bouquet Tutorial
Once the stems are secure, return the bouquet to the vase and add greenery and final flourishes like berries.  To do this, slip the stems under the floral tape.  This will add to the security of the bouquet by making the tape extra tight.
How to Make a Bare Stem Wedding Bouquet
We added some large pieces of eucalyptus at the end to give our bouquet a rustic feel.
How to Make a Bare Stem Wedding Bouquet
When your bouquet is finished, take a white ribbon and wrap the stem a couple times over the floral tape, and secure the ribbon with a pin, sinking the end of the pin into a stem. You can also tie the ribbon instead if you want to keep the ribbon long, like in the picture above. If you pin it in place it will be barely visible like the picture below. Keep the bouquet in water until you are ready to use it! When you take it out of the water for the last time, just pat the stems dry with a towel to keep you and your dress dry!
How to Make a Bare Stem Wedding Bouquet
And there you have a wedding-ready bare stem bouquet!


Bare Stem Rustic Wedding Bouquet Tutorial