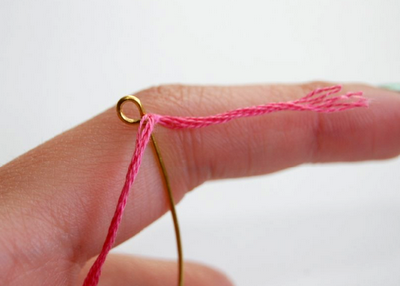
Handmade gifts are not only unique and more valuable, but they
can also be fun and relaxing to make. Yes, handmade gifts can be time
consuming to make, which is most likely why most of us choose not to
make them. However, there are many reasons to make your own gifts, many
of which will outweigh the time issue.
Here are 5 of them:
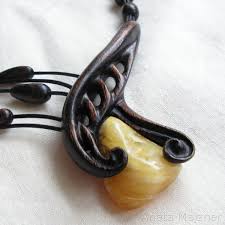
Unique. Handmade gifts are always unique. They have your personal touch - a touch that will always remind your recipients of you when they use your gift. And isn't that what you want?

Fun and Relaxing. Making handmade gifts can be fun and relaxing to make.
No matter which craft you choose, once you get going you'll find your worries and other stress begin to disappear.
Inexpensive. Ha! you might think. But, no really, handmade gifts can be inexpensive. It can be expensive when you first get started as you will need to go out and get all your tools to actually do the craft. But once you have the basic tools, all you need is the material, which in many cases is cheaper than if you were to purchase the gift.
In addition, staying home and crafting is a lot cheaper than going to the movies on Friday nights.
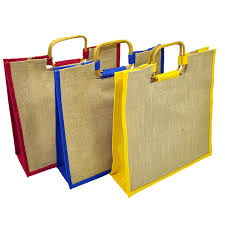
Environmentally Friendly. Making your own gifts can help to save the environment. How you might ask? Because when you make things at home, you are not utilizing large machines that require a lot of energy. You are using your own energy to make the item with your hands. Thus, the need for huge factories is eliminated.

Says You Care. Last but not least, there is nothing that says you care like a handmade gift. Time is the most precious gift that we have today. Simply put, time is money. And by taking the time to make something unique tells the recipient they were important enough for you to take the time and make something for them.
If you need some ideas and want to see how our users did it than visit www.mymisi.com
Here are 5 of them:
Unique. Handmade gifts are always unique. They have your personal touch - a touch that will always remind your recipients of you when they use your gift. And isn't that what you want?
Fun and Relaxing. Making handmade gifts can be fun and relaxing to make.
No matter which craft you choose, once you get going you'll find your worries and other stress begin to disappear.
Inexpensive. Ha! you might think. But, no really, handmade gifts can be inexpensive. It can be expensive when you first get started as you will need to go out and get all your tools to actually do the craft. But once you have the basic tools, all you need is the material, which in many cases is cheaper than if you were to purchase the gift.
In addition, staying home and crafting is a lot cheaper than going to the movies on Friday nights.
Environmentally Friendly. Making your own gifts can help to save the environment. How you might ask? Because when you make things at home, you are not utilizing large machines that require a lot of energy. You are using your own energy to make the item with your hands. Thus, the need for huge factories is eliminated.
Says You Care. Last but not least, there is nothing that says you care like a handmade gift. Time is the most precious gift that we have today. Simply put, time is money. And by taking the time to make something unique tells the recipient they were important enough for you to take the time and make something for them.
If you need some ideas and want to see how our users did it than visit www.mymisi.com