Pages

Showing posts with label flowers. Show all posts

Wednesday, March 26, 2014

DIY ~ How To Make a Bare Stem Rustic Wedding Bouquet


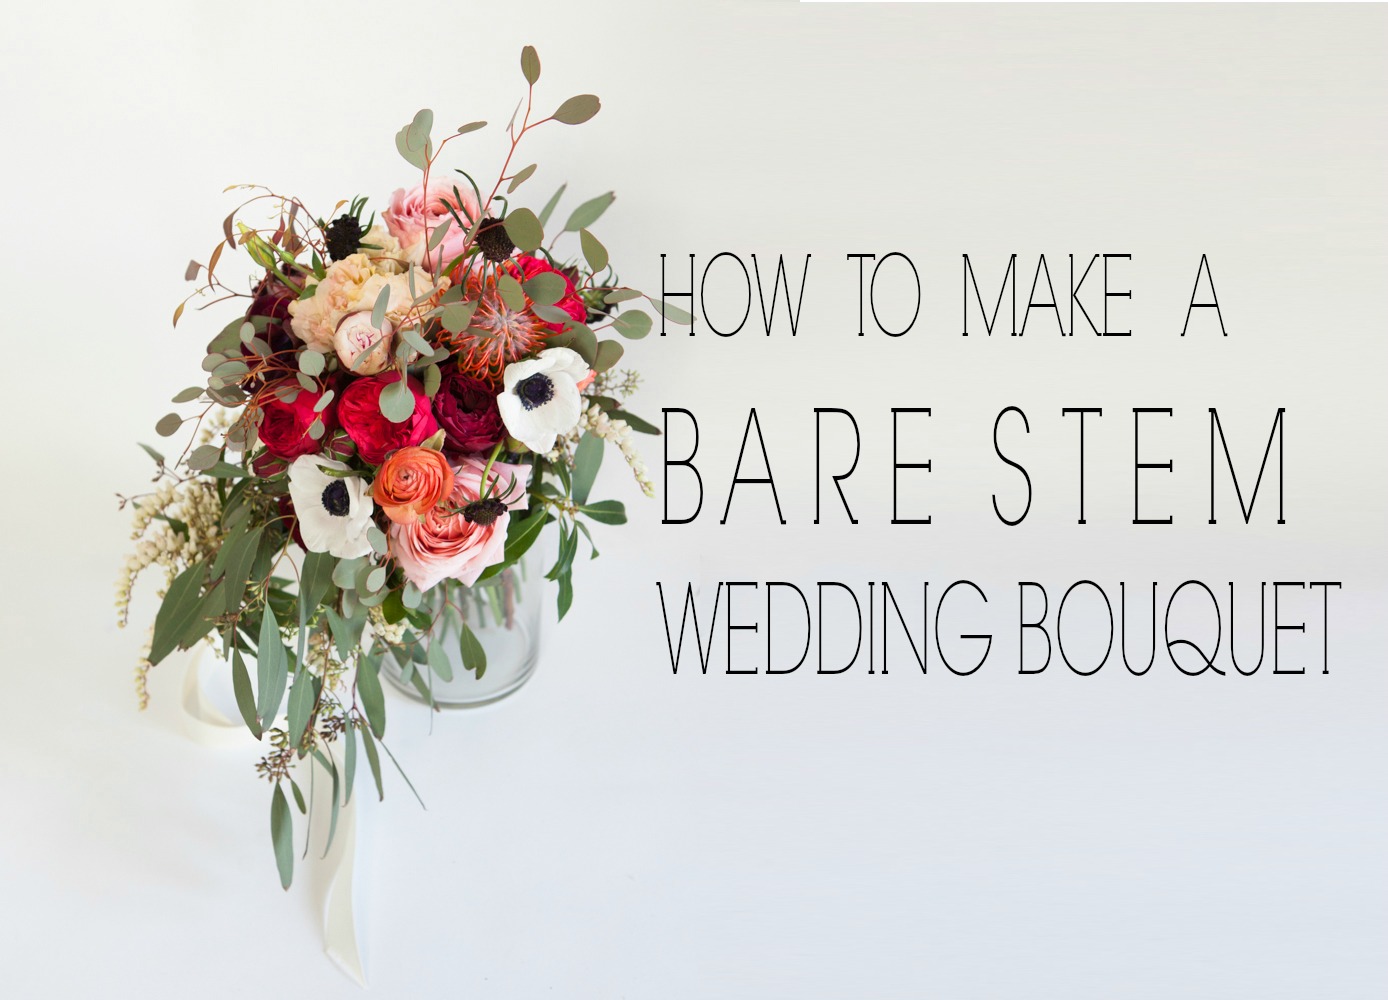
How to Make a Bare Stem Wedding Bouquet
We love the look of a bare stem wedding bouquet!  It really allows the flowers to pop and have a strong presence and it is a great option whether you are using bold flowers or minimalist flowers. Today we have put together a rustic wedding bouquet that makes our eyes so happy! If you are making your own bouquet, you get to pick everything you want and we suggest going stem by stem like we did to end up with the perfect arrangement.  Happy arranging!


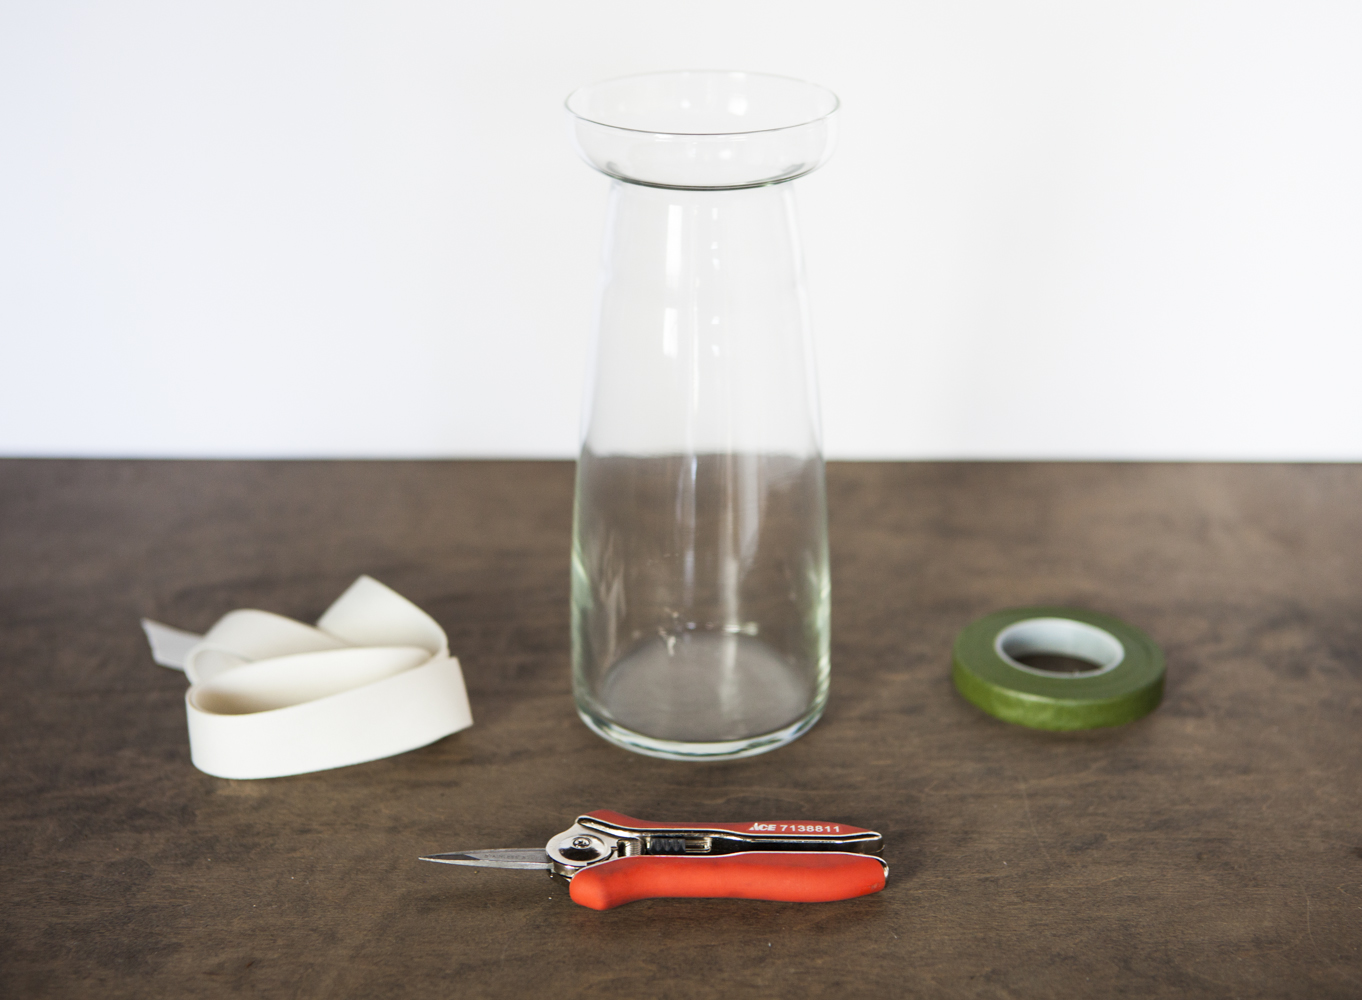
What we used :  Tall Glass Vase / Clippers / Floral Tape / Ribbon / Boutonniere Pin / Lots of Flowers
Bare Stem Rustic Wedding Bouquet Tutorial
Rustic Wedding Bouquet Ingredients
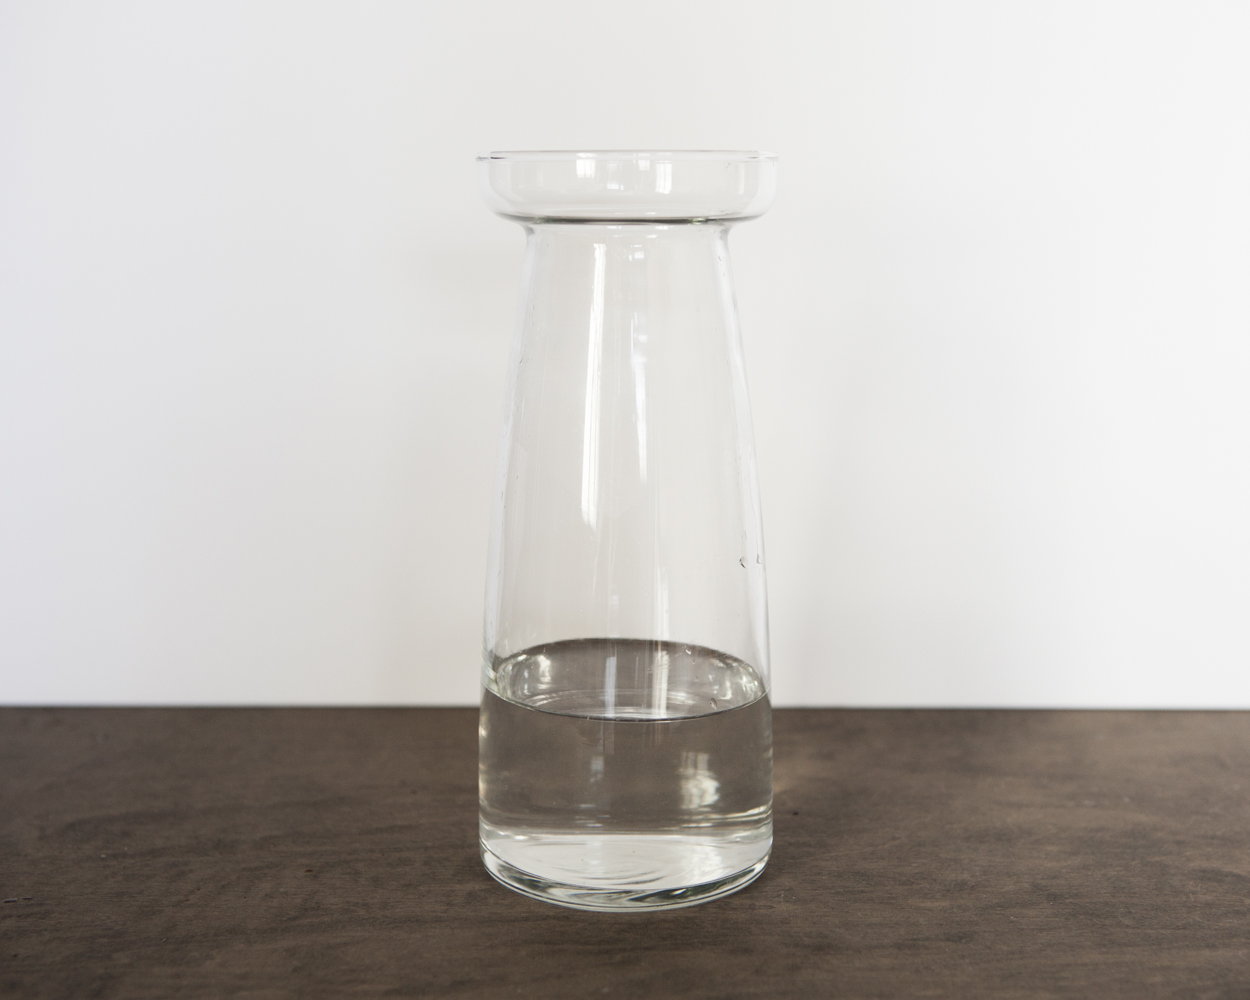
Start by filling your vase with a few inches of water so that the fresh cut stems will be happy while you work!  It is best to use a vase that has an opening that is about the same width as you want your bouquet handle to be. That way you can use it as a guide as you go.
How to Make a Bare Stem Wedding Bouquet
Then, starting with your base flowers, trim all leaves from each stem as you go.  Add your base flowers one by one to your vase.   You may want to lead extra length on the stems so that you have room to trim them later.
Bare Stem Rustic Wedding Bouquet Tutorial
Once you have added some of your base flowers with clean stems, you can start adding in your interest pieces.
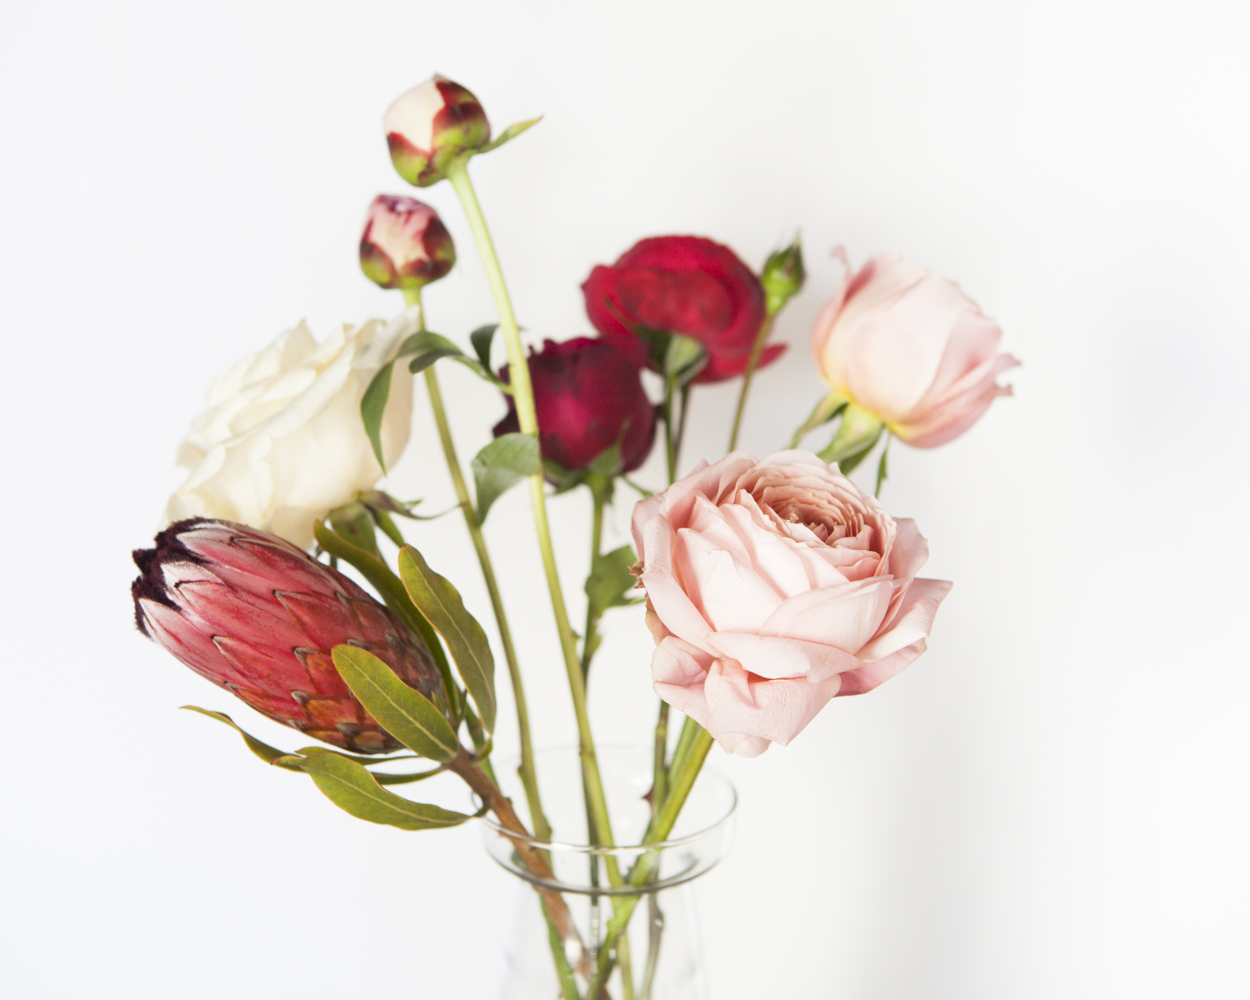
How to Make a Bare Stem Wedding Bouquet
Fill in the spaces as you go, turning the vase to get an ideas of how it looks from all sides as you add stems and move them around.   You may want to trim stems once the vase starts to fill up so that the heights are correct.
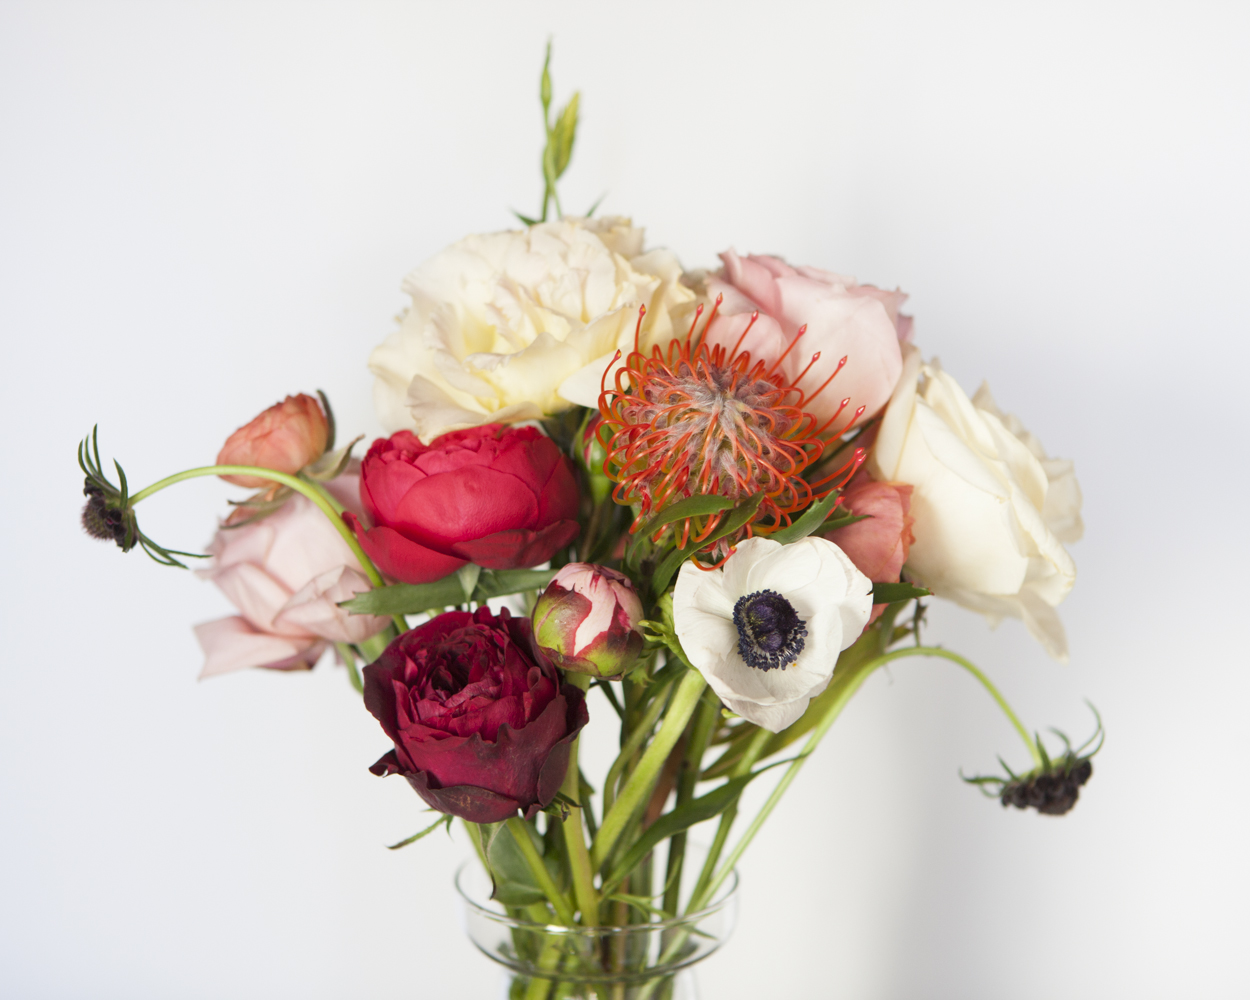
How to Make a Bare Stem Wedding Bouquet
Once you get it to a place where you love the arrangements of all of the stems, grasp them stems and lift the flowers out of the vase.  Holidng the flowers tightly, trim the stems to the same length.
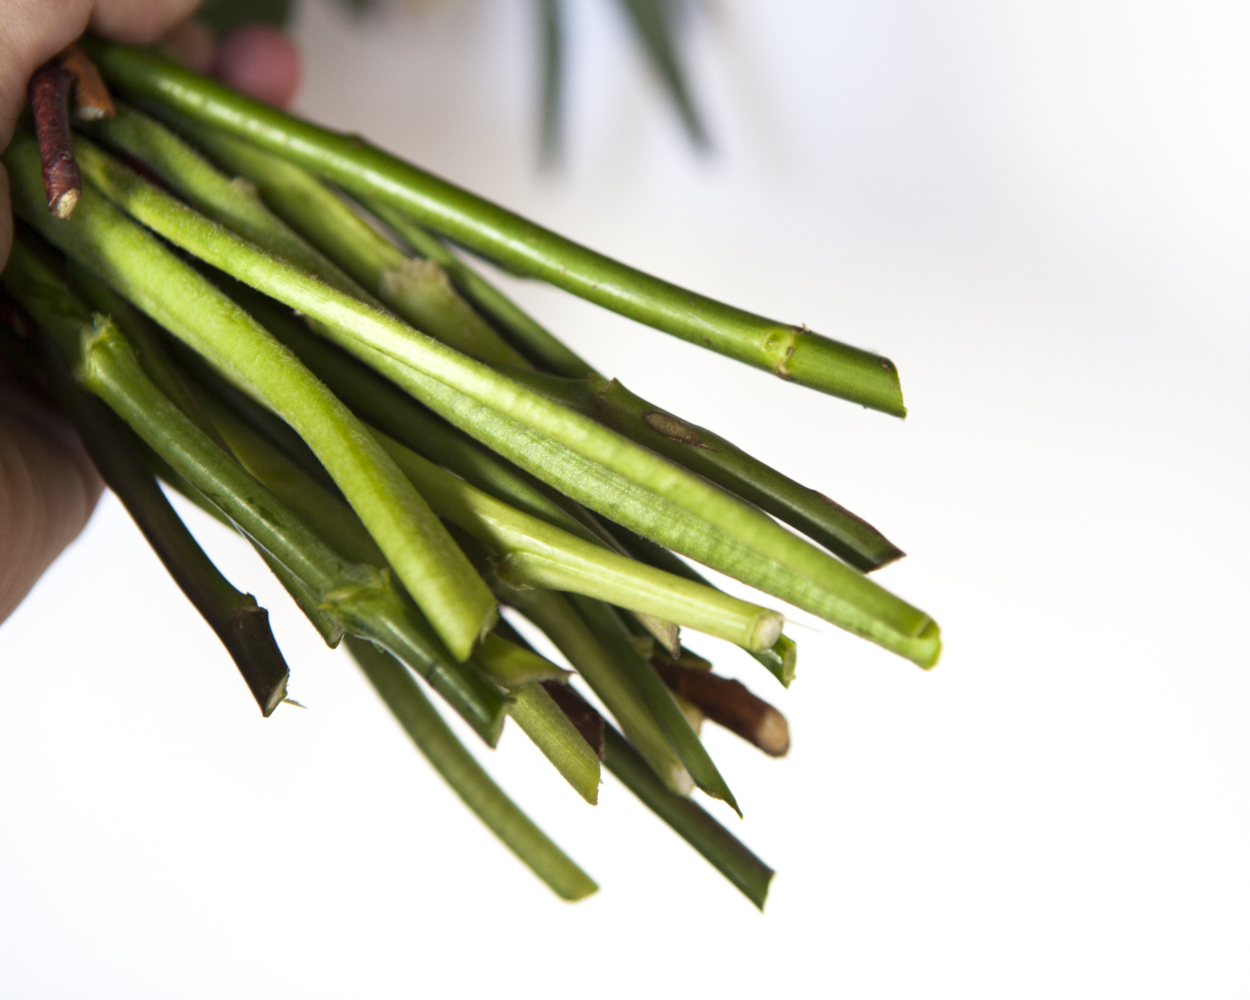
Bare Stem Rustic Wedding Bouquet Tutorial
Then, take the floral tape and wrap the base of the stems very tightly multiple times.  Make sure all of them stems feel secure.
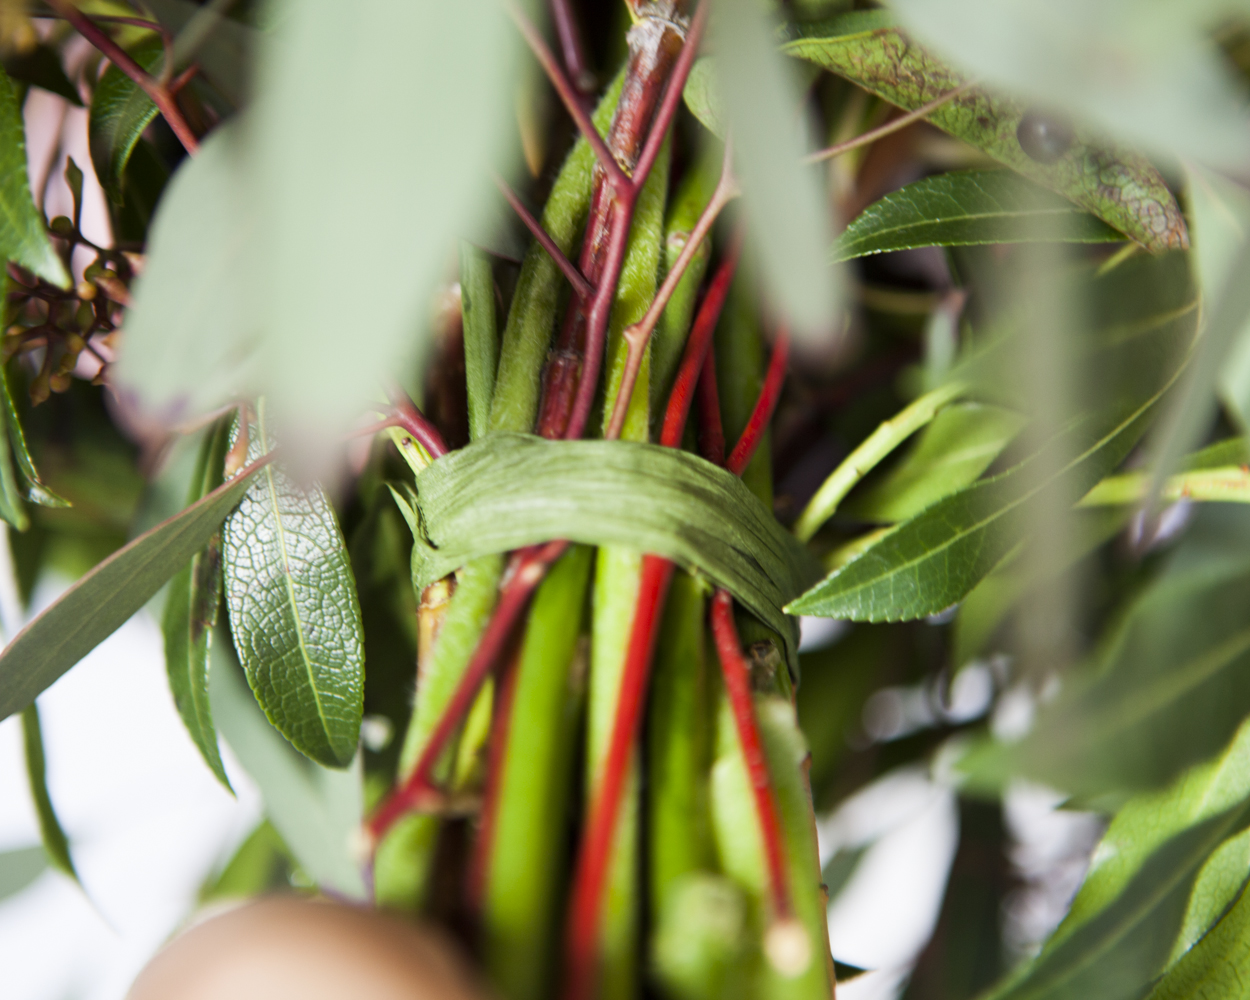
Bare Stem Rustic Wedding Bouquet Tutorial
Once the stems are secure, return the bouquet to the vase and add greenery and final flourishes like berries.  To do this, slip the stems under the floral tape.  This will add to the security of the bouquet by making the tape extra tight.
How to Make a Bare Stem Wedding Bouquet
We added some large pieces of eucalyptus at the end to give our bouquet a rustic feel.
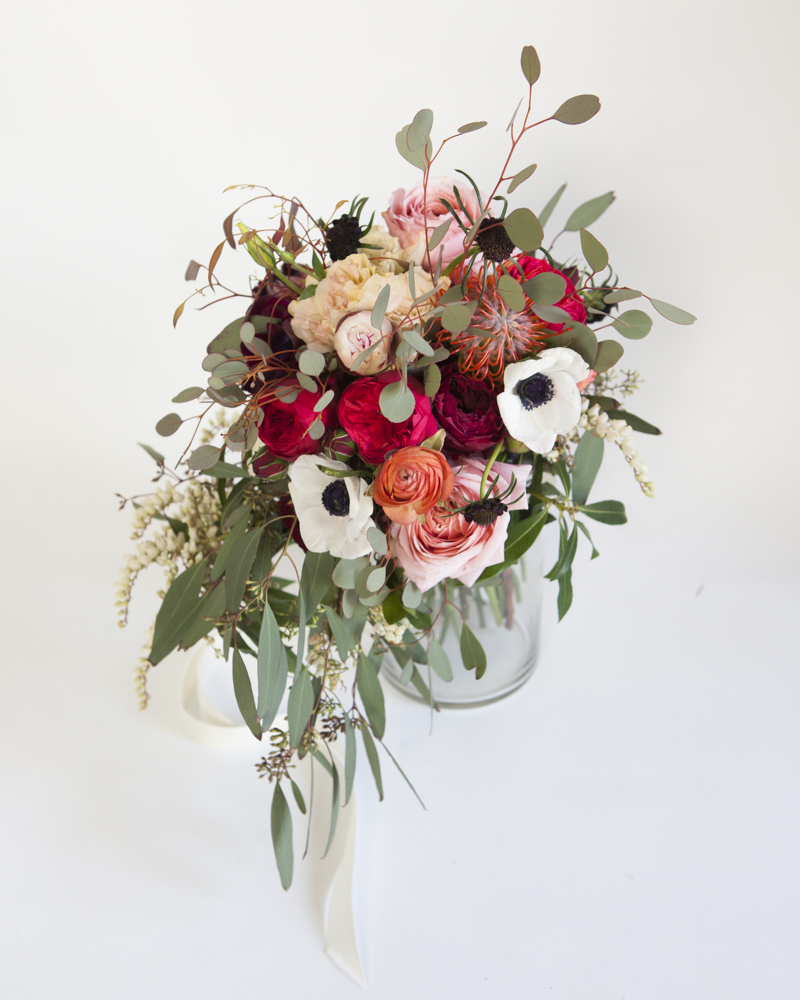
How to Make a Bare Stem Wedding Bouquet
When your bouquet is finished, take a white ribbon and wrap the stem a couple times over the floral tape, and secure the ribbon with a pin, sinking the end of the pin into a stem. You can also tie the ribbon instead if you want to keep the ribbon long, like in the picture above. If you pin it in place it will be barely visible like the picture below. Keep the bouquet in water until you are ready to use it! When you take it out of the water for the last time, just pat the stems dry with a towel to keep you and your dress dry!
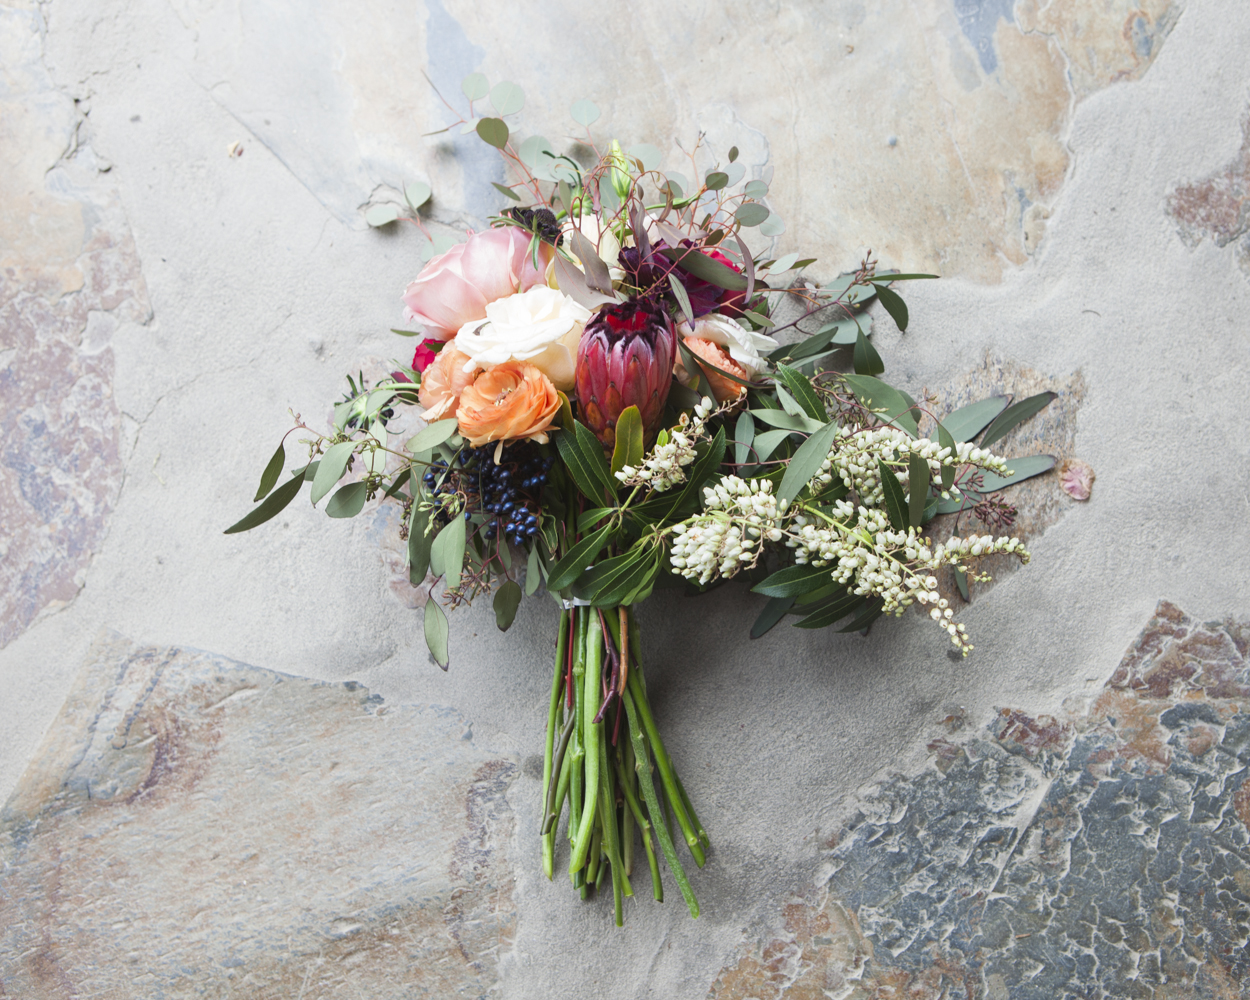
How to Make a Bare Stem Wedding Bouquet
And there you have a wedding-ready bare stem bouquet!
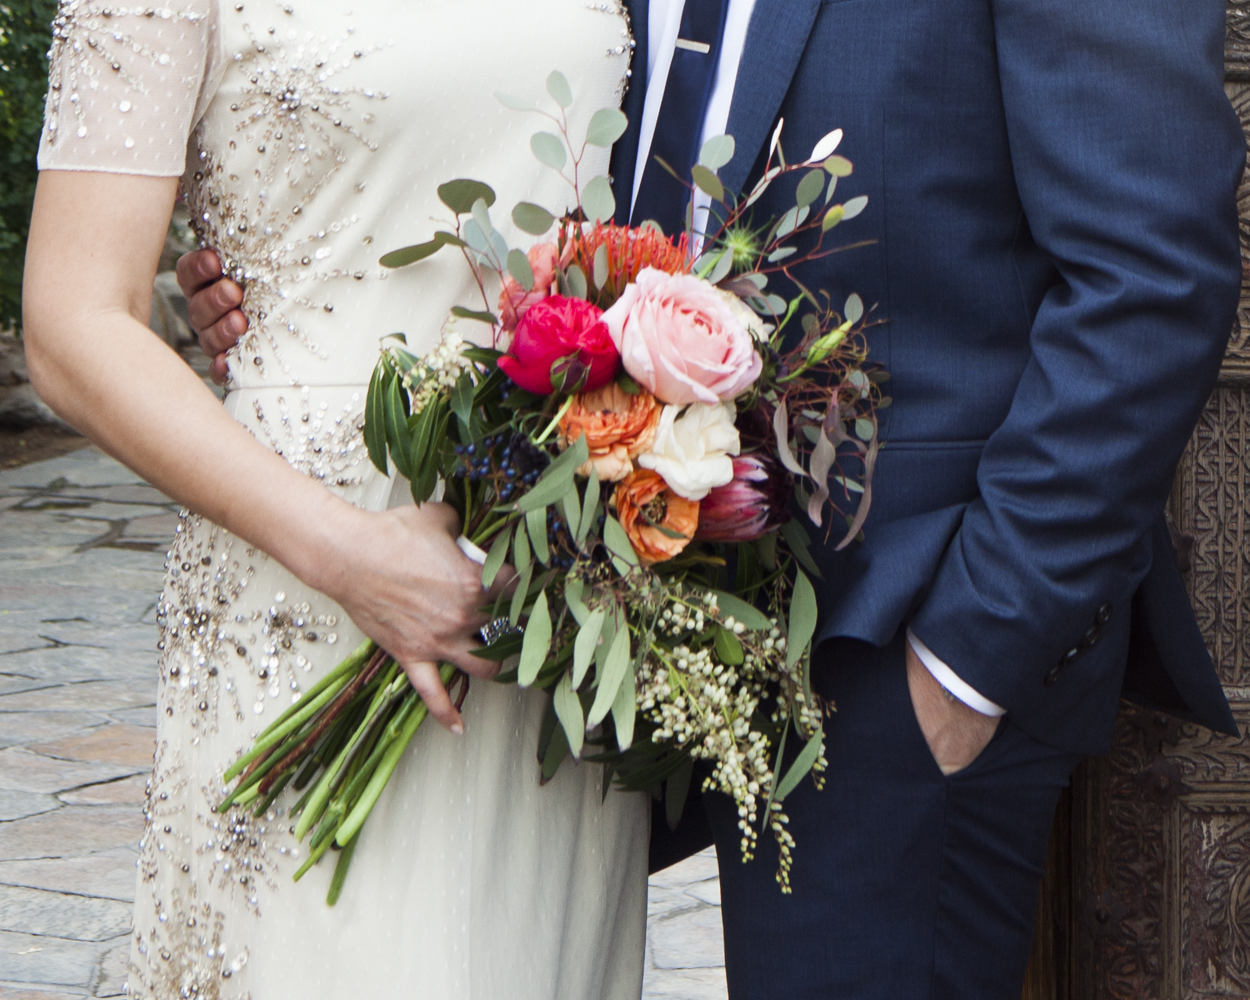

Bare Stem Rustic Wedding Bouquet Tutorial

Monday, March 10, 2014

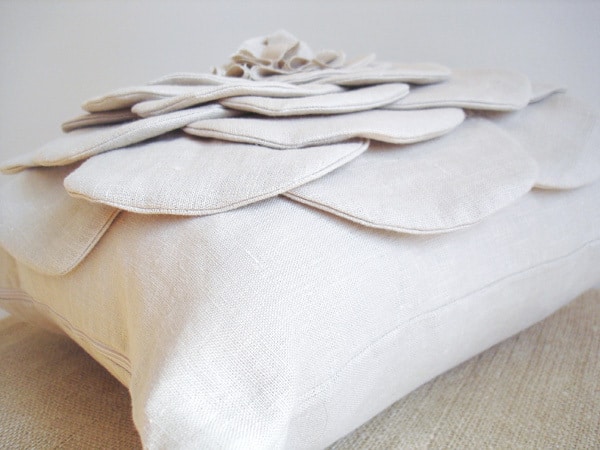
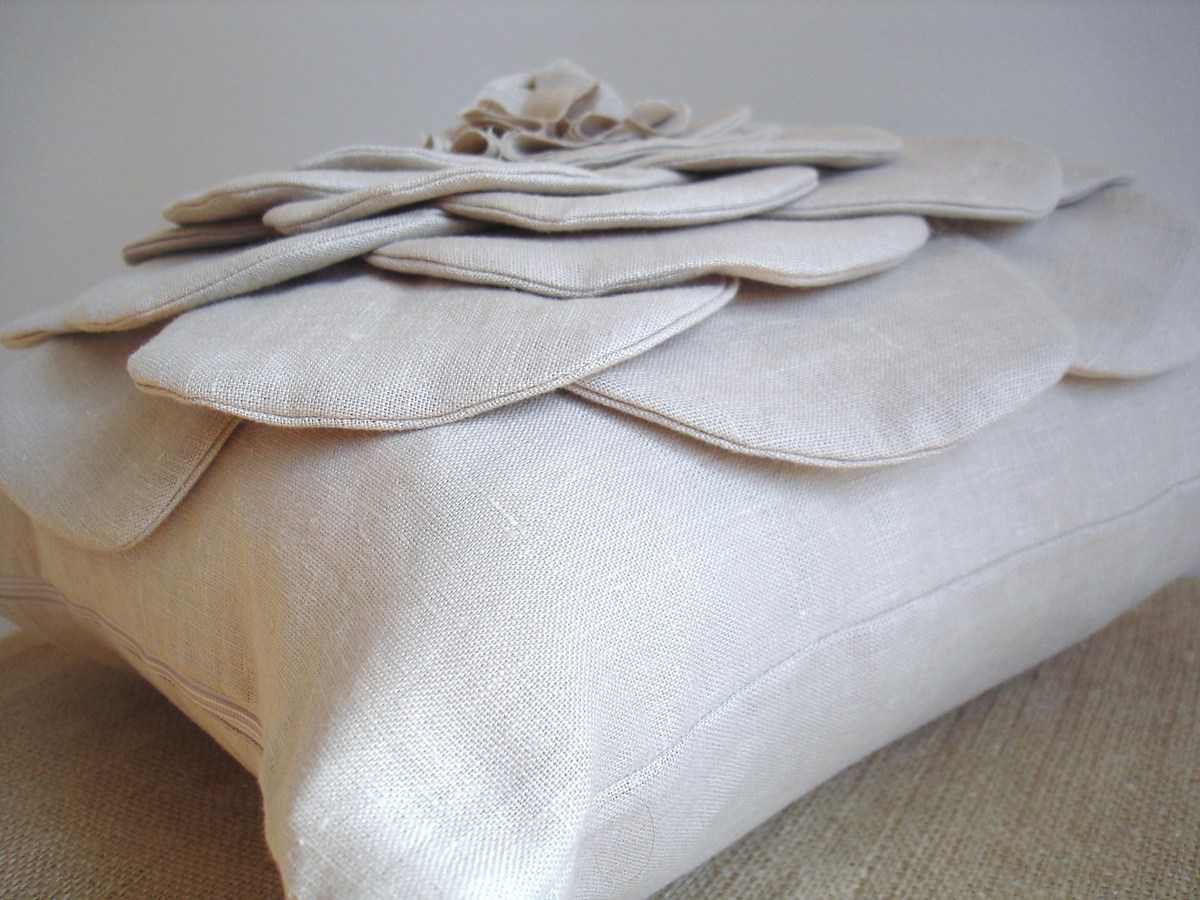
DIY ~ Flower Pillow for Mother's Day

This is truly unique and unconventional way to give flowers to your mother!

DSC020351 shabby flower pillow (a tutorial)

Supplies Needed:
fabric (linen here)
sewing machine
zipper (if desired)

Step 1:

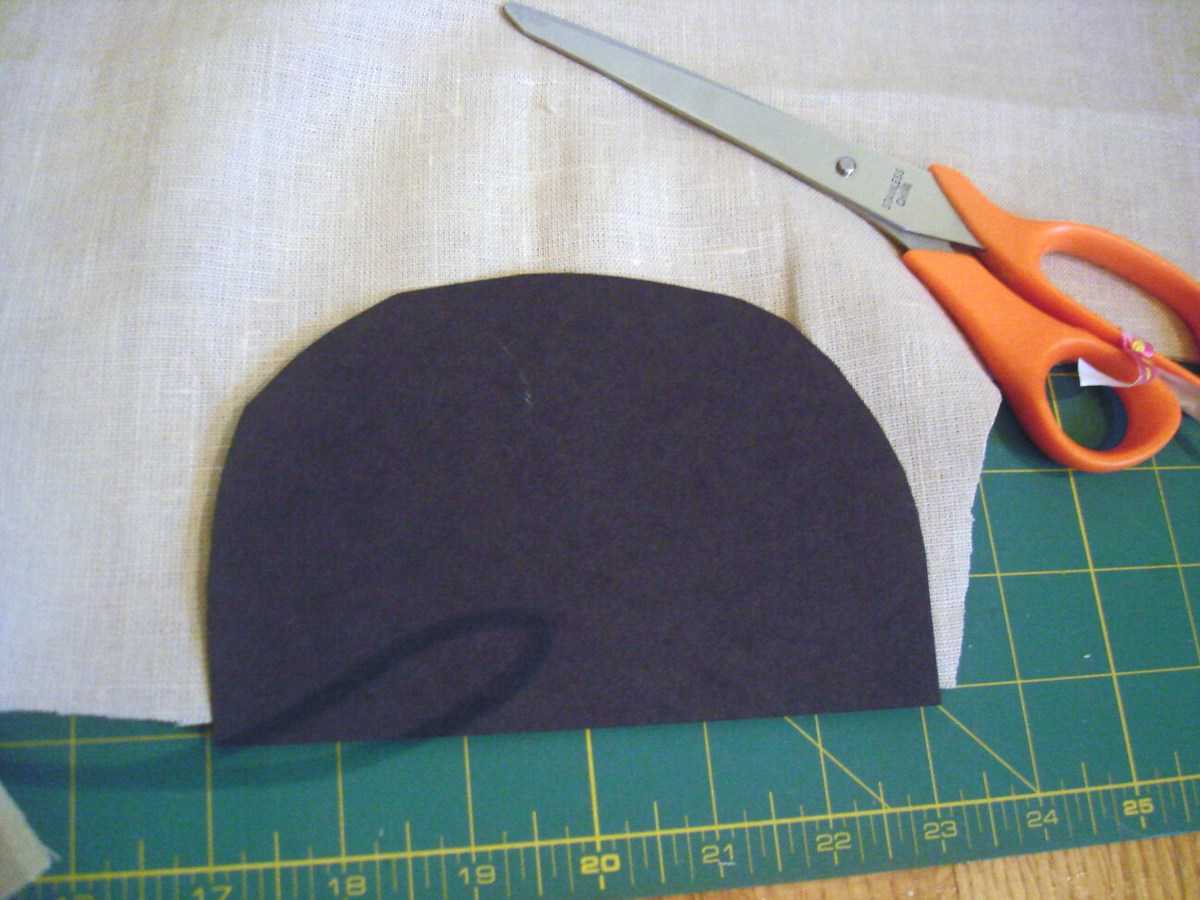
Create your “petals”. 
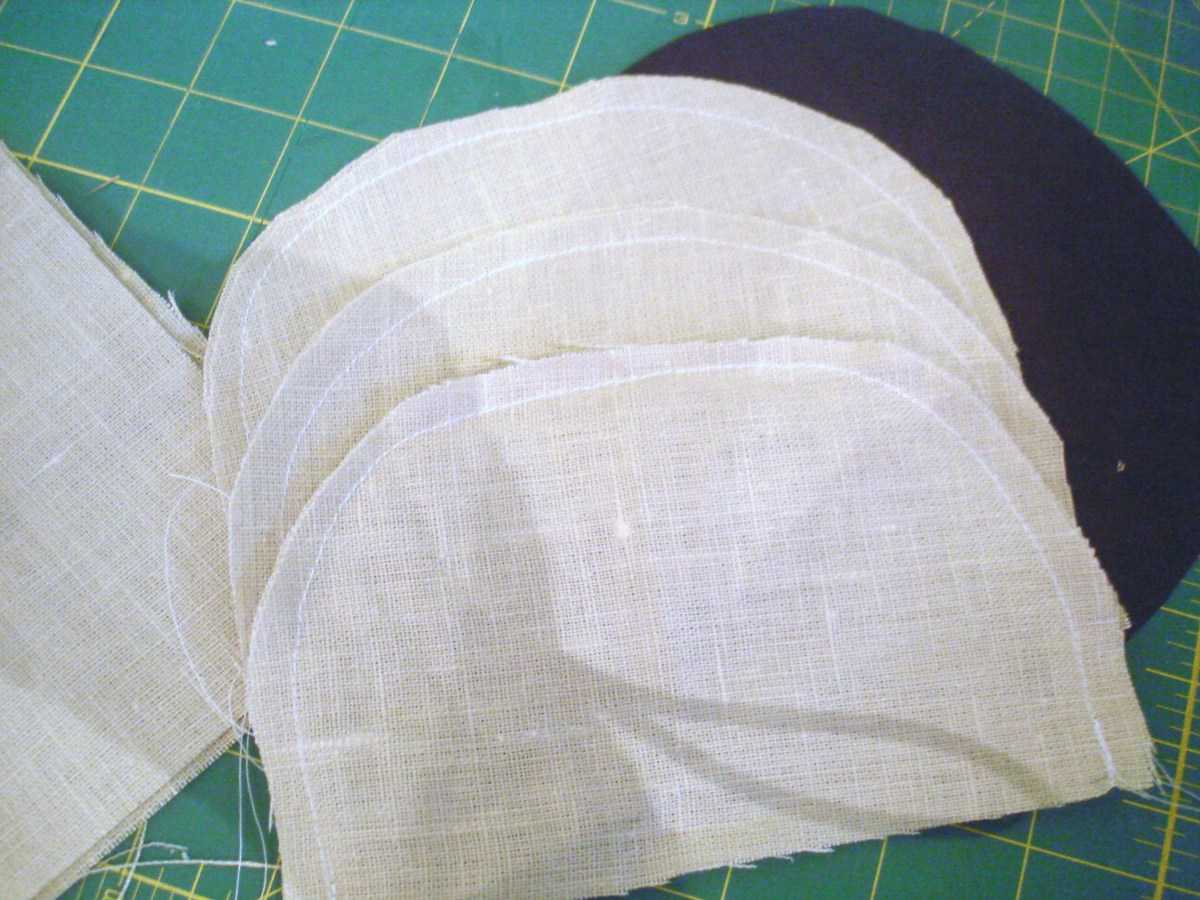
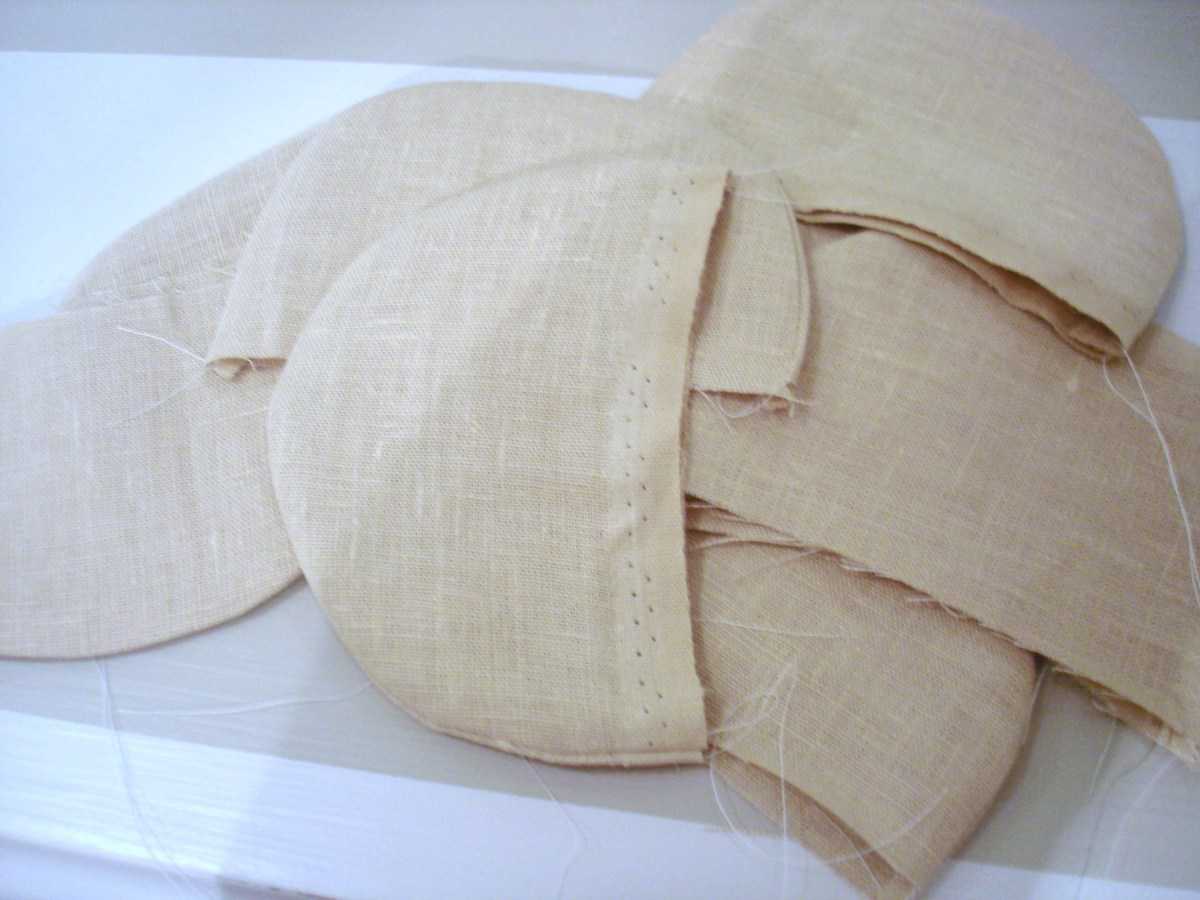
Cut out a half-circle template out of cardstock. Place on a double layer of fabric and cut. Take your two layers of fabric and stitch around the curve.

DSC01996 300x225 shabby flower pillow (a tutorial)DSC01997 300x225 shabby flower pillow (a tutorial)
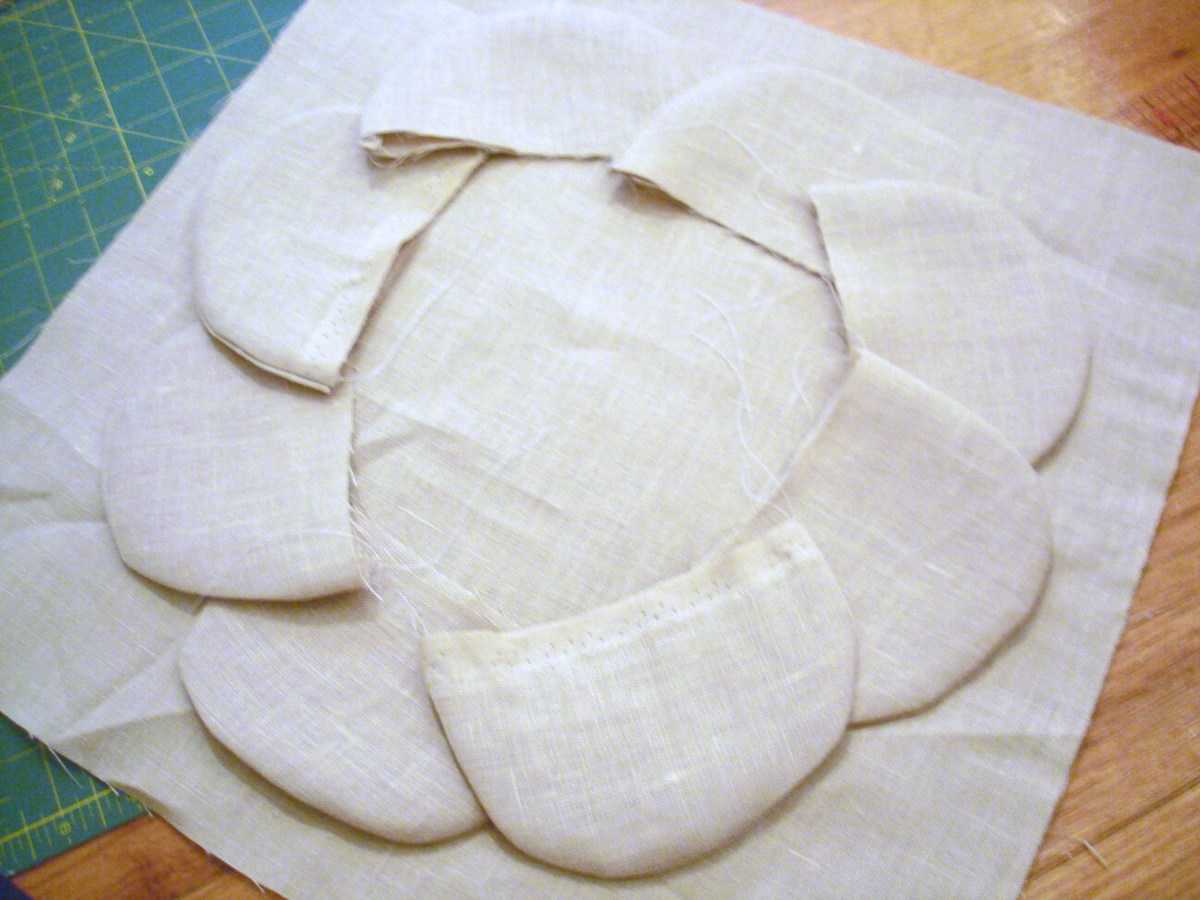
Step 2: Take sew petals and turn inside out. Press flat. Take petals and arrange your first layer on your pillow fabric.
DSC02000 300x225 shabby flower pillow (a tutorial)DSC02002 300x225 shabby flower pillow (a tutorial)
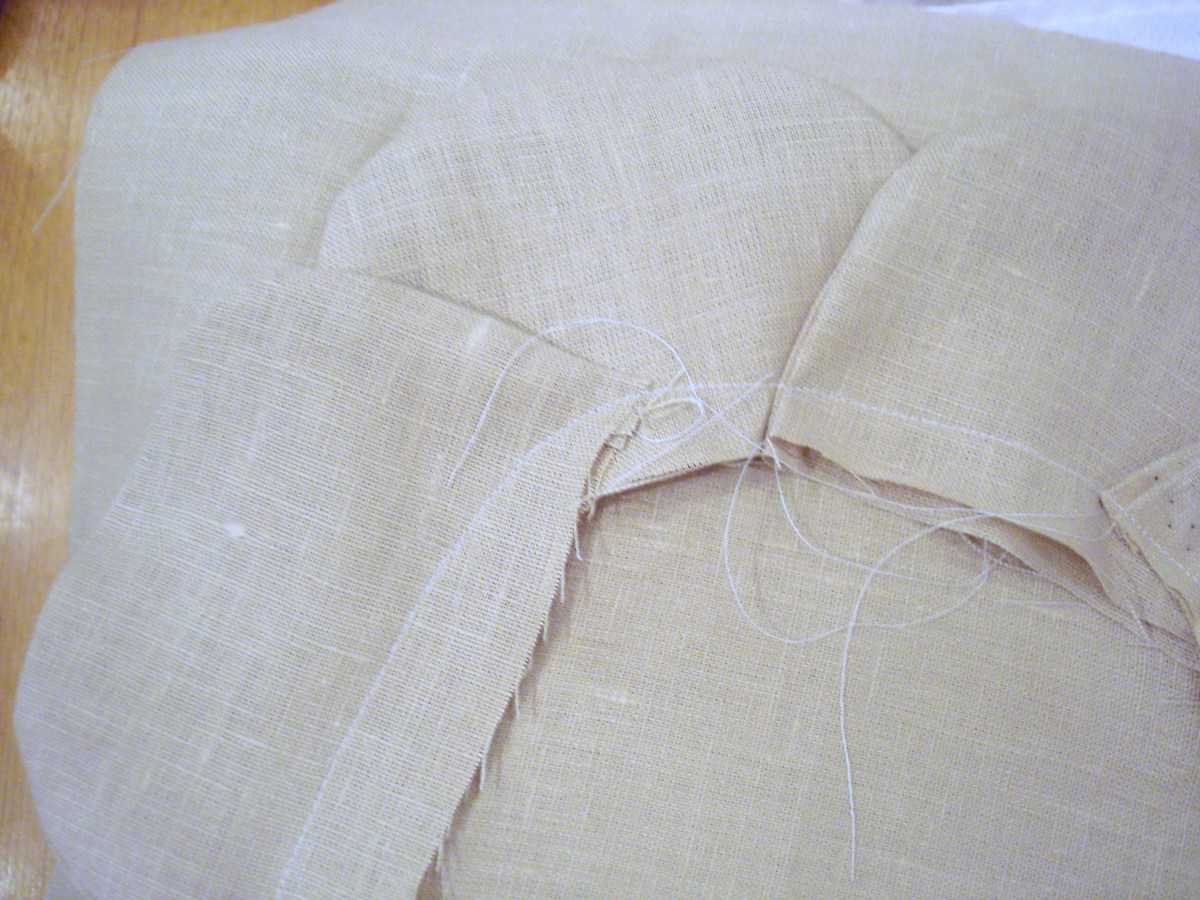
Step 3: Stitch petals down to fabric. Repeat for second layer of petals.
DSC02003 300x225 shabby flower pillow (a tutorial)DSC02004 300x225 shabby flower pillow (a tutorial)
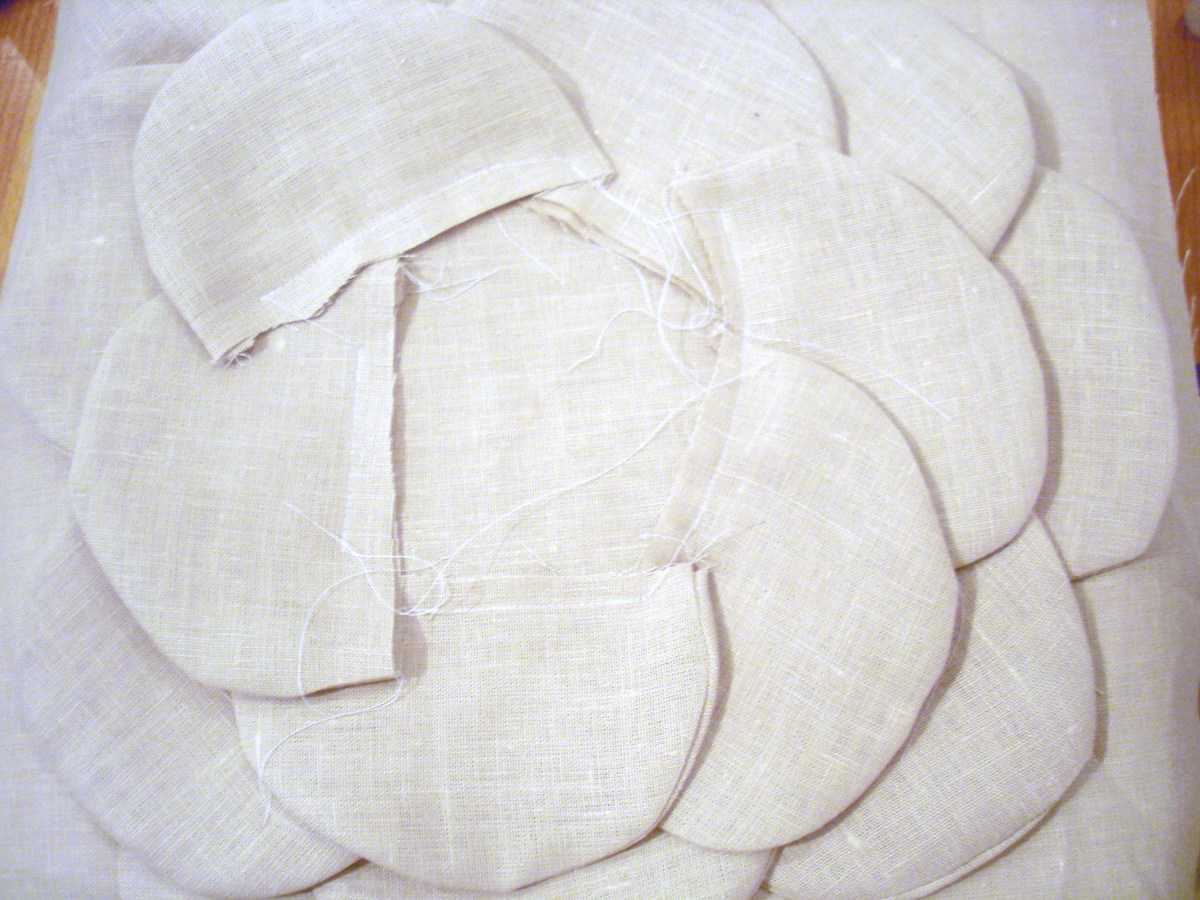
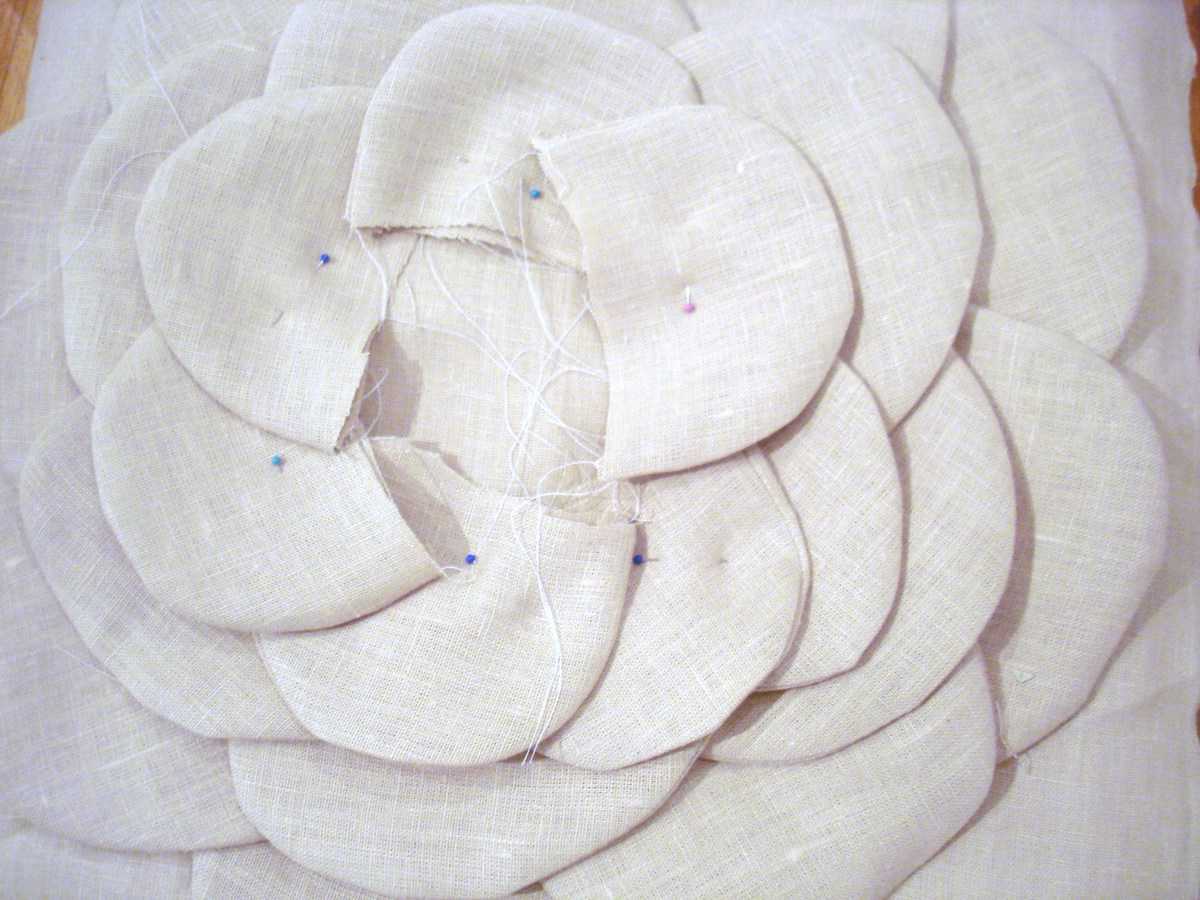
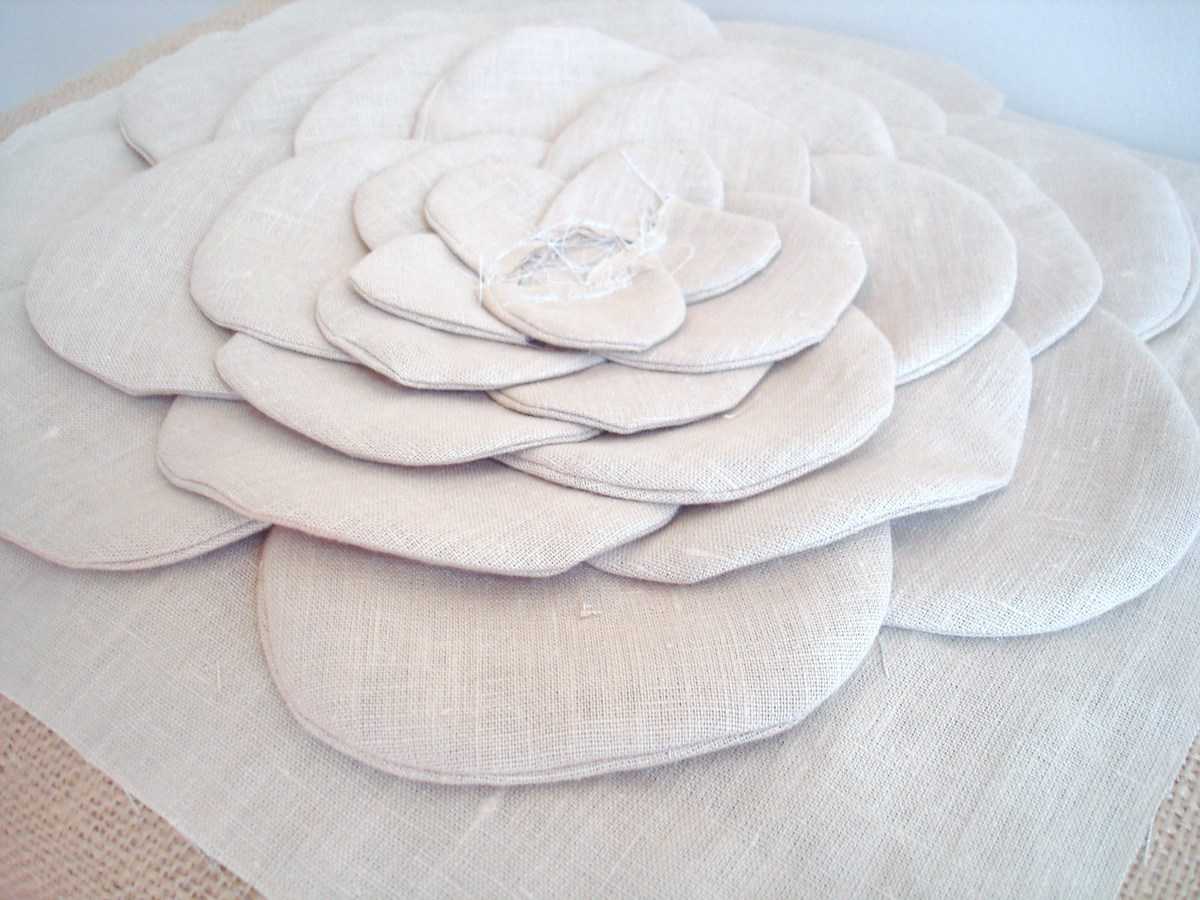
Step 4: Continue creating petals and attaching them to pillow front. Here we did 5 layers total, and, for layers 2-4, we cut down the template and made the petals slightly smaller. Then cut down the template further for the fifth and final layer.
DSC02011 300x225 shabby flower pillow (a tutorial)DSC02019 300x225 shabby flower pillow (a tutorial)
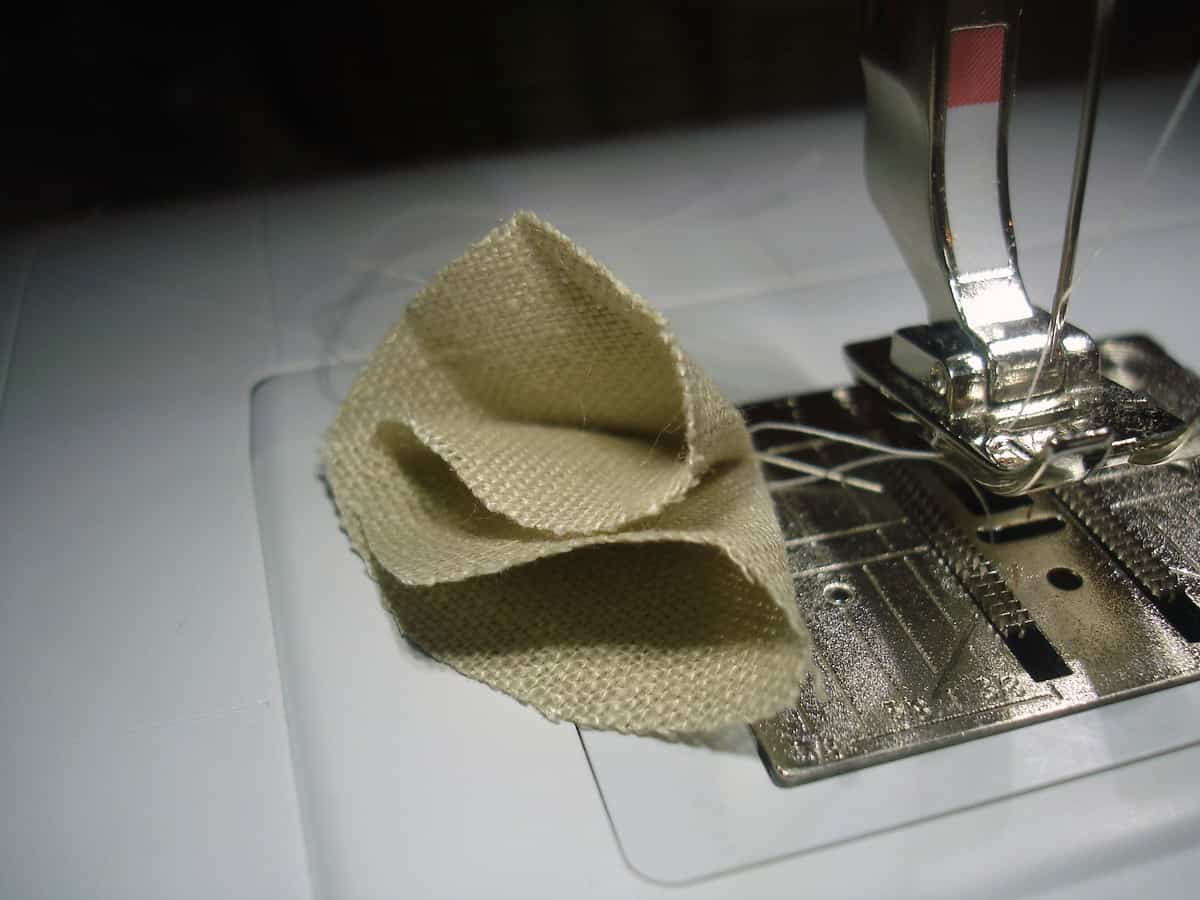
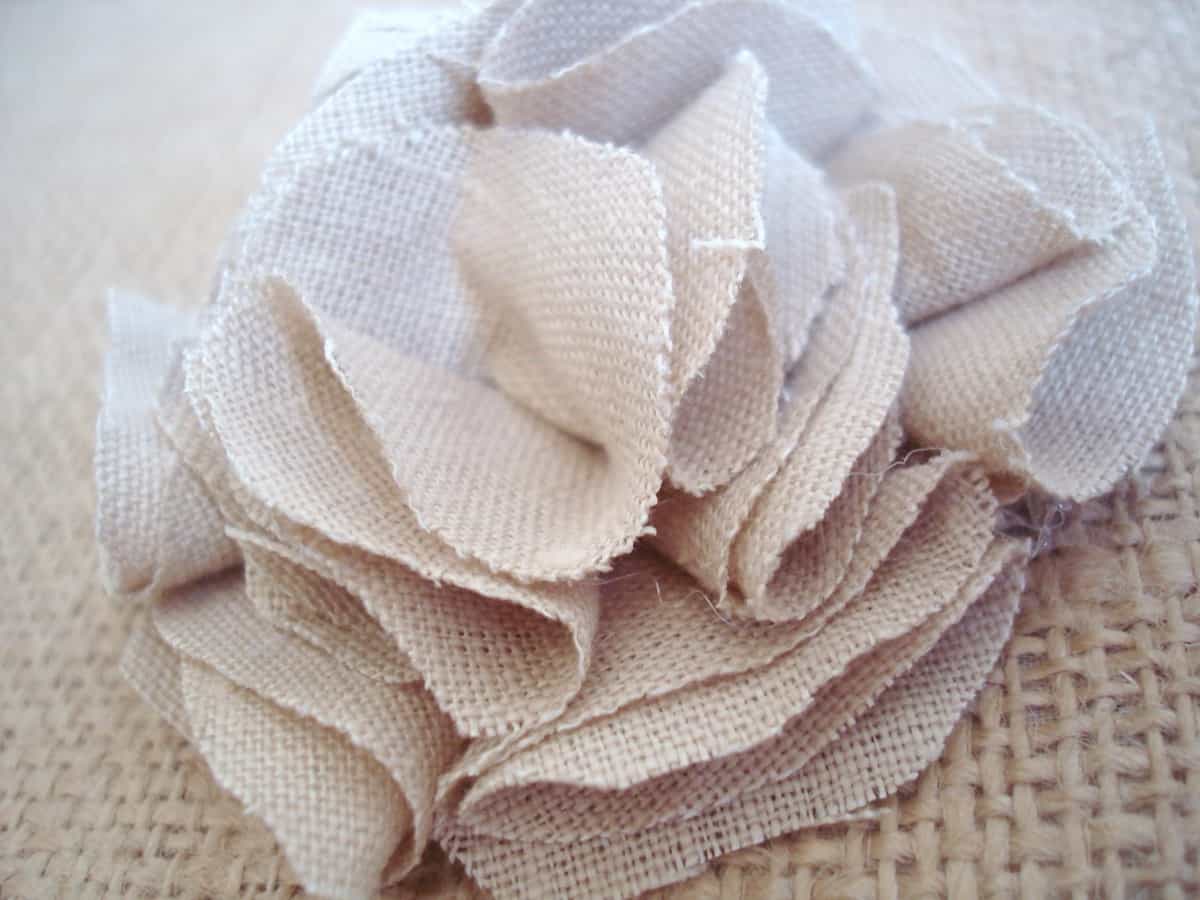
Step 5: Almost there! Now you are ready to create your flower’s center. We did this by taking small circles of fabric and folding them once (into a half circle) and again (folding them into a cone shape). Either hot glue or sew your petals shut. Take your petals and hot glue them into a circle onto a small piece of fabric. Once your outer circle is complete, continue layering and working into the center of the circle.
DSC02014 300x225 shabby flower pillow (a tutorial)DSC02020 300x225 shabby flower pillow (a tutorial)
Step 6: Glue or stitch your flower’s center onto your pillow fabric. Lastly, sew your pillow together in the method of your choice!

DSC02035 300x225 shabby flower pillow (a tutorial)