Pages

Showing posts with label tutorial. Show all posts

Wednesday, May 7, 2014

DIY ~ Cupcake Bath Bombs

cupcake bath bomb
Warm bath + cupcakes – guilt. Now that’s an equation anyone can love!
Although these cupcakes look good enough to devour, they are  DIY Cupcake Bath Bombs that will add fizz, fragrance and moisturizer to your bath water. We think they make perfect wedding shower favors – especially for a spa-themed bridal shower, so we are going to teach you how to make them.
 bath bomb cupcakes
Ingredients for DIY Cupcake Bath Bombs (Adapted from Little Birdie Secrets Bath Bomb Fizzy Recipe. )
Makes 11-12 cupcakes.
For the cupcake you will need:
  • 1 cup. baking soda
  • 1 cup Citric Acid
  • 1 Tbsp. oil (We  used Sweet Almond Oil, but you can also use grapeseed oil or olive oil)
  • 5 drops fragrance/essential oil (we used lavender essential oil)
  • 3-5 drops coloring or Pigment powder (You can use food coloring, but we used soap colorant or Pigment powder)
  • Witch hazel (poured into a spray bottle)
  • Colored sugar or sprinkles
  • Paper cupcake liners
  • cupcake pan
For the icing you will need:
  • 3 Tbsp. meringue powder
  • 1 lb. (measured by weight) powdered sugar
  • 1/4 tsp. Cream of Tartar
  • 5-6 Tbsp. warm water
  • Few drops of color or Pigment powder or soap colorant
  • Few drops essential or fragrance oil
  • colored sugar
  • Glass bowl
  • Hand mixer
  • pastry bag
  • Large tip for pastry bag
Place cupcake liners in cupcake pan. Place all dry ingredients in a bowl and give it a stir.

bath bomb diy cupcake
Pour sweet almond oil, essential oil or fragrance oil and color into a small bowl and stir. Add mixture to dry ingredients and stir.
bath bomb cupcake
Spray mixture with witch hazel. Mix with your hands. Keep spraying and mixing until the mixture feels like wet sand. When it’s ready, the mixture should clump together so that you can form a ball. That said, be careful not to get the mixture too wet because too much moisture could activate the citric acid, ruining your bath bomb.
diy cupcake
Add mixture to cupcake liners. Fill about 2/3 full. Press down with fingers. Set aside for 10 minutes, then remove from cupcake pan.
recipe bath bombs
Now it’s time to make the frosting. Mix meringue powder with warm water in a glass or ceramic bowl. Add cream of tartar and color.
cupcake bath bomb
Add powdered sugar. Using a hand mixer, blend on high setting. If your mixture feels too stiff, add another tablespoon of water. Beat for 7-9 minutes. Icing is done when it forms stiff peaks and is thick like, well, frosting. Place inside a pastry bag.
recipe-cupcake-bath-bomb
Carefully frost your cupcakes.  Once the cupcakes are frosted, add colored sugar or sprinkles.
recipe cupcake bath
Aren’t they lovely?
cupcake bath
If you are giving these as bridal shower favors, wrap them in cellophane bags or small boxes and add tags. This is how they look when they are unwrapped:

Tuesday, May 6, 2014

DIY ~ Wedding Cake: Triple Chocolate

Let's get out of the norm and try a triple chocolate wedding cake instead of all the white ones!


Ingredients:
1 1/2 cups self-raising flour
1/2 cup plain flour
1/2 cup cocoa powder
250g (9 oz) butter, chopped
1 tablespoon oil (not olive oil)
200g (7 oz) dark chocolate, chopped
1 1/2 cups caster sugar
1 tablespoon instant coffee powder
2 eggs, lightly beaten
Chocolate Fudge Frosting:
90g (3 oz) butter
1/3 cup water
1/2 cup caster sugar
1 1/2 cups icing sugar mix
1/3 cup cocoa powder
1. Preheat oven to 160 Celsius (315 Fahrenheit). Grease a 20 cm (8″) round springform cake tin and line with baking paper.
2. Sift flours and cocoa powder into a mixing bowl.
3. In a saucepan, combine butter, chocolate, oil, sugar and coffee powder with 1 cup of water. Stir over low heat until the chocolate has melted and become smooth. Let cool for about 10 minutes.
4. Add the chocolate mixture to the flours and whisk until just combined.
5. Add the eggs one at a time and mix well.
6. Pour into the prepared cake tin (one with straight sides like a springform tin) and bake for 1 1/2 hours or until the skewer comes out just clean. Let cool completely in the tin.
7. Once cool, cut the top so that it’s flat then turn onto a plate (the bottom is now the top!)
To make the frosting:
1. Combine butter, water and caster sugar in a small pan, stir over heat without boiling until the sugar is dissolved.
2. Sift the icing sugar and cocoa into a medium bowl. Stir in the hot butter mixture in batches.
3. Cover, refrigerate for one hour or until thickened then beat until spreadable.


To assemble, make sure you use only a small amount of frosting in between layers and coat your cake only when cooled. Use a hot knife to smooth the surface if that is what you want to achieve.


Monday, May 5, 2014

DIY ~ Blooming Fonts

Write any message or any name you want with amazing blooming fonts and give the most ingenious gift ever to the people you love.


Follow this simple tutorial:


What You Need :

  • paper mache letters (there are 8″ and 12″)
  •  exacto knife
  • floral foam
  • glue gun
  • wire cutters or strong scissors
  • silk flowers


How To Make :
1] Using an exacto knife, cut off the front of the letters and hollow out carefully.
2] Cut floral foam into shapes that fit letter and secure with glue
3] Trim the silk blooms off, leaving a short stem, and position into the foam. You can reinforce with glue, if necessary.
4] Arrange happily!


DIY ~ Amazing Candle Craft Ideas

Everyone loves candles, especially when they come in amazing and inspiring looking vases. This is a very easy and fast tutorial on how to create your own unique candle jars that you can decorate any way you want. They make an excellent gift for any occasion for yourself or anyone you love.


Visit us on: www.mymisi.com and browse around more amazing gifts! 


Thursday, March 27, 2014

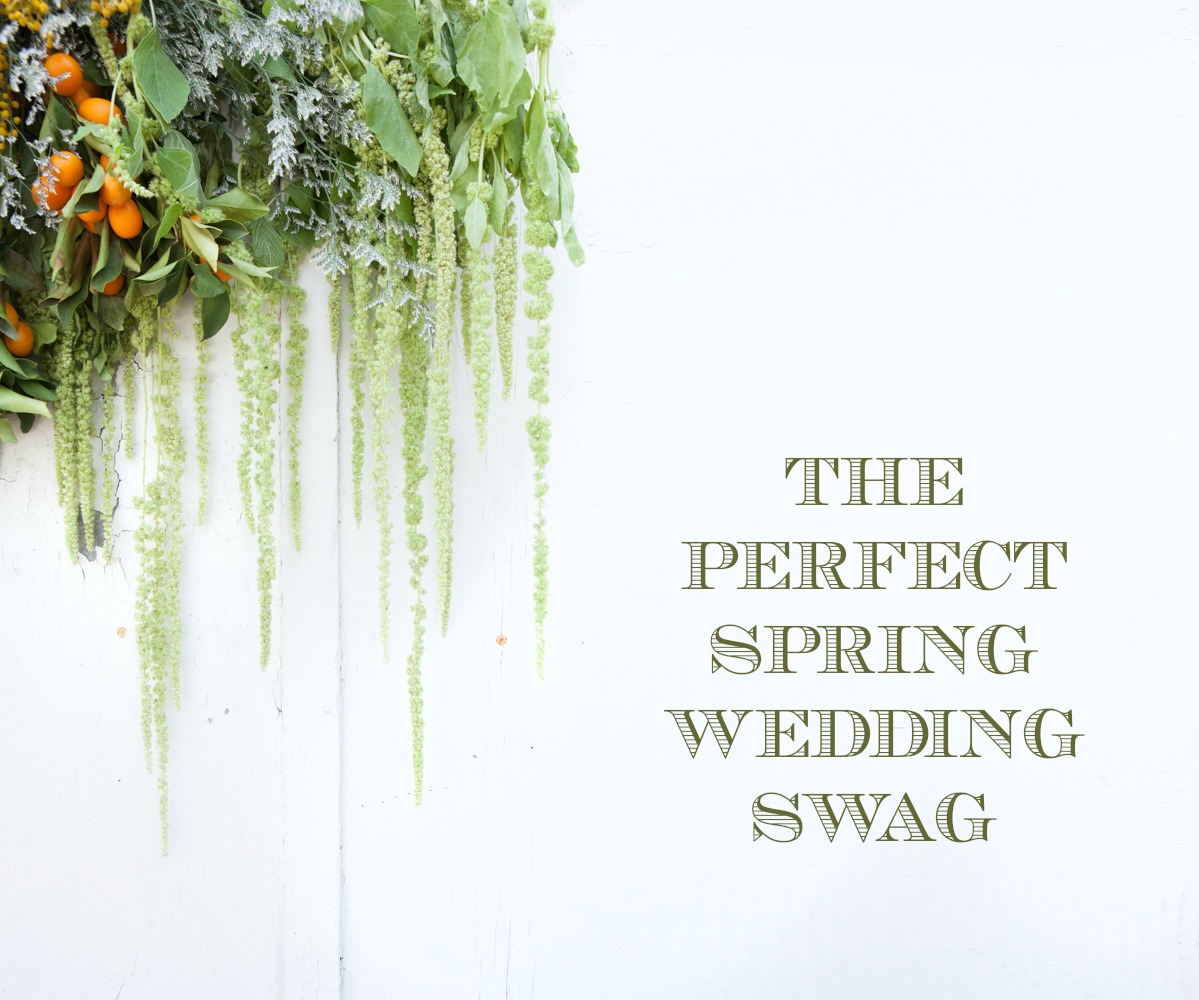
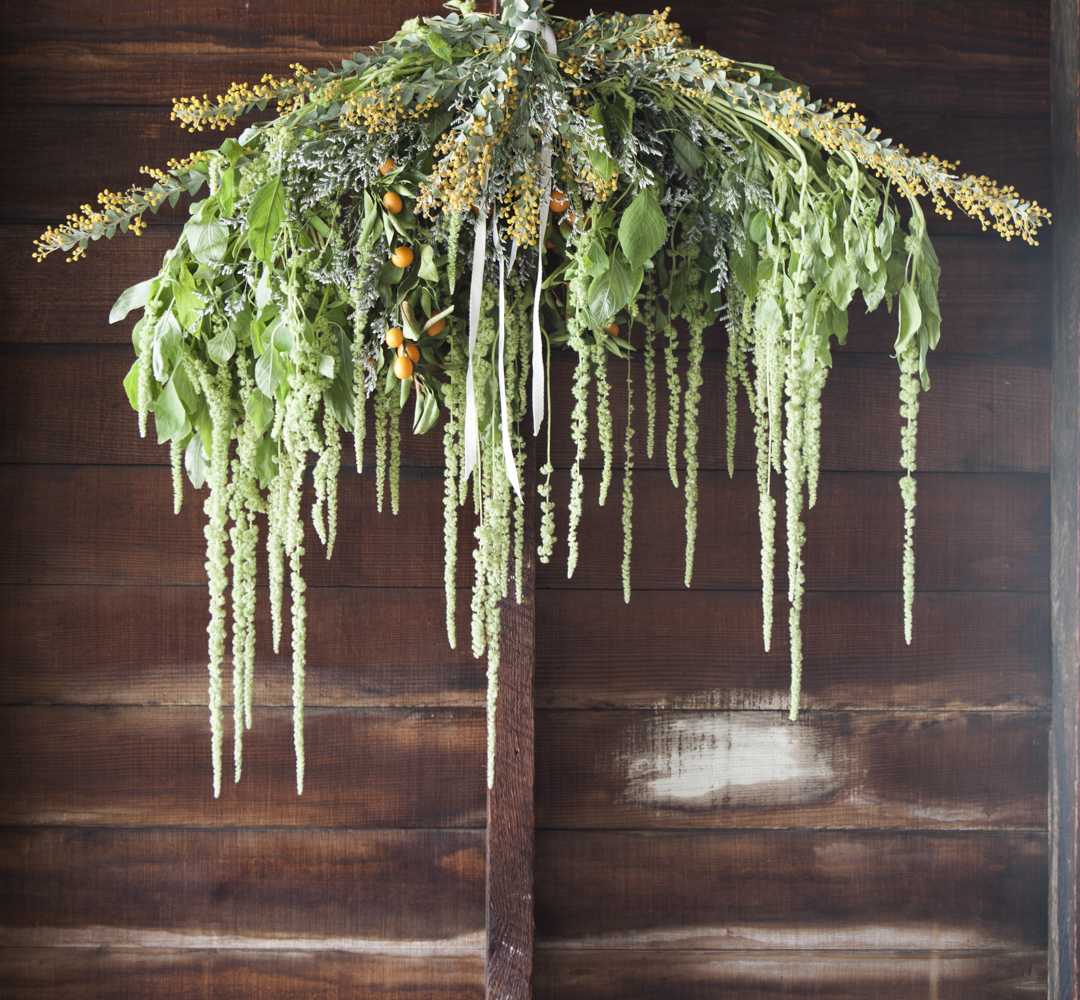
DIY ~ How to Make a Springtime Wedding Swag


 Springtime Wedding Swag Tutorial
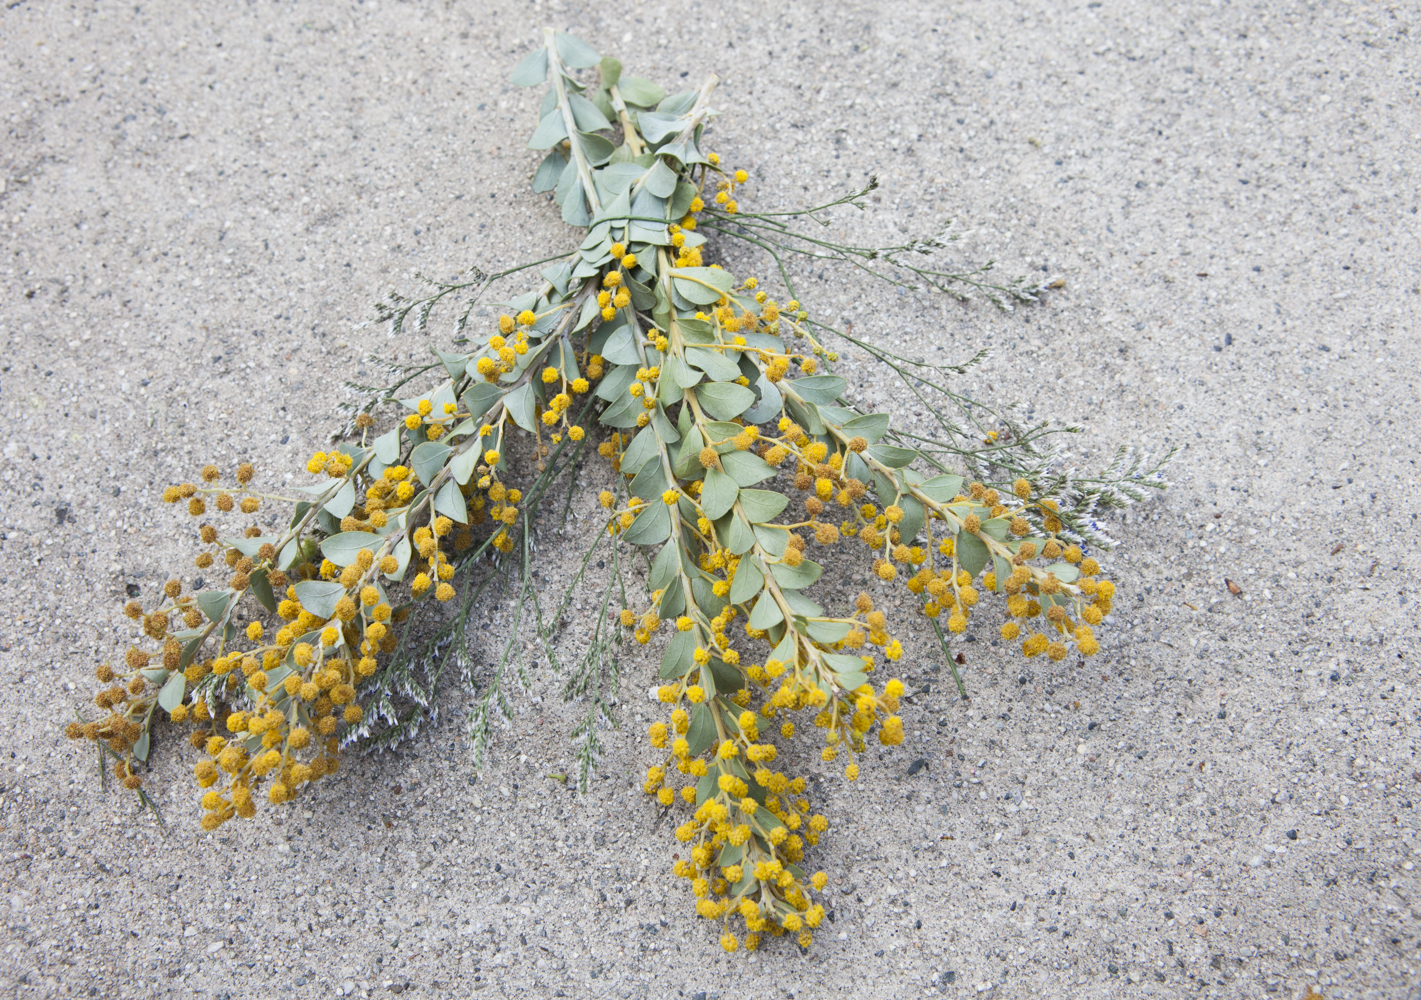
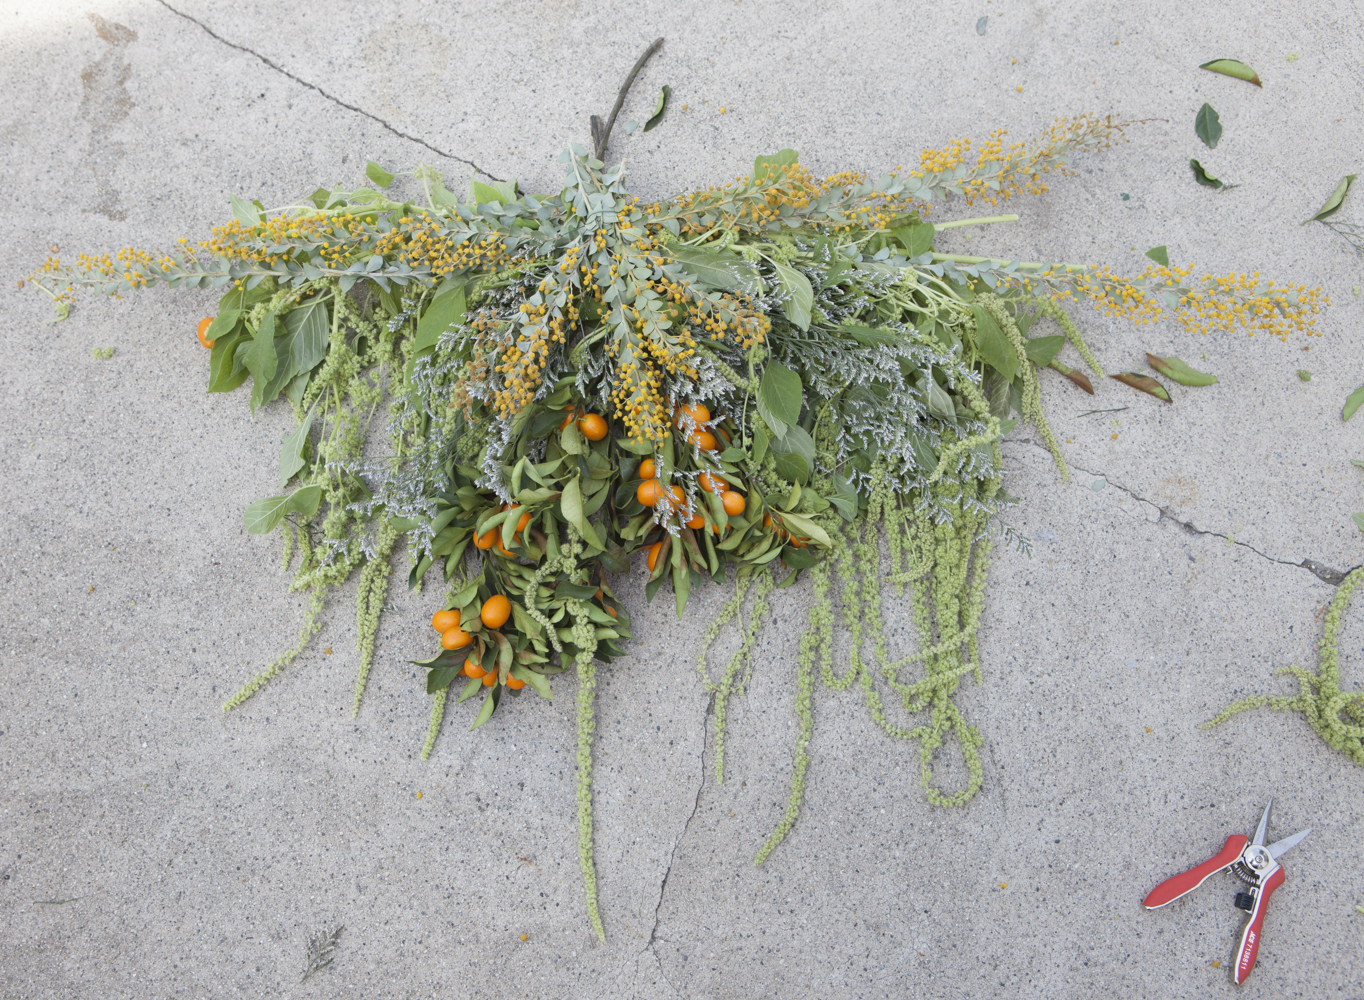
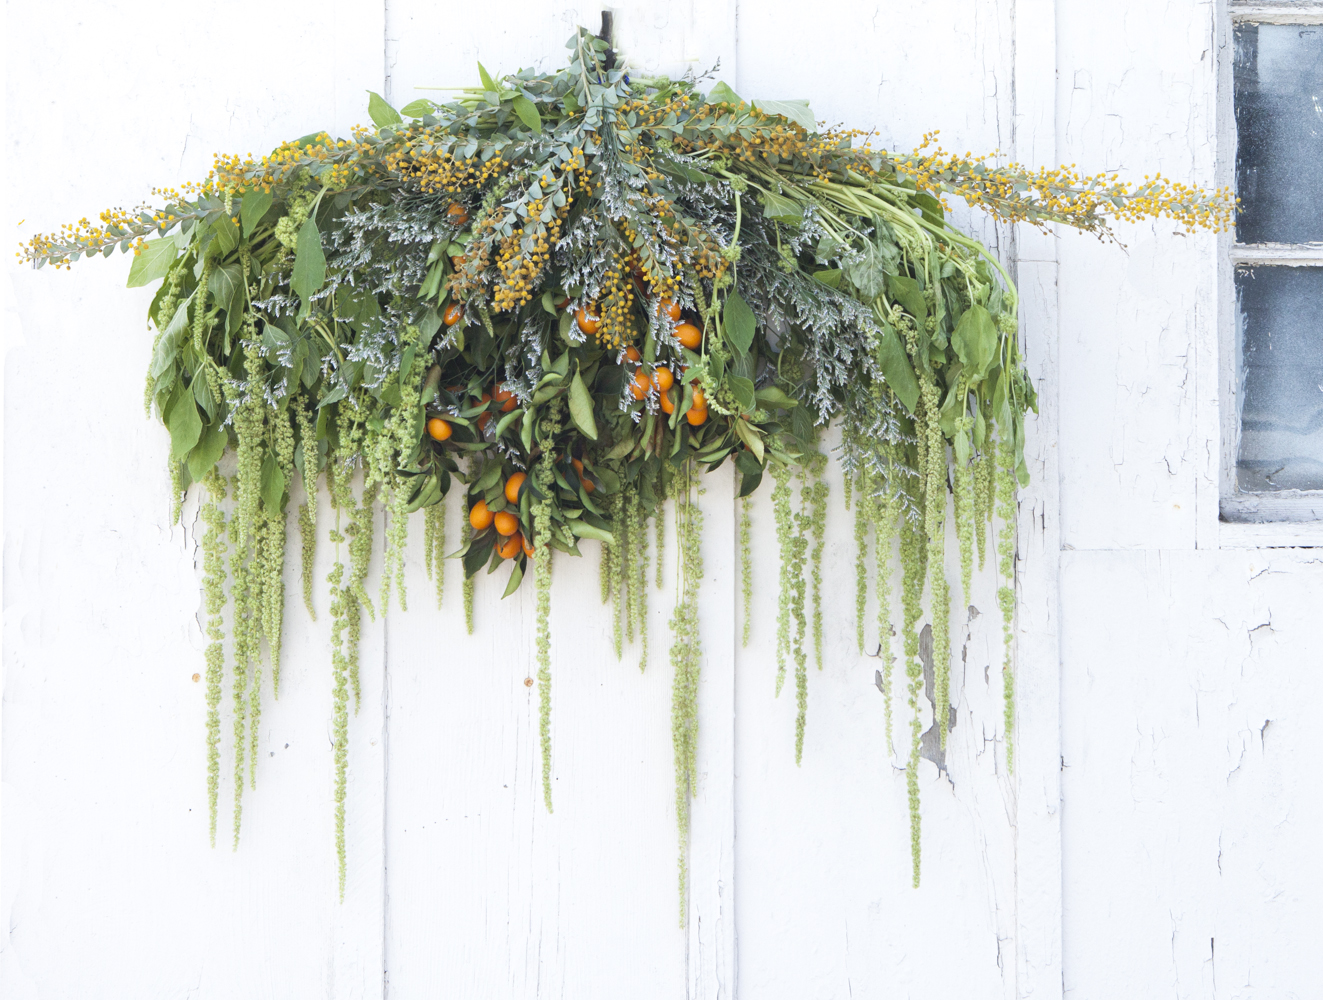
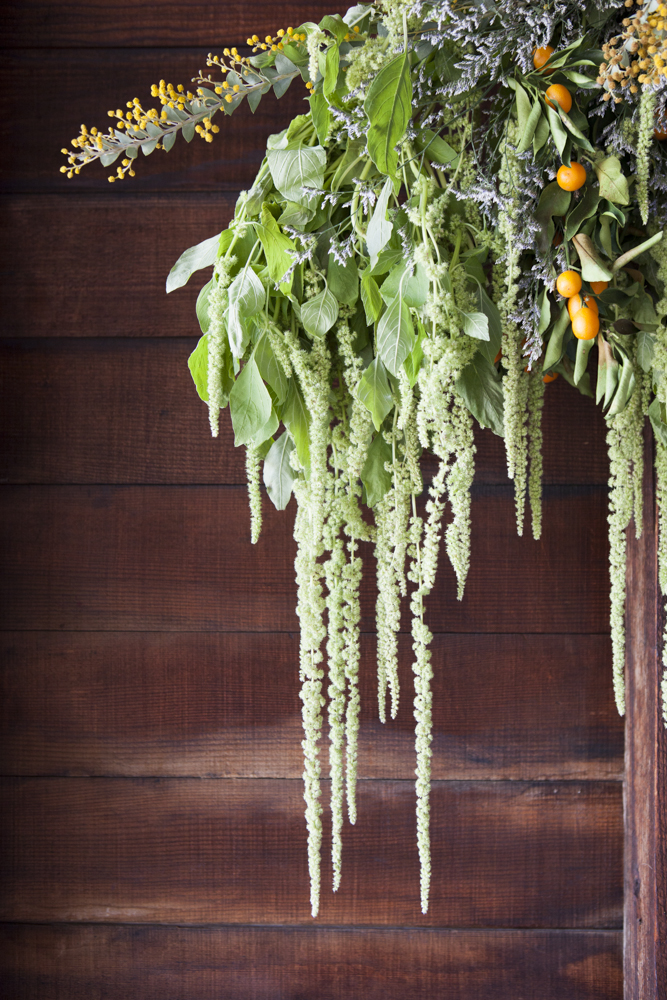
If you are planning an early spring wedding, you will have all kinds of great greenery to choose from because everything will be budding and blooming! We found these kumquat branches at the flower market and knew we had to use them! So here you have a springtime wedding swag that we made just for you! These types of arrangements can be great for ceremony backdrops, to hang above entryways or use to adorn interior or exterior barn walls. You could also design one to decorate the front of your sweetheart table. Since you are designing it yourself you can make it the perfect size to fit a hearth, doorway or table depending on how far you want to build out the side branches. One of the best things about these is that you can use florals that you otherwise might not like these awesome kumquat branches! Happy building!


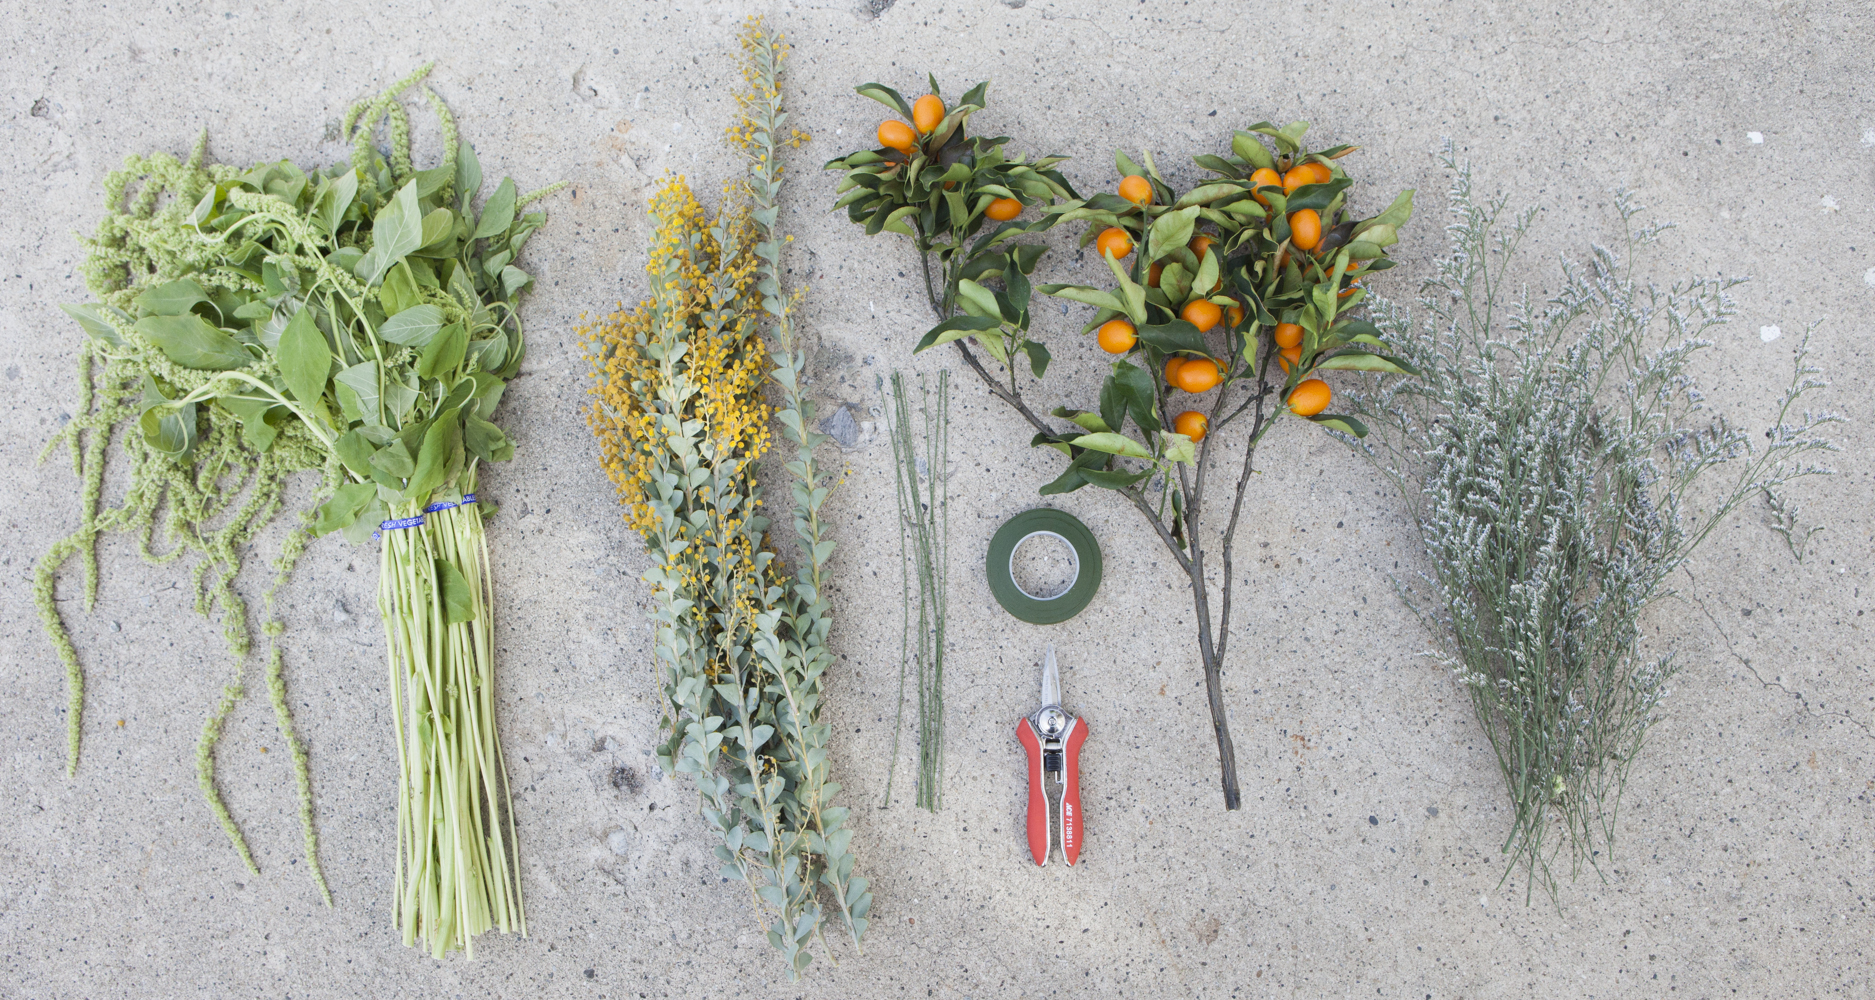
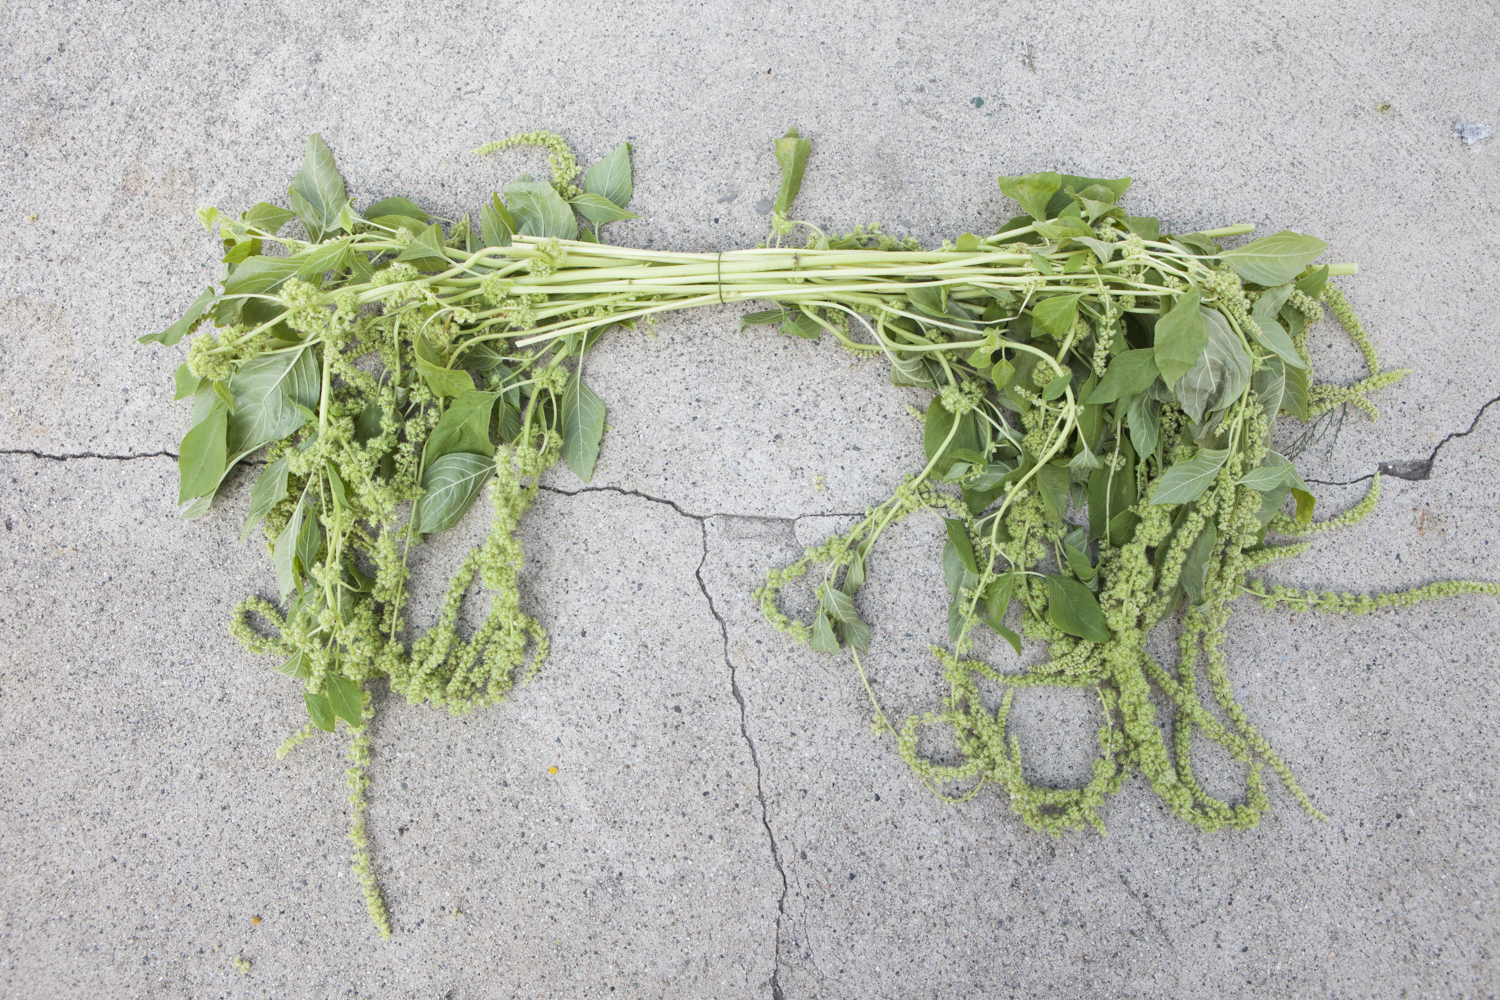
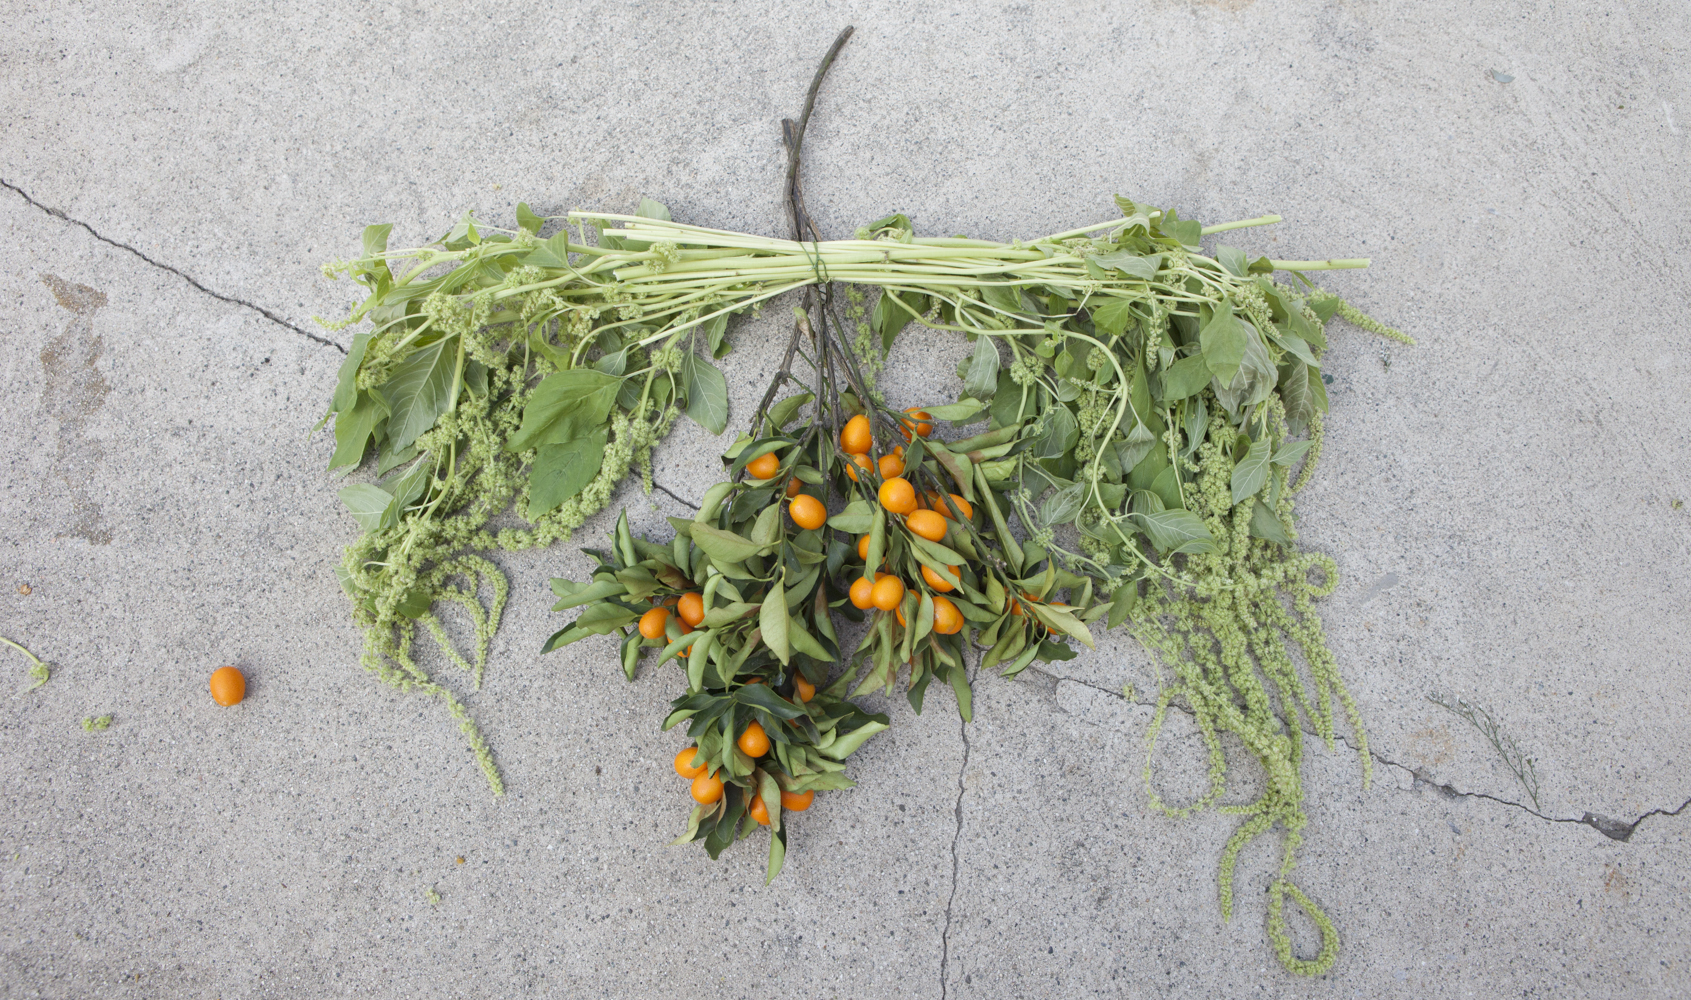
What We Used :  Amaranths / Flowering Eucalyptus / Kumquat Branches / Purple Limonium / Floral Wire / Floral Tape / Shears / White Ribbon
Spring Flower Arrangement Tutorial
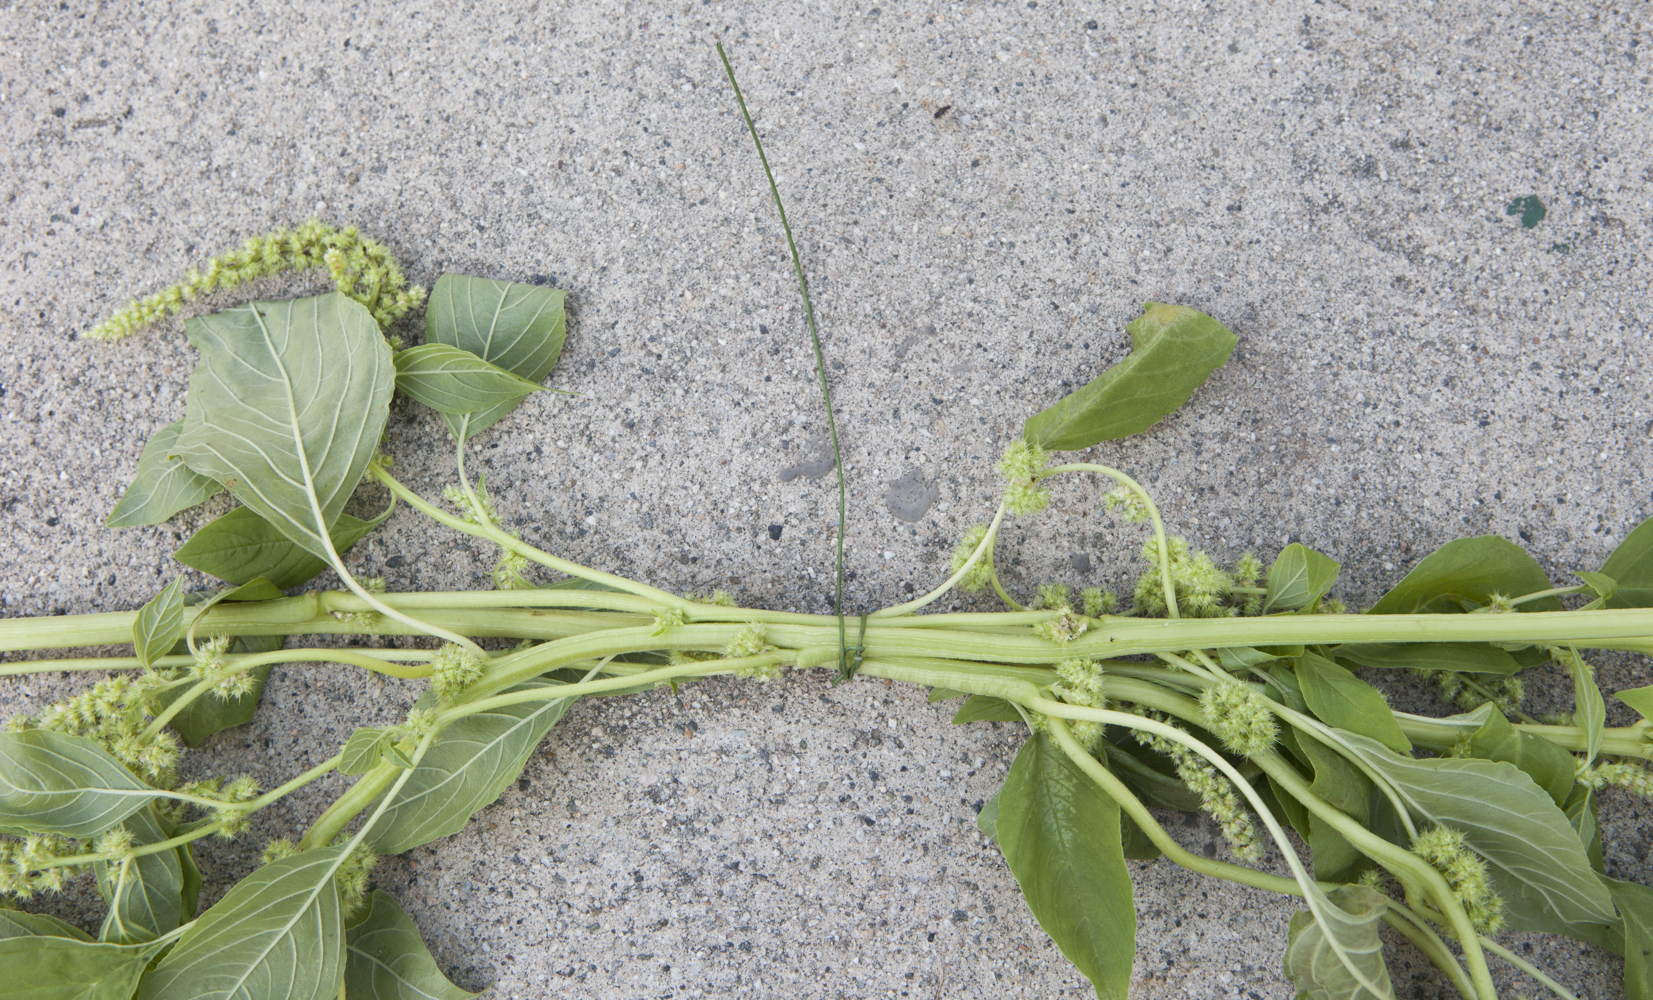
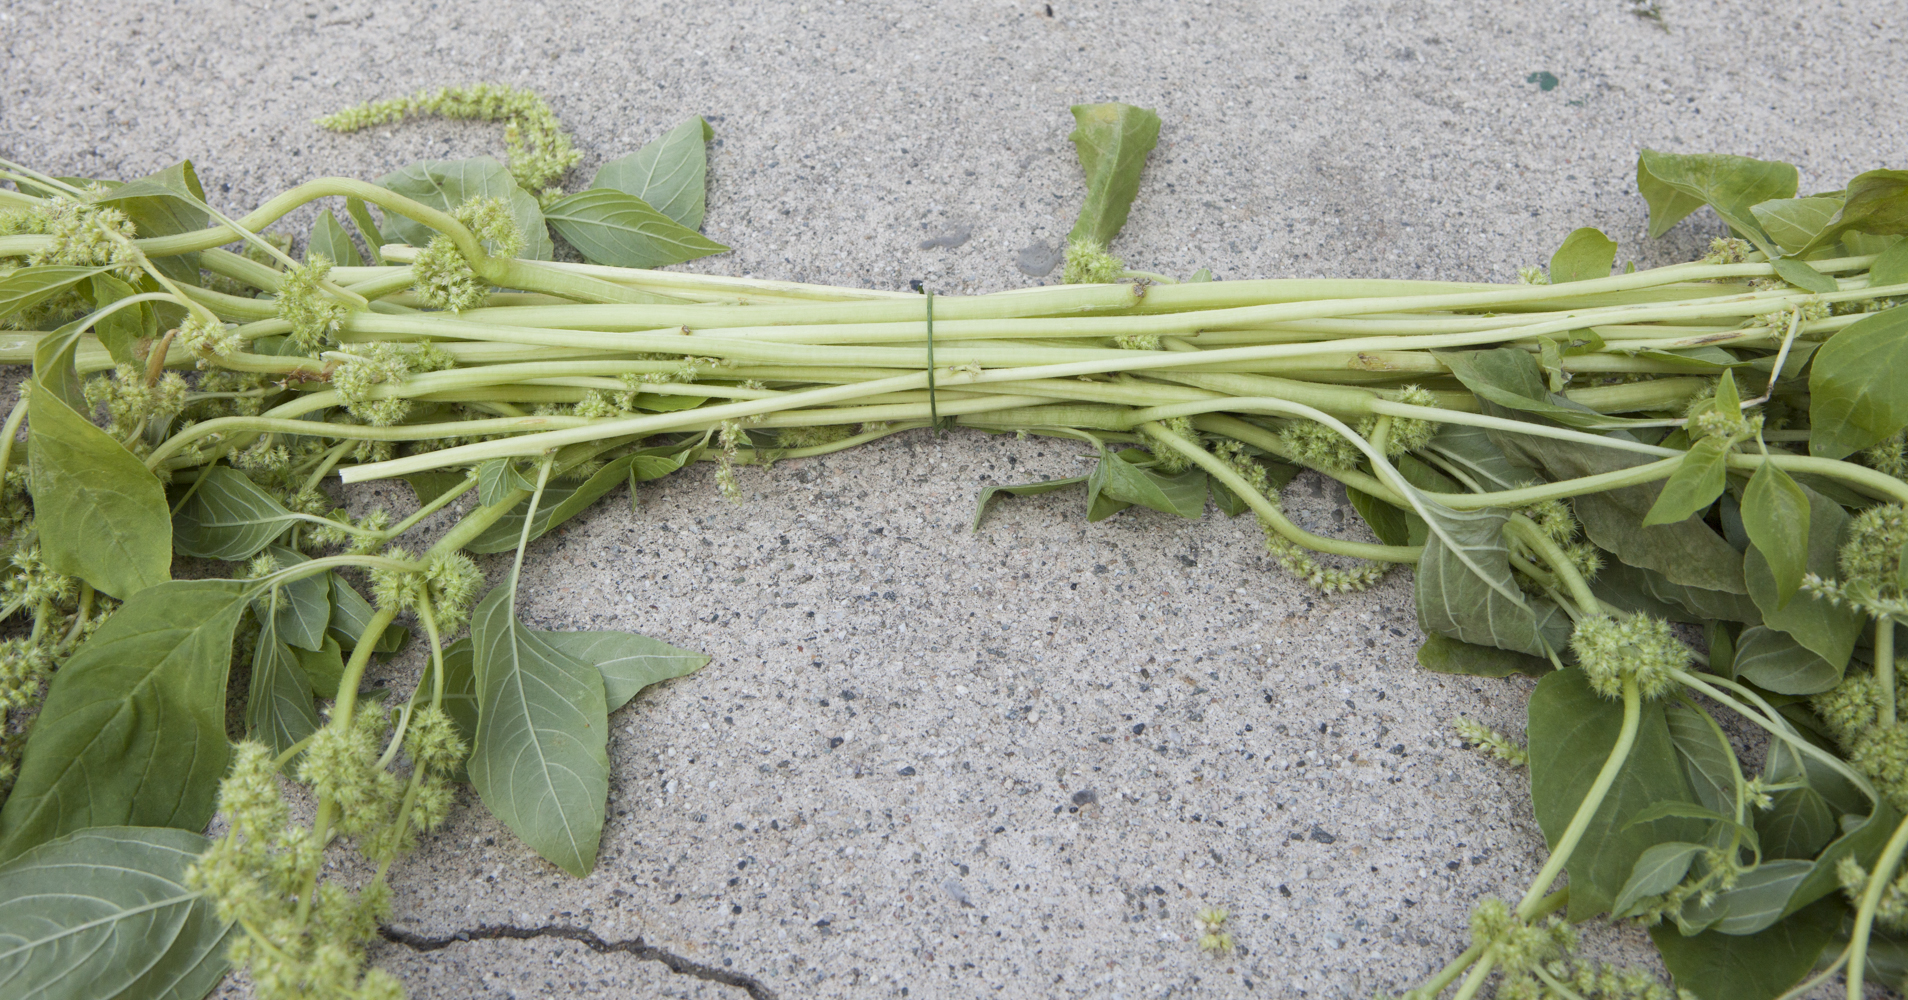
First, cross the stems of the Amaranths and secure with wire.  Leave a small open space between where the spires will fall down.
Spring Flower Arrangement Tutorial
Next, build out from the center, adding stems to either side and securing with wire as you go.  You may want to use some floral tape too to keep stray stems from poking up.  The more secure the better.  It is ok if some of the wires show as you will be covering up the base in a later step.
How to Make a Springtime Swag
Step back and see how the arrangement is balanced. Add and takeaway until both sides feel even.  You may want to hold it up to see how the spires fall naturally. 
How to Make a Springtime Swag
Next, add in your kumquat branches.  Secure the branches with wire first to one another, and then attach them to the back of the base.  Make sure they are secure as they can be heavy.
How to Make a Springtime Swag
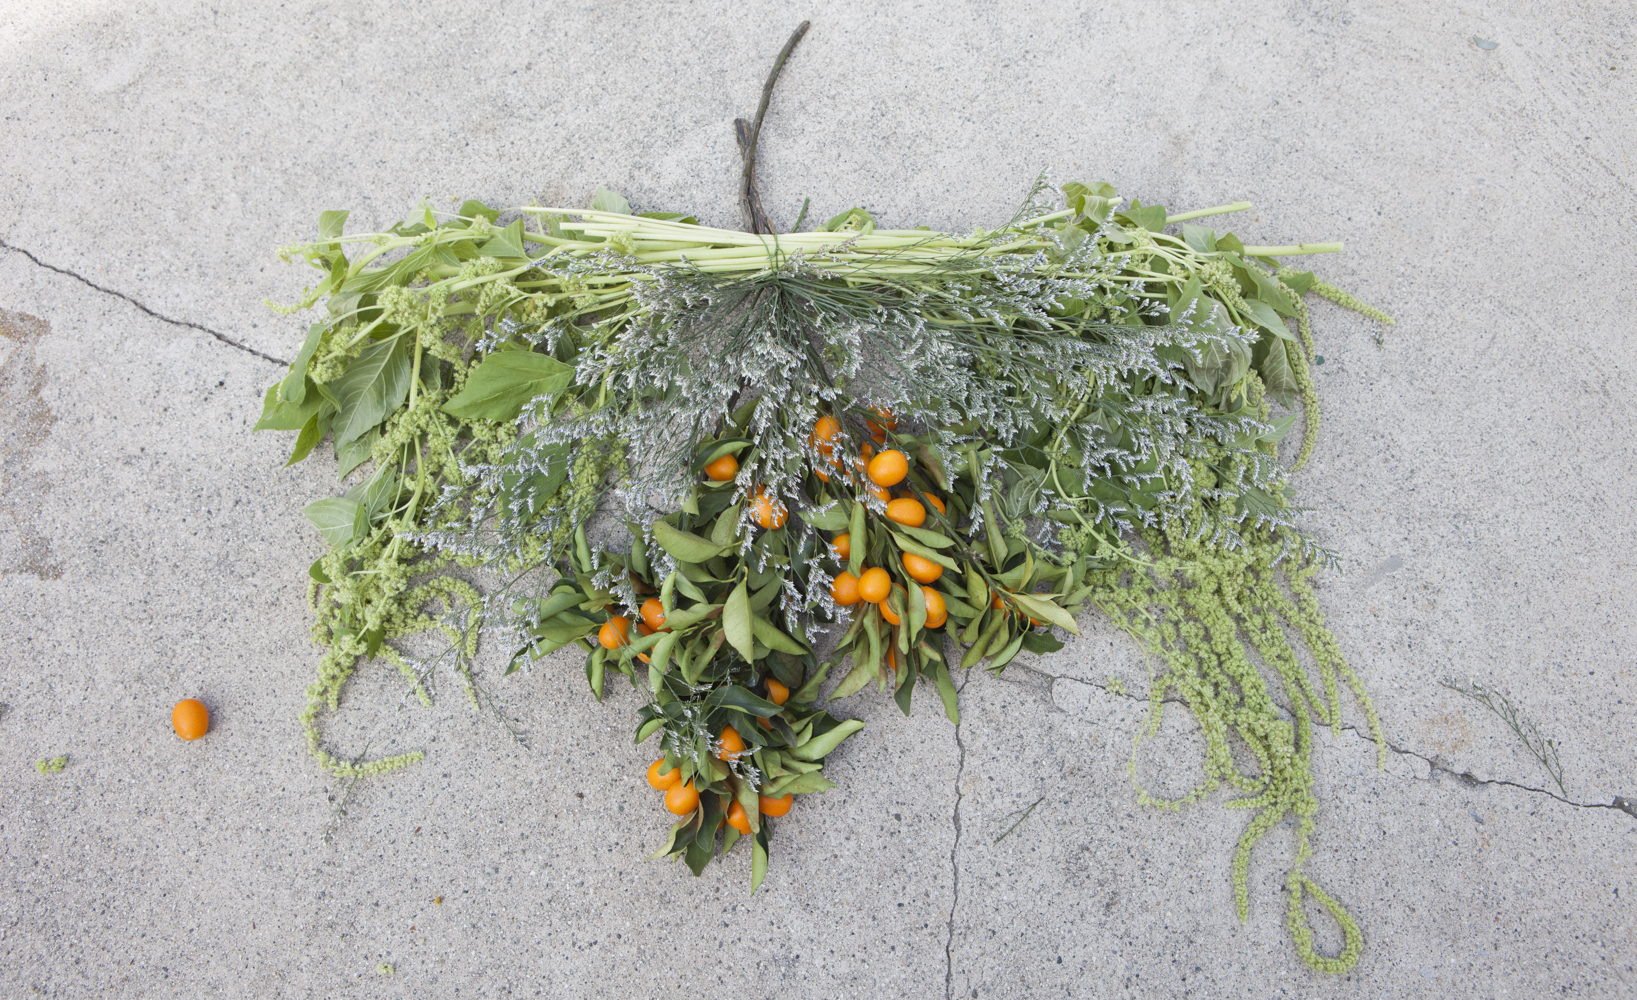
Once the kumquats are secure, add in the purple filler to the open spaces by slipping the stems under the wires or adding additional wires.
Spring Flower Arrangement Tutorial
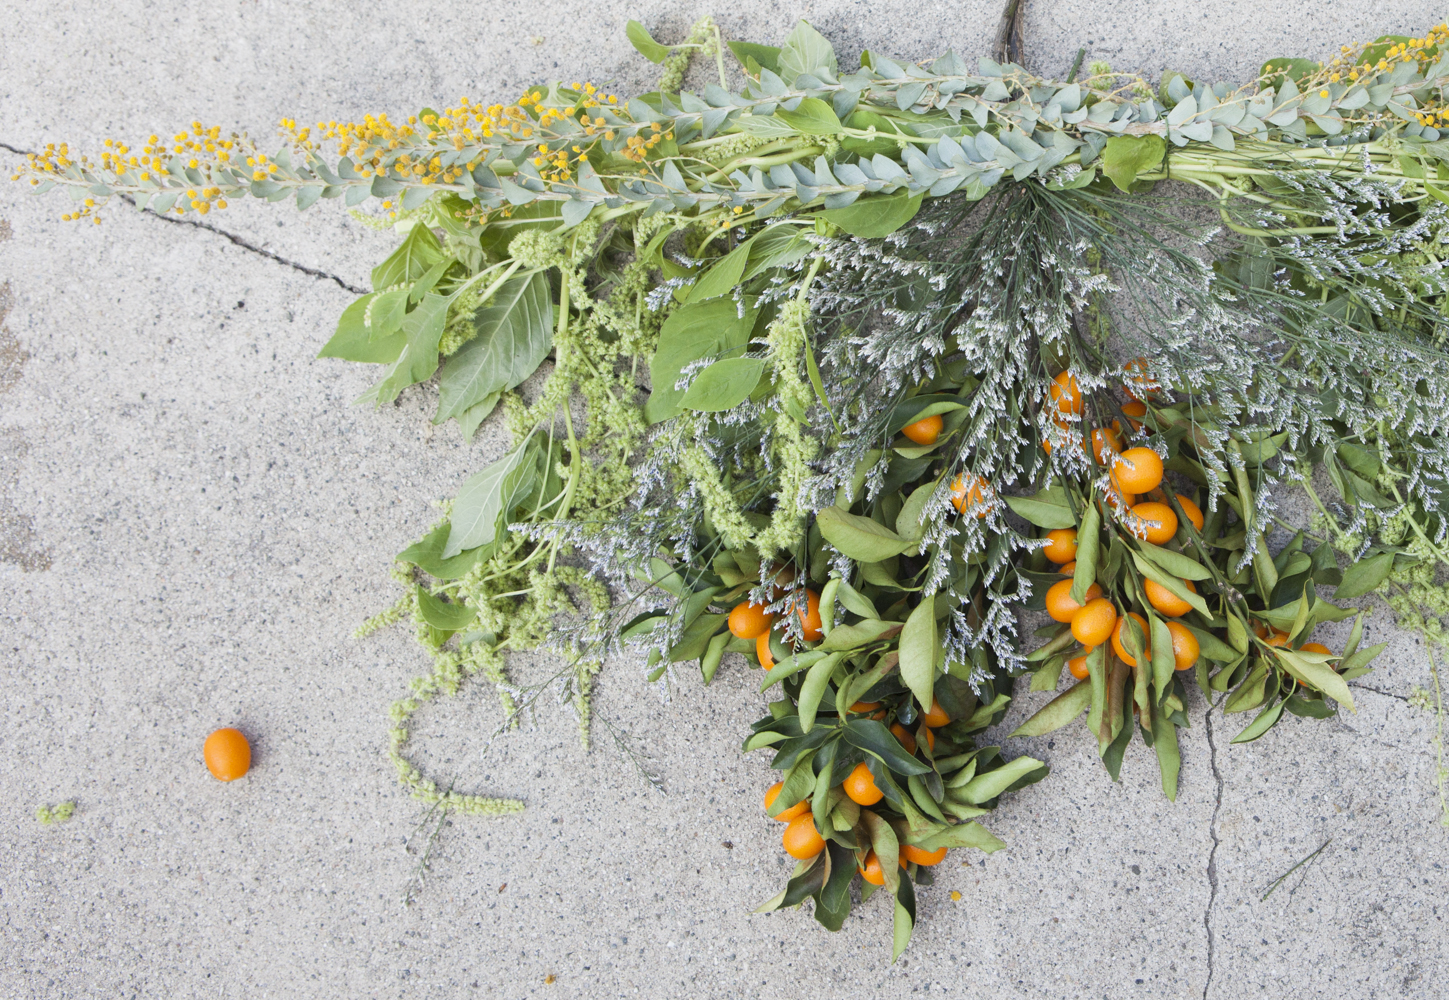
Then, taking your flowering branches, lay them over the base so that they cross and the center. Arrange them so that you cannot see the wires on the base and it feels like a lush archway. If you want to angle them down on either side to create and arch, you may or if you want a straight base for a table or a heath keep them straight.
spring greenery wedding swag-7
Next, using some small pieces of the flooring branches and the purple filler, creat a small swag on the side that will be the front piece.  Make it large enough to cover the kumquat stems but no so long that it will cover up the fruit.
How to Make a Springtime Swag
Secure the smaller swag to the front of the base and stand back to asses the symmetry of your arrangement.
How to Make a Springtime Swag
Once it feels right, try hanging it on a wall.  Once you see how it falls you may want to make some changes, clippings or additions to make it feel balanced.
spring greenery wedding swag-10
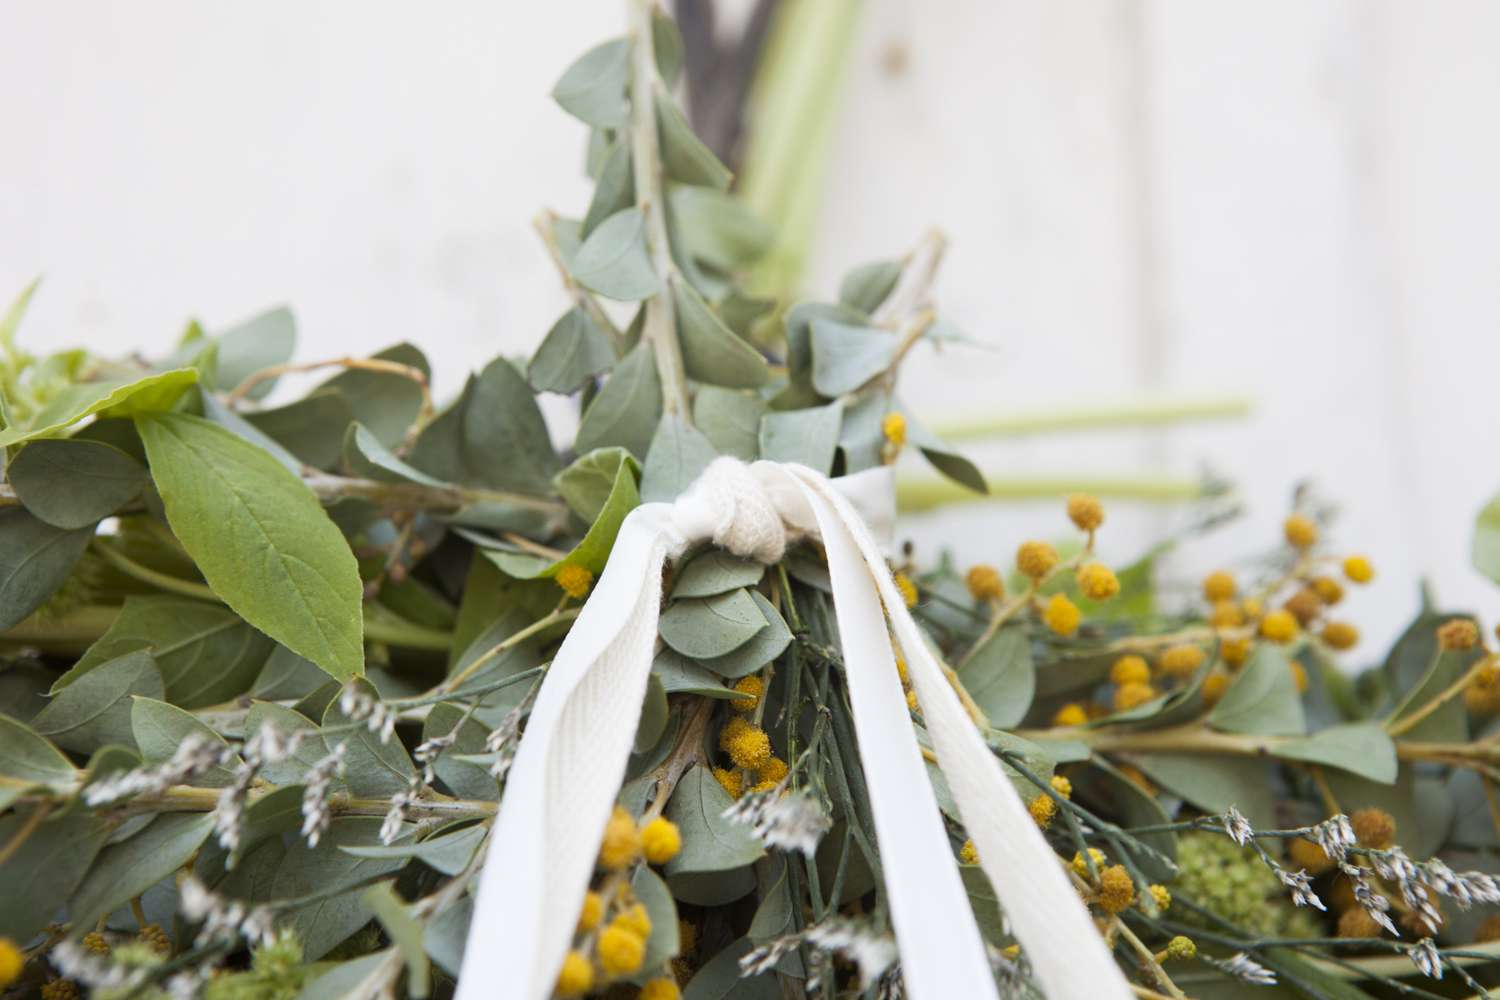
At this point you may also want to add some ribbon.  We tied some simple white ribbon the the stems of the smaller front swag and turned the knot the face the back. 
How to Make a Springtime Swag
We left the ribbons hanging down to compliment the drooping spires.
 Springtime Wedding Swag Tutorial
Once you have it perfect hang it in your desired place using extra wire to create a strong loop on the back of the base.
 Springtime Wedding Swag Tutorial

Friday, March 21, 2014

DIY ~ Cupcake Crumble in a Jar

cupcake crumble
Cupcake Crumble
The latest kitchen trend? Cupcakes in a jar! Or so it was said. I love it! And then I had to think about it. Cupcakes in a jar? Sounds fun. Sounds simple. But as I started to ponder this foodie phenomenon,  I began to have more questions than answers…


How do you get the cupcake in the jar? Do you bake the batter in the jar? Will the jar hold up to the heat in the oven? Do you bake the cupcakes separately and then place them in the jars? How do I get the cupcake out to eat it? How long can these cupcakes last? Do I need a big jar or a small jar? Where do I find a small cupcake-sized jar anyways?

..And then I decided to stop thinking and start playing. I liked the idea of “cupcake in a jar” but I wanted to put my own spin on it – the result is my Cupcake Crumble in a Jar. With this recipe, leftover cupcakes get an instant dessert makeover. It’s a cupcake-lovers go-to recipe for “in a jar” fun..
Leftover Cupcakes Get a Makeover.
leftover vegan cupcakes
Leftover vegan cupcakes needed a facelift.
Cupcake Crumble in a Jar
If you love cupcakes, and really who doesn’t, you probably bake them by the dozen, share the freshly made delights, keep them for a day or two and then the fun is over. But sometimes you end up with two or more cupcakes a day later and since cupcakes can dry out rather quickly – you are faced with a terrible predicament: do I toss these cutie cupcakes?? Now you don’t even have to let that thought cross your mind because you can easily whip up my Cupcake crumble in a jar to refresh and moisten leftover cupcakes.
Cupcake Crumble in a Jar
Here is what you will need:
* 2 or more leftover cupcakes – pop off the frosted flat tops (set aside) and crumble up the cake bottoms
* whip up your favorite vanilla or chocolate (or both) pudding
* a clean medium sized glass jar with lid – not too tall (I used a short and stout roasted red pepper jar)
* optional additional crumble ingredients (fudge sauce, nuts, marshmallow creme, canned fruit, berries and more)

layering the crumble
How To:
Now you start layering.
First add some pudding.
Then the cupcake crumbled bits.
Then another layer of pudding.
Then one of the frosted cupcake flat tops.
Then more pudding.
More crumbles.
(Add additional ingredients along the way if you’d like)
Last layer is one of the frosted cupcake flat tops.
Close the jar lid and chill in the fridge for a while before serving. This way the pudding will help moisten the crumbles.
Serve by spooning into dessert cups.

lid on cupcake
lid on.
Cupcake Crumble in a Jar
There! You just turned your leftover cupcakes into a snazzy new dessert treat – fit to please those “cupcake in a jar” enthusiasts!

Monday, March 10, 2014

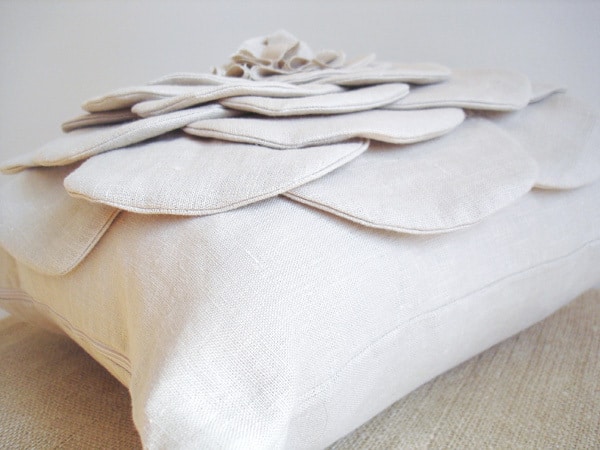
DIY ~ Flower Pillow for Mother's Day

This is truly unique and unconventional way to give flowers to your mother!

DSC020351 shabby flower pillow (a tutorial)

Supplies Needed:
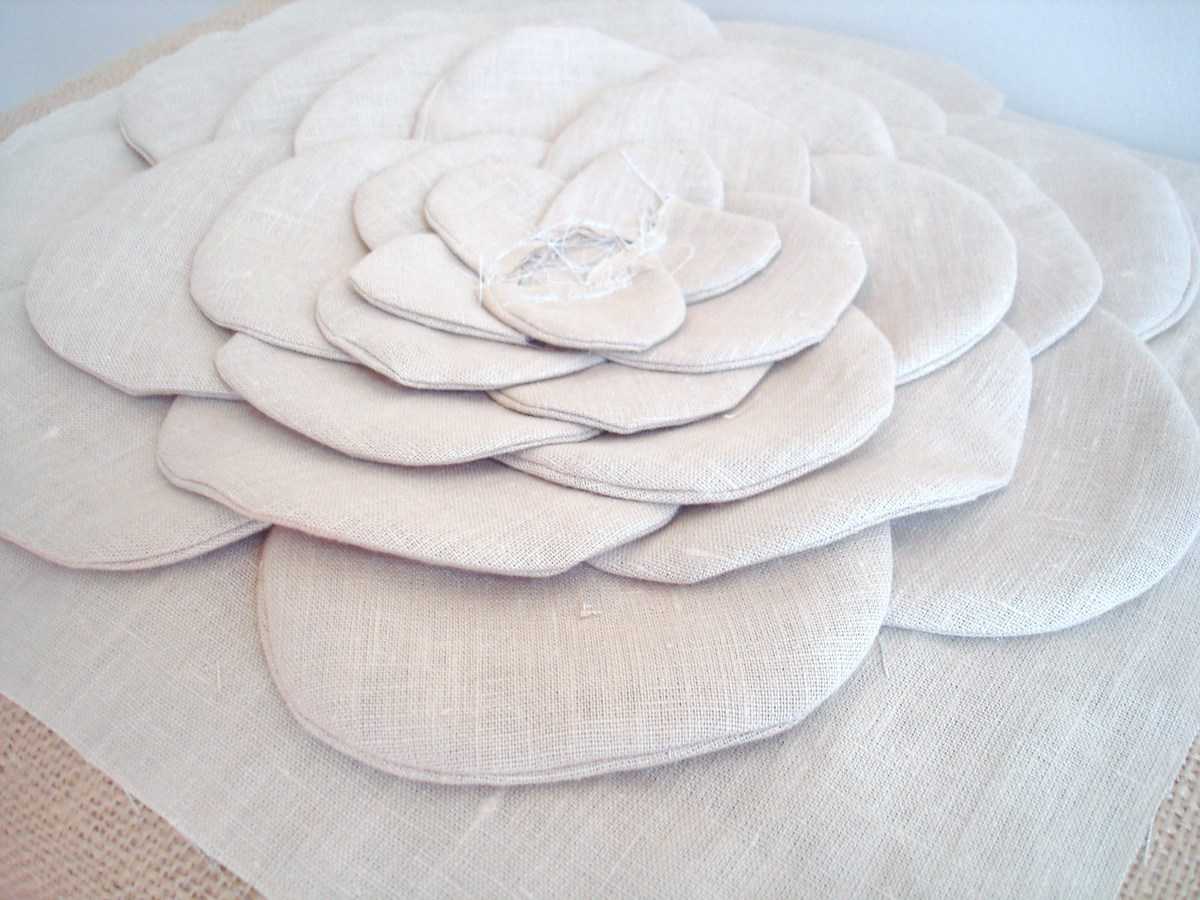
fabric (linen here)
sewing machine
zipper (if desired)

Step 1:
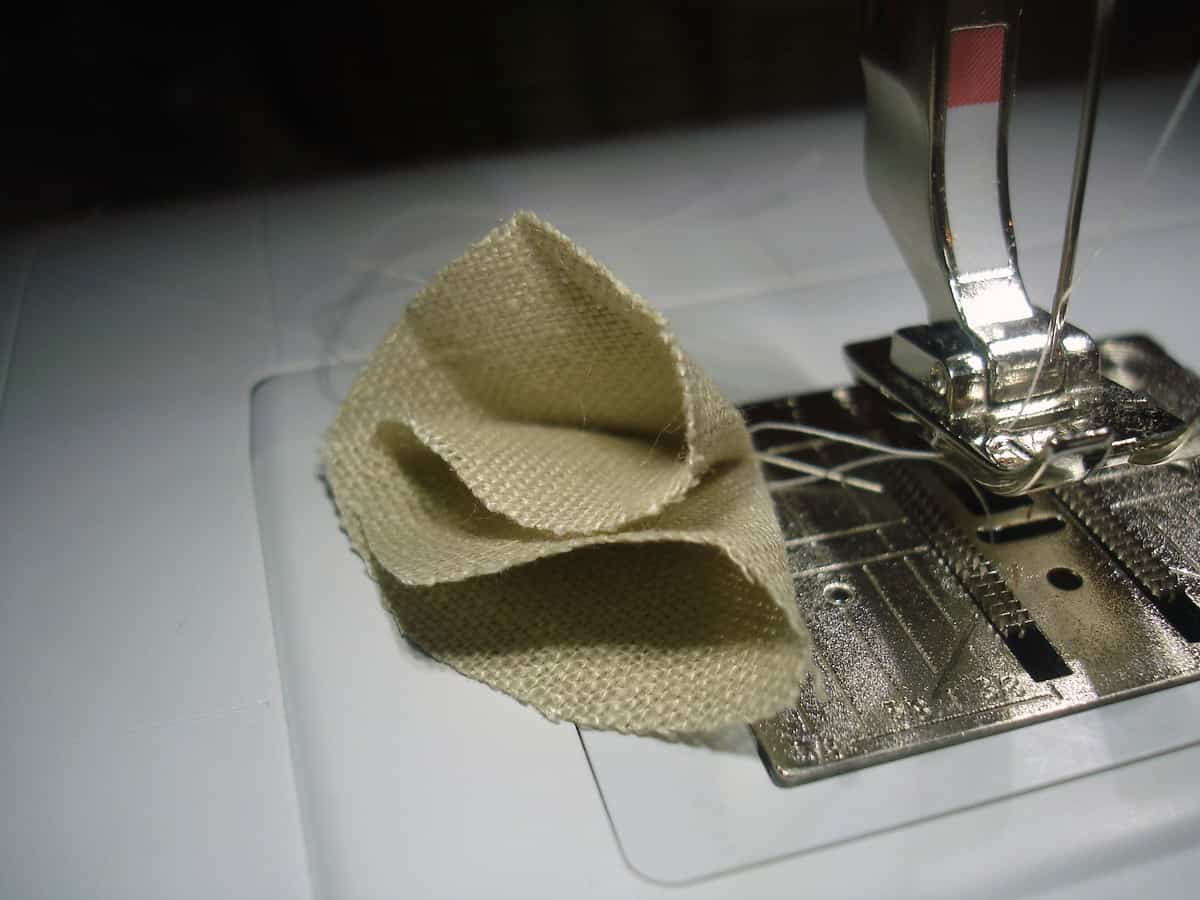
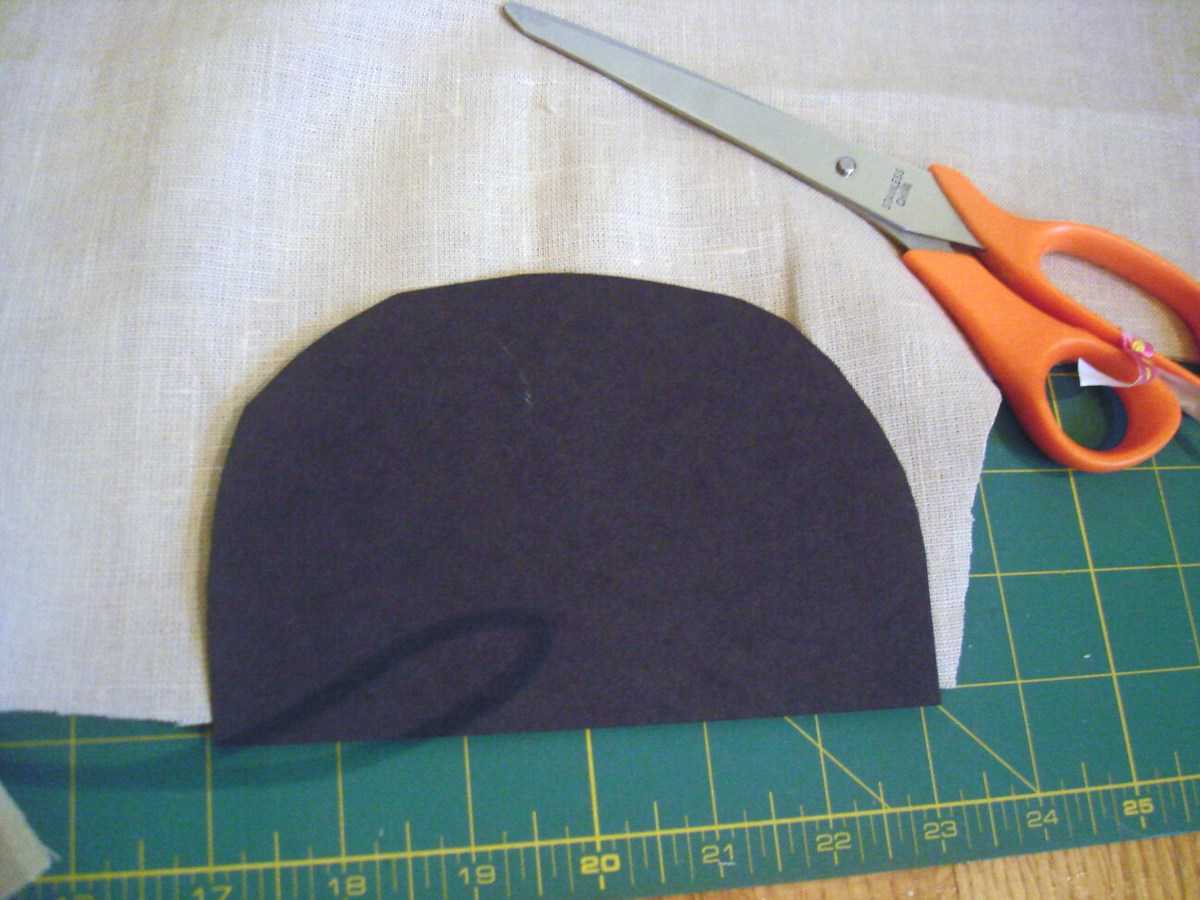
Create your “petals”. 
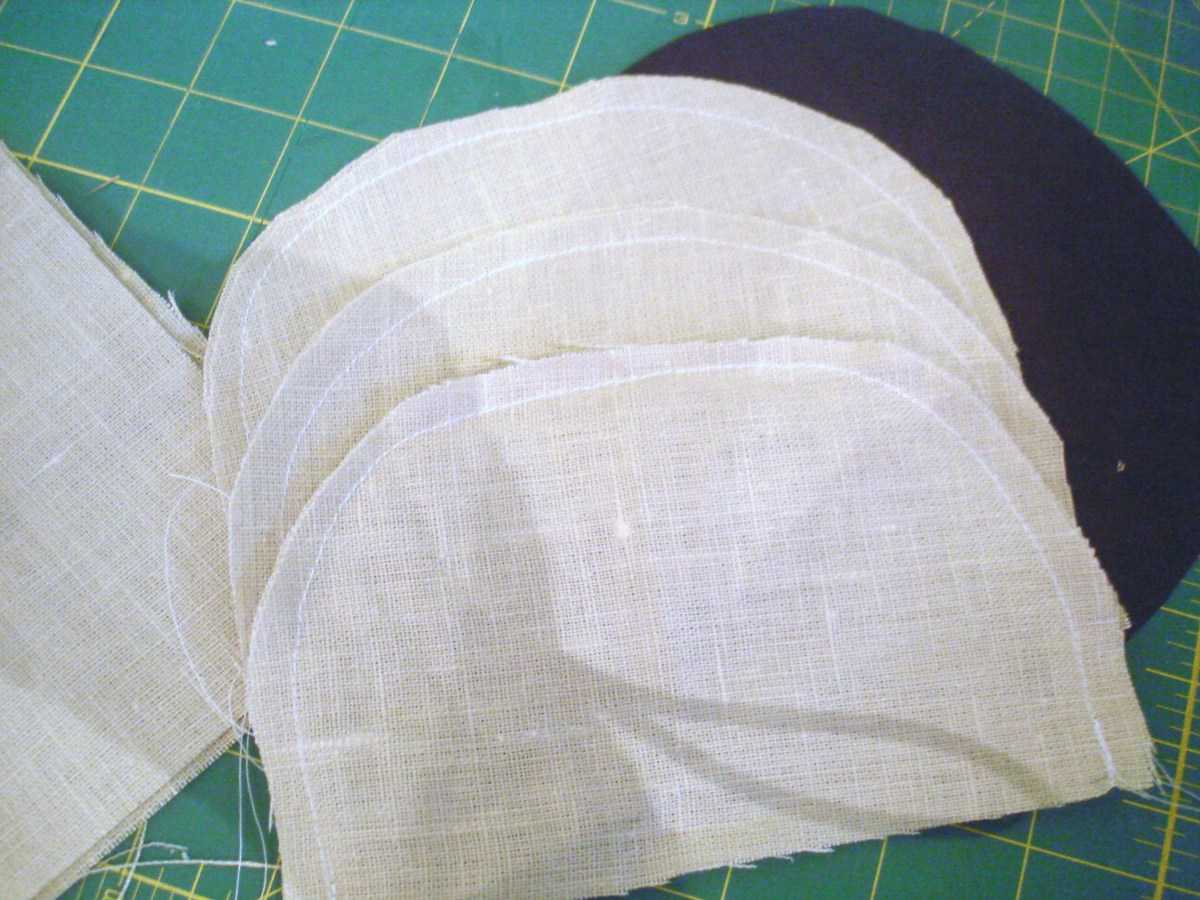
Cut out a half-circle template out of cardstock. Place on a double layer of fabric and cut. Take your two layers of fabric and stitch around the curve.

DSC01996 300x225 shabby flower pillow (a tutorial)DSC01997 300x225 shabby flower pillow (a tutorial)
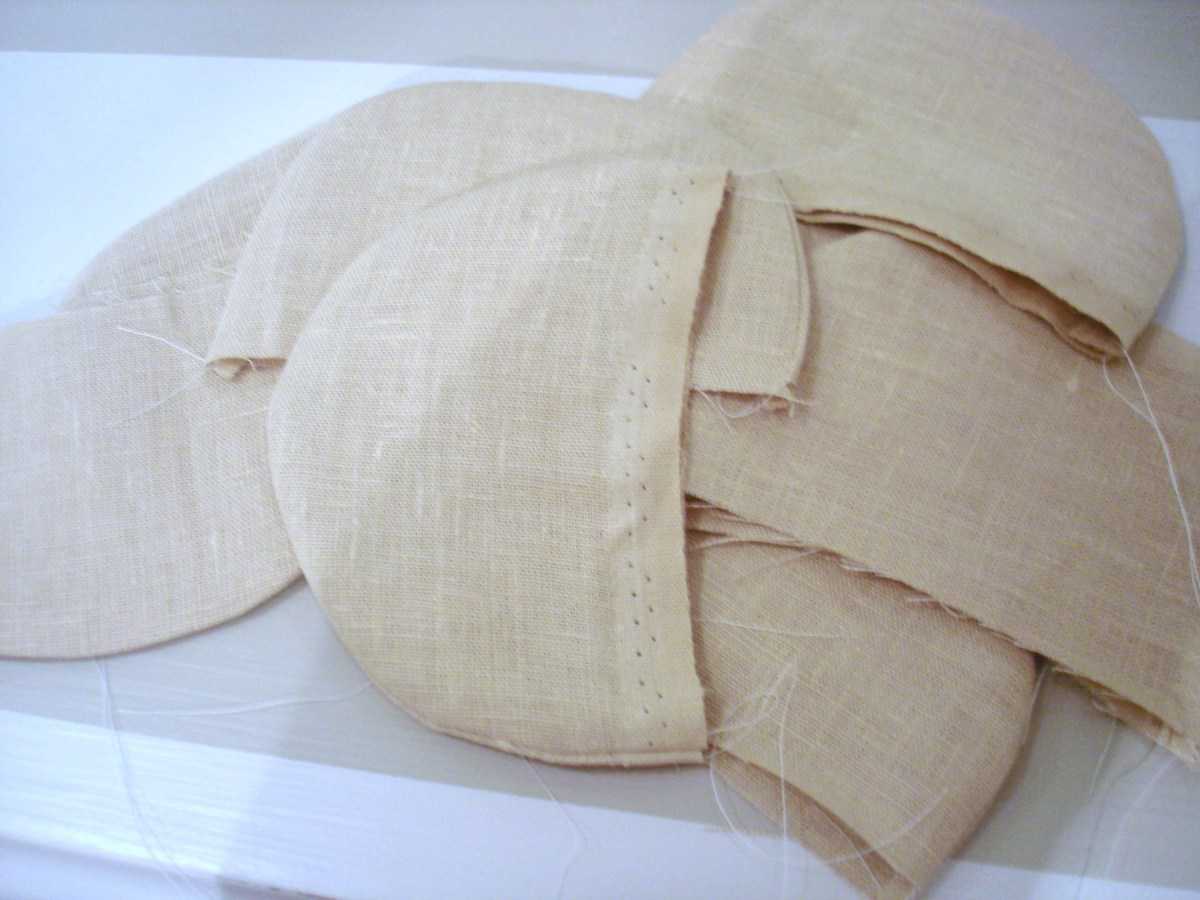
Step 2: Take sew petals and turn inside out. Press flat. Take petals and arrange your first layer on your pillow fabric.
DSC02000 300x225 shabby flower pillow (a tutorial)DSC02002 300x225 shabby flower pillow (a tutorial)
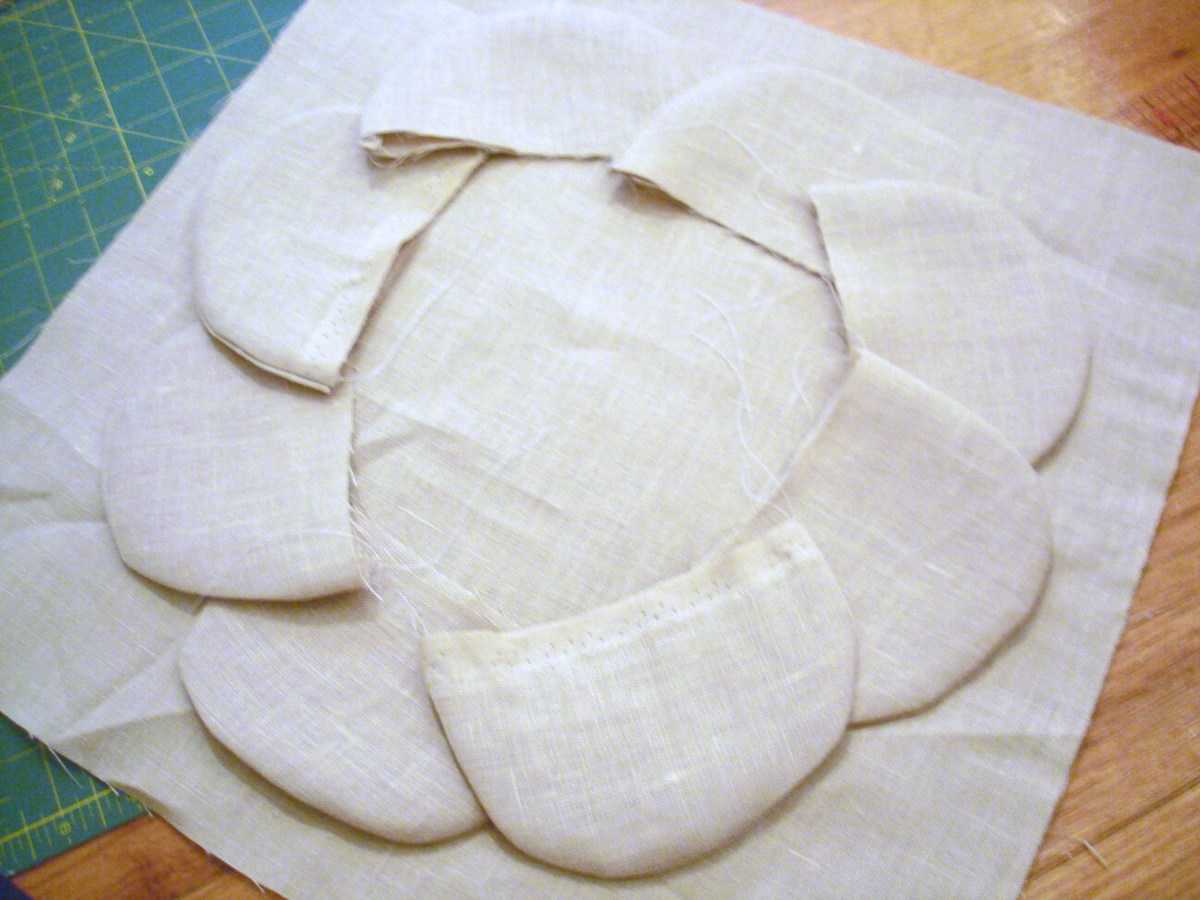
Step 3: Stitch petals down to fabric. Repeat for second layer of petals.
DSC02003 300x225 shabby flower pillow (a tutorial)DSC02004 300x225 shabby flower pillow (a tutorial)
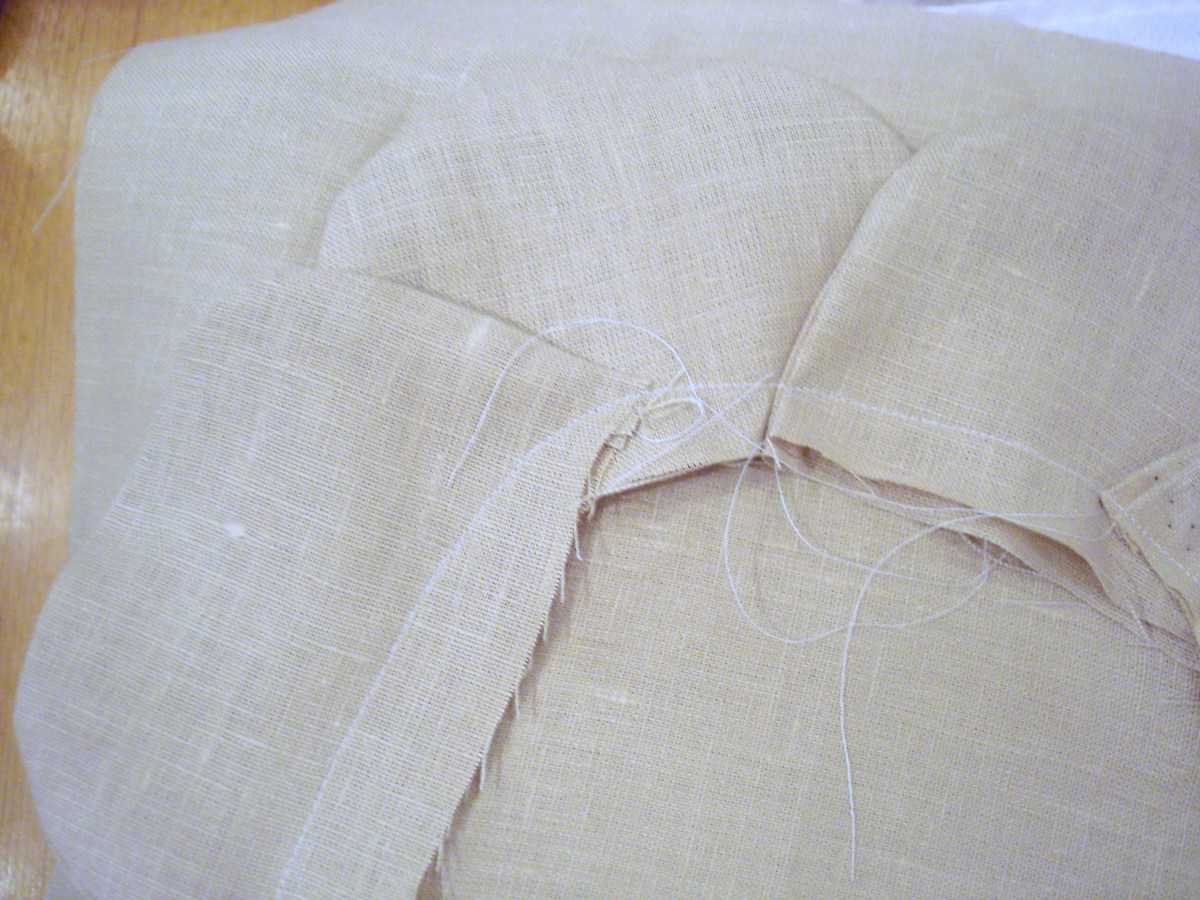
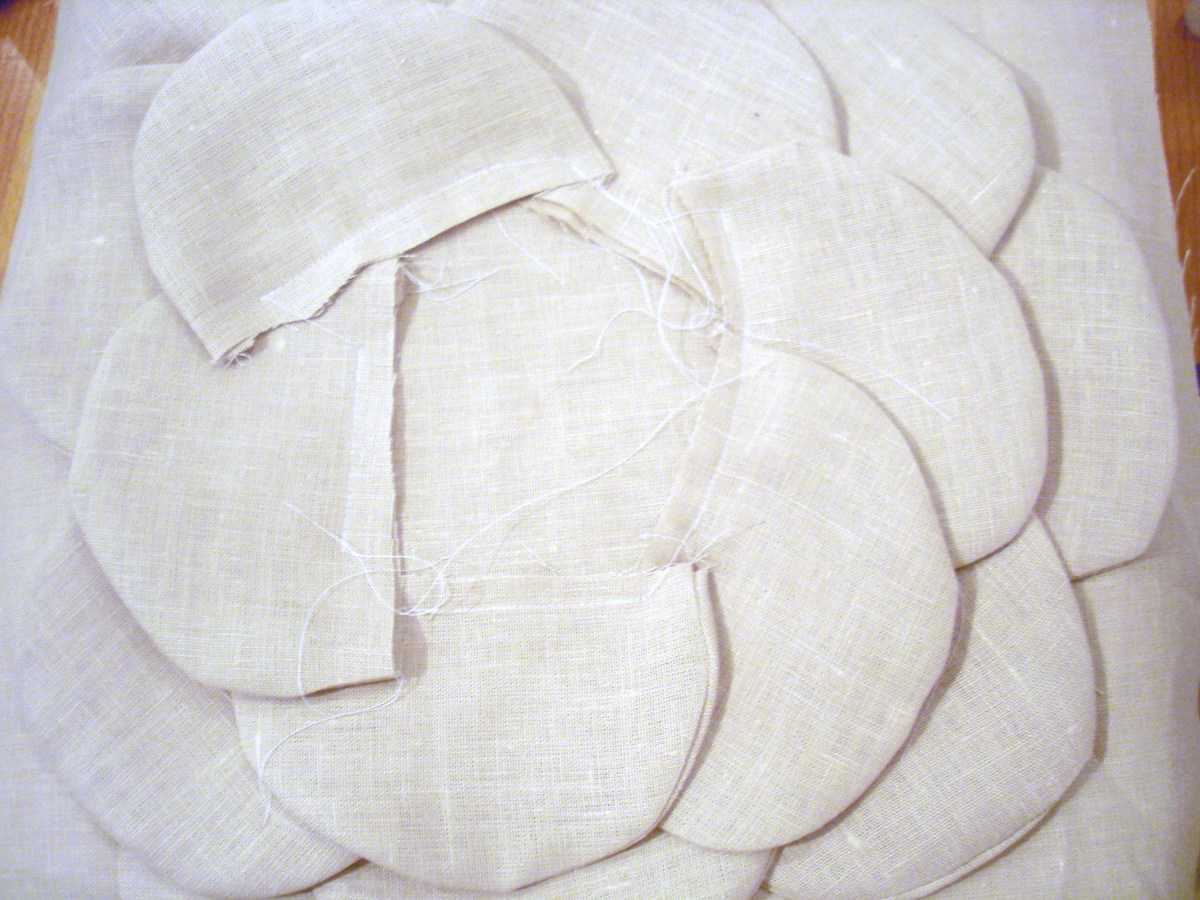
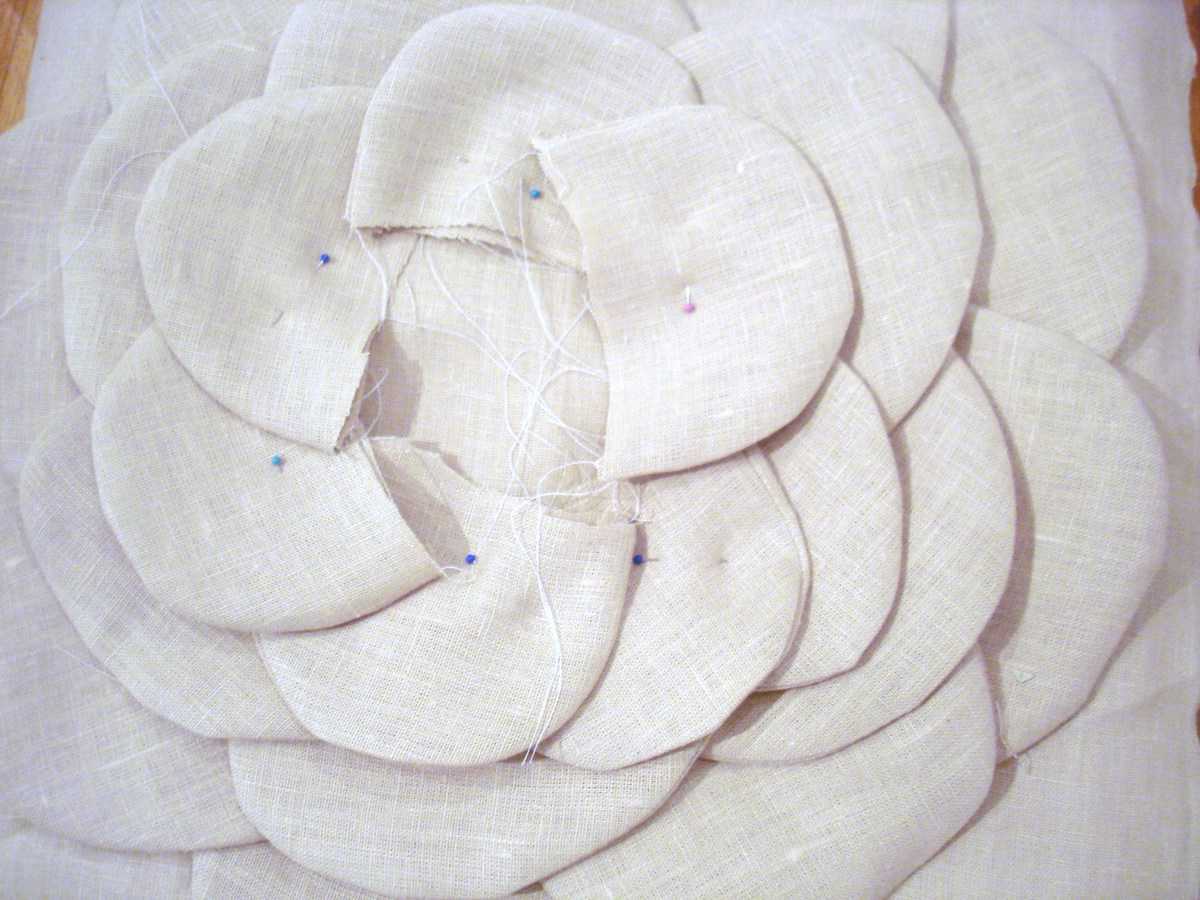
Step 4: Continue creating petals and attaching them to pillow front. Here we did 5 layers total, and, for layers 2-4, we cut down the template and made the petals slightly smaller. Then cut down the template further for the fifth and final layer.
DSC02011 300x225 shabby flower pillow (a tutorial)DSC02019 300x225 shabby flower pillow (a tutorial)
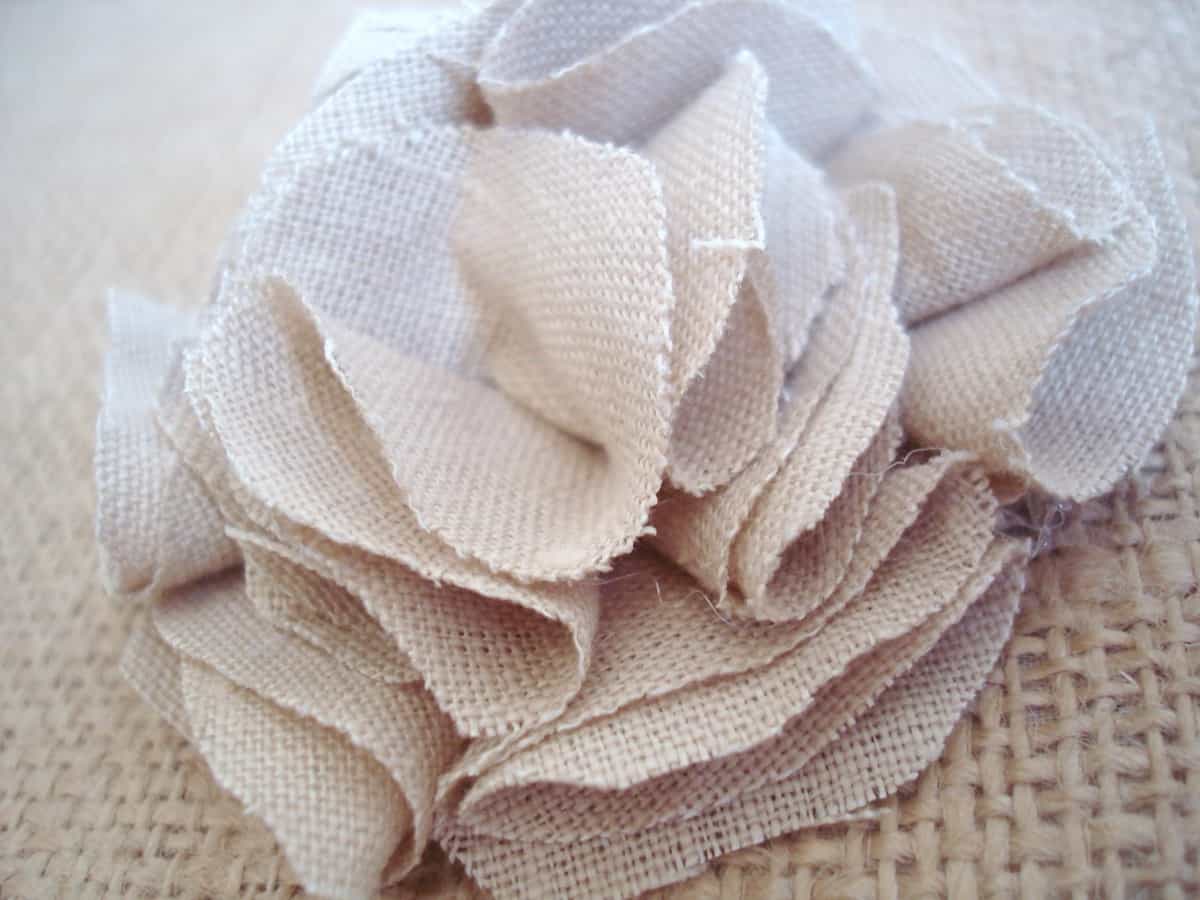
Step 5: Almost there! Now you are ready to create your flower’s center. We did this by taking small circles of fabric and folding them once (into a half circle) and again (folding them into a cone shape). Either hot glue or sew your petals shut. Take your petals and hot glue them into a circle onto a small piece of fabric. Once your outer circle is complete, continue layering and working into the center of the circle.
DSC02014 300x225 shabby flower pillow (a tutorial)DSC02020 300x225 shabby flower pillow (a tutorial)
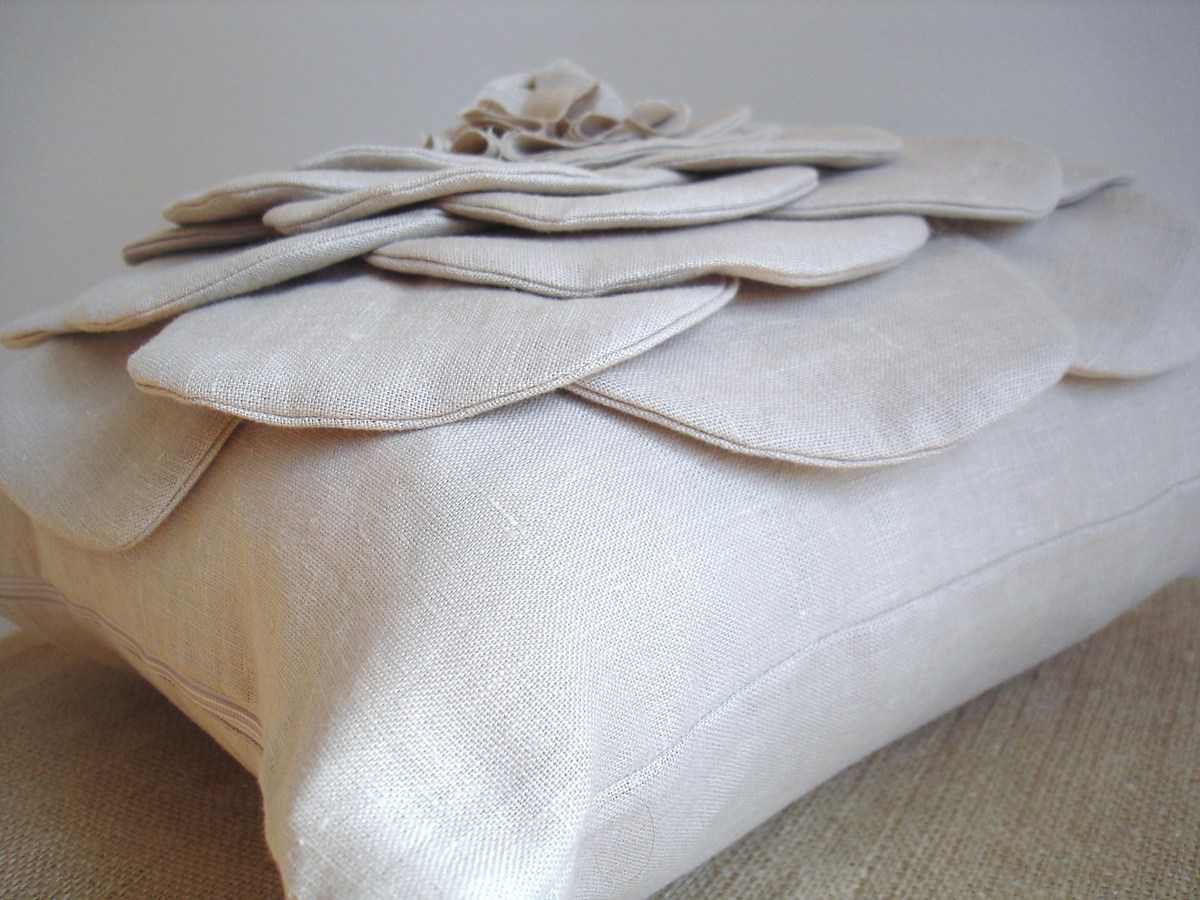
Step 6: Glue or stitch your flower’s center onto your pillow fabric. Lastly, sew your pillow together in the method of your choice!

DSC02035 300x225 shabby flower pillow (a tutorial)